
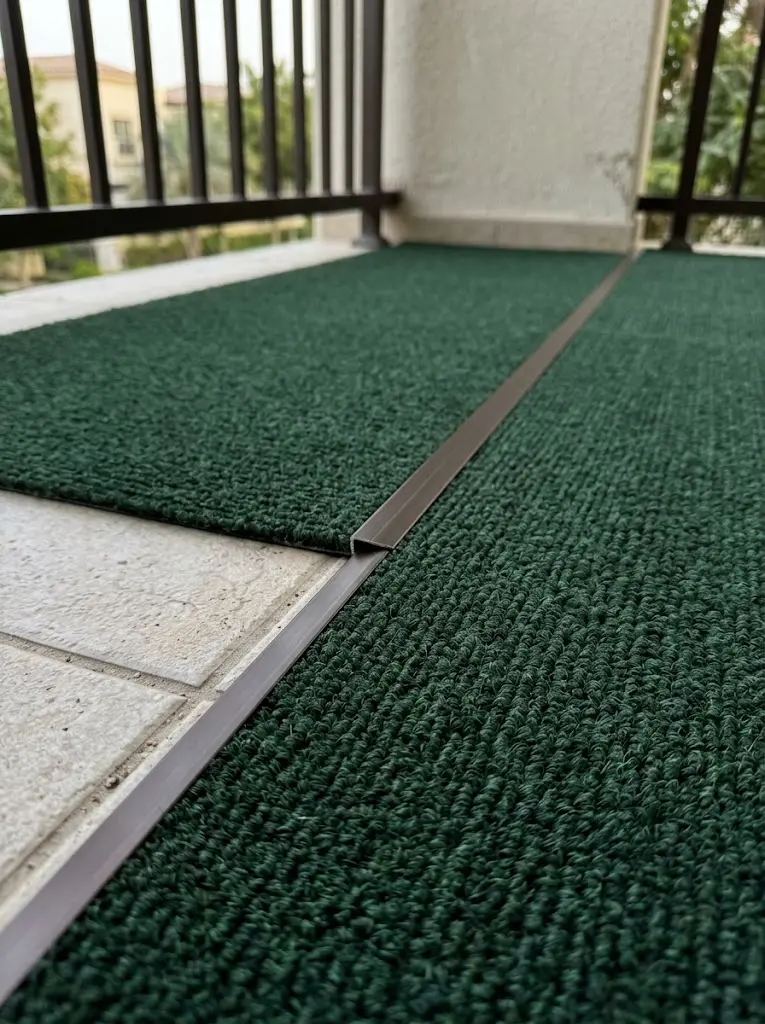
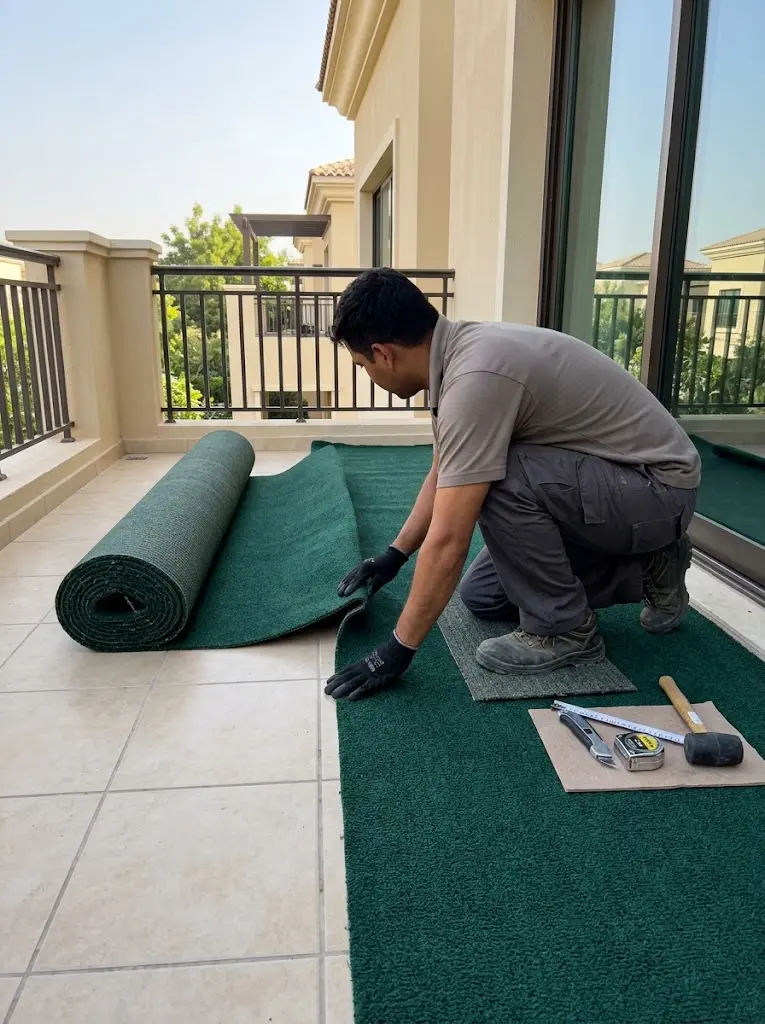
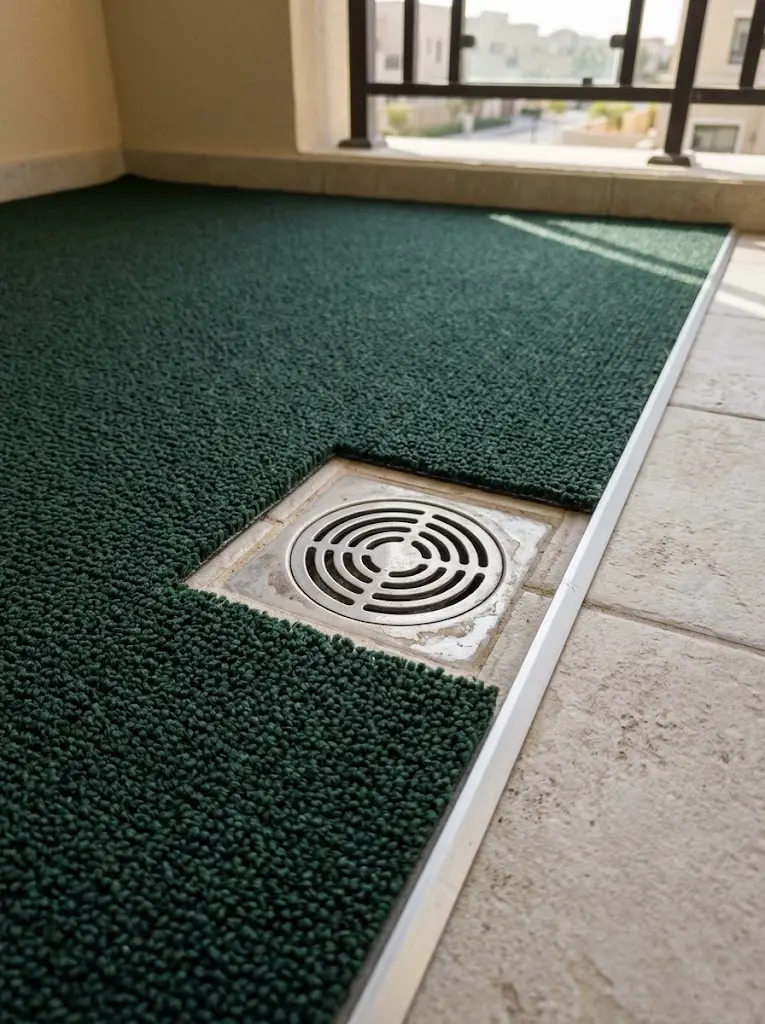
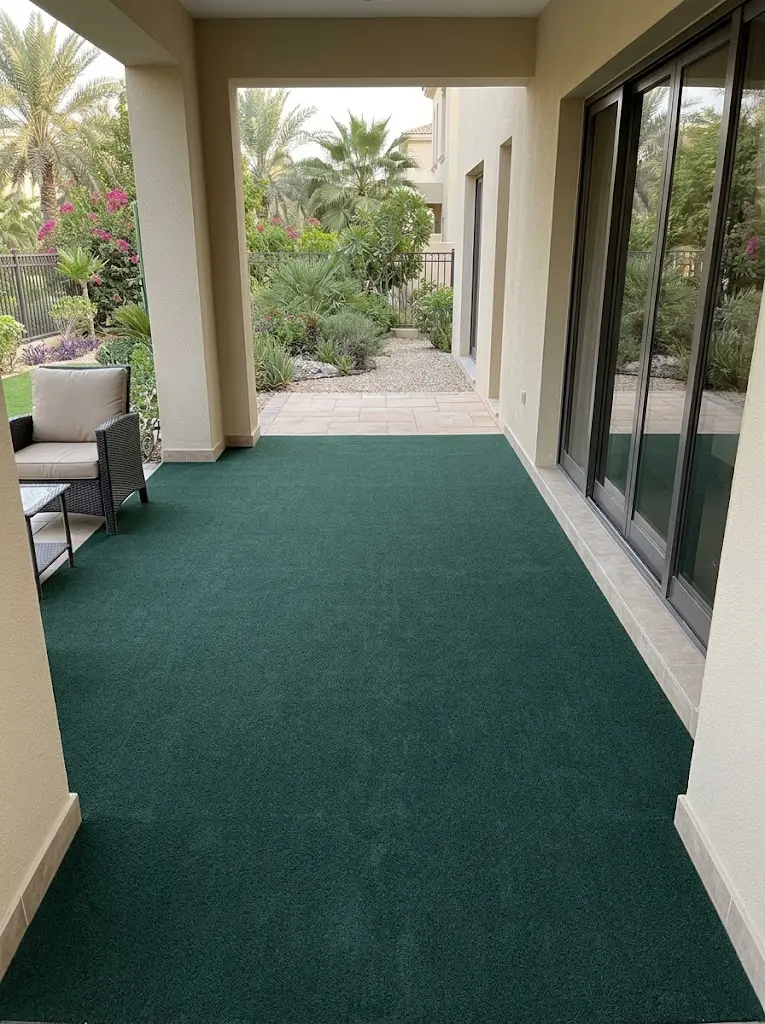
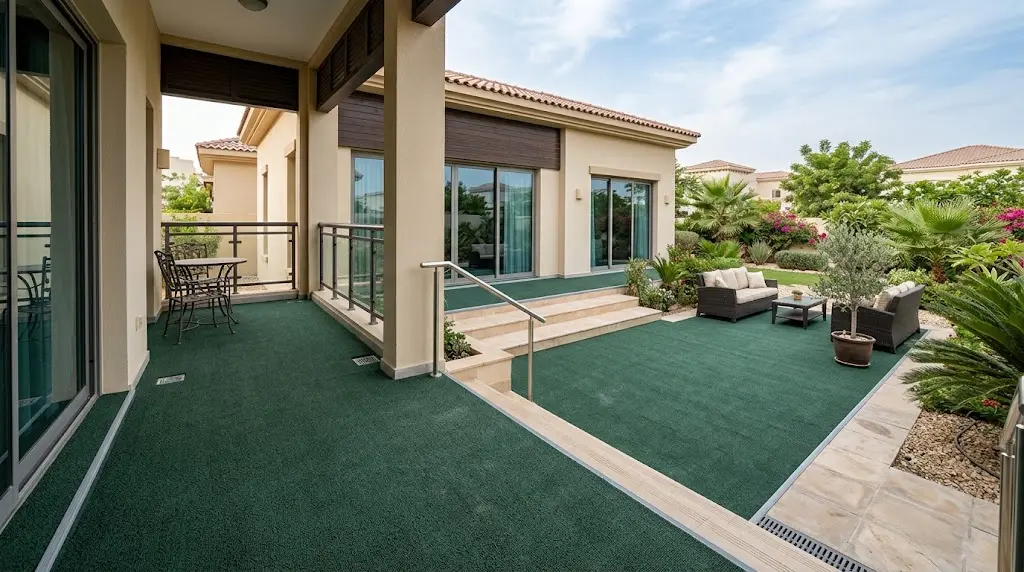
Team Foor Land completed an Outdoor Carpet Installation Project at Arabian Ranches, Dubai on 12 September 2026. We supplied and installed dark green polypropylene outdoor carpet at a private villa in Arabian Ranches, Dubai. We fitted the carpet on the balcony and patio.
Outdoor Carpet Installation Project at Arabian Ranches, Dubai
| Location | Arabian Ranches, Dubai |
| Space Type |
Villa |
| Work Type | Outdoor Carpet Installation |
| Completion Time | 2 Days |
| Project Supervisor | Olivia Sterling |
Project Overview
Site Survey
We measured both areas with a laser meter and mapped walls, columns, thresholds, steps and drains, adding 5–10% for seams and trimming. We tapped tiles for hollow spots, checked grout and cracks, and used a 2 m straight edge to confirm falls towards the drains. On the balcony, we ruled out any drilling to protect the waterproofing membrane beneath the tiles. We also planned the carry route through the villa to the first floor.
Material Specification
We specified 100% solution-dyed, UV-stabilised polypropylene. The fiber absorbs almost no water, resists mould and dries quickly, while solution dyeing locks the color into the fiber so the dark green will not fade under the Dubai sun. An outdoor-rated perforated backing lets water drain straight through. Dark green ties both spaces to the villa’s garden and hides sand and dust well. Accessories included moisture-resistant outdoor adhesive, exterior seaming tape, aluminum edge trims, and primer for porous concrete.
Supply and Logistics
All rolls came from a single dye lot, so the shade matches across every seam. The client approved a physical sample on site in daylight before we ordered. We arranged gate passes and working hours with Arabian Ranches community management, hand-carried rolls through the protected villa interior, and unrolled them in shade for several hours to relax before cutting.
Surface Preparation
For long-lasting results, our expert properly prepared the surface:
- Cleared and protected furniture and planters.
- Swept, vacuumed, and washed away sand, grease, and stains; scraped off old adhesive.
- Refixed loose tiles, filled open grout, and repaired small patio cracks.
- Leveled low spots that could pond water, keeping falls to the drains.
- Primed porous patio concrete and masked all drains.
Carpet Installation
We did precise and flawless outdoor carpet installation work:
- Snapped chalk reference lines and planned seams away from walking routes, with the pile running in one direction.
- Dry-laid every piece to check fit and color.
- Rough-cut with 50–75 mm overlap at walls, thresholds and columns.
- Trimmed seam edges straight, butted them tightly, and bonded them on exterior seaming tape.
- Spread outdoor adhesive with a notched trowel: full bond on the patio, and on the balcony, a pattern that keeps drainage channels open to the outlets.
- Rolled each section to remove trapped air.
- Cut neatly around columns, door frames, balustrade posts and planters, with clean openings over every drain.
- Finished exposed edges and thresholds with aluminum trims to stop fraying and lifting.
- Left the adhesive to cure before furniture returned.
We worked early morning and late afternoon so we never applied adhesive to overheated surfaces.
Quality Control
Before handover, our supervisor walked both areas with the homeowners. We poured water across the carpet to confirm it drained to every outlet without ponding, checked seams, edges, and trims for lifting or trip points, and re-rolled the surface to confirm no bubbles or ripples. Finally, we groomed the pile, cleared the drains, and cleaned glass, walls, and doors.
Health and Safety
The project finished with zero incidents. We followed the UAE midday work break, kept shaded rest points and water on site, and wore knee pads, cut-resistant gloves, and safety footwear. We did not lift anything over the balcony edge, retracted blades when idle, and removed all waste from site.
Challenges and Solutions
September heat was our biggest challenge; we managed it by working cooler hours and keeping adhesive and rolls shaded. To protect the balcony waterproofing, we used adhesive-only fixing. We handled wind-blown sand by cleaning immediately before laying each piece and fully bonding exposed edges.
Aftercare Advice
We left the family with simple care advice: sweep or vacuum weekly, hose down when needed, treat spills with mild soap, use pads under heavy planters, keep drains clear, and never place barbecues or fire pits on the carpet. We left useful offcuts for any future repairs.
Final Outcomes
The balcony and patio now have a seamless, free-draining dark green finish that stays cool underfoot, resists fading, and blends with the villa’s garden. We handed over both spaces on schedule on 12 September 2026.
We Would Like to Meet You
Our Successful Projects


Work With Us
Planning to transform your balcony or patio? Contact us for a free site survey and quote.