
How to Remove Blinds Without Damaging Your Windows
Do you want to replace your outdated blinds but are worried about damaging your windows? It is not as complex as you think. I have replaced and removed many blinds from windows, and honestly, without any damage. You can also do this easily if you have the right tools and know the suitable technique.
In this comprehensive guide, I will explain the best way to remove different types of blinds from windows and the tools you will need. By the end, you will be able to remove your window blinds confidently.
How to Remove a Blind From a Window?
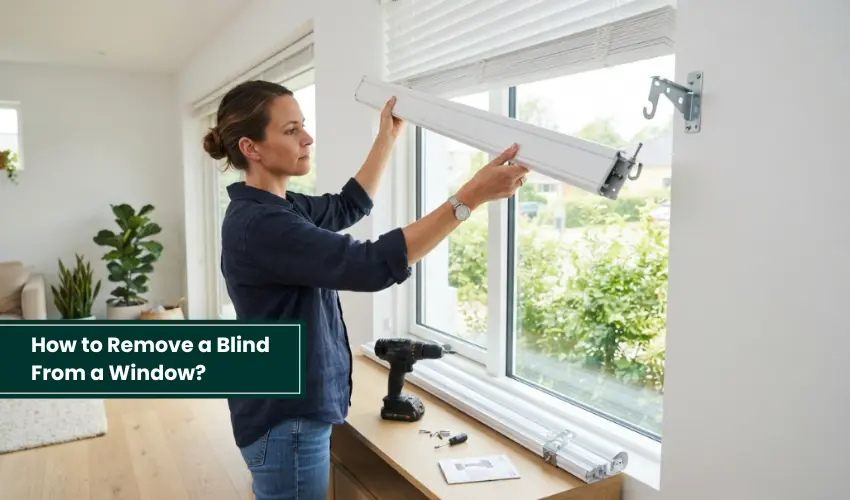
Raise the blind and remove the valance. Then release the headrail from the bracket. Now unscrew the brackets, and you’re done with removing the blinds.
Tools and Materials Required for Blind Removal
| Tool | Purpose |
|---|---|
| Flathead Screwdriver or Drill | For opening bracket clips and removing mounting brackets. |
| Step Stool/Ladder | For accessing the mounting brackets. |
| Safety Glasses | Protect your eyes from falling dust and loose screws. |
| Gloves | Protect your hands from harsh metal brackets. |
| Painter's Tape | Use for labeling the hardware. |
| Phillips Head Screwdriver | Helps in removing screws from brackets. |
How to Remove Venetian Blinds?
In my experience, removing Venetian blinds is quicker and easier than any other type. These blinds are designed with thick or thin slats that help in controlling sunlight and privacy. Take a look at a step-by-step guide for removing horizontal blinds from a window:
Step 1: Fully Open Your Blinds
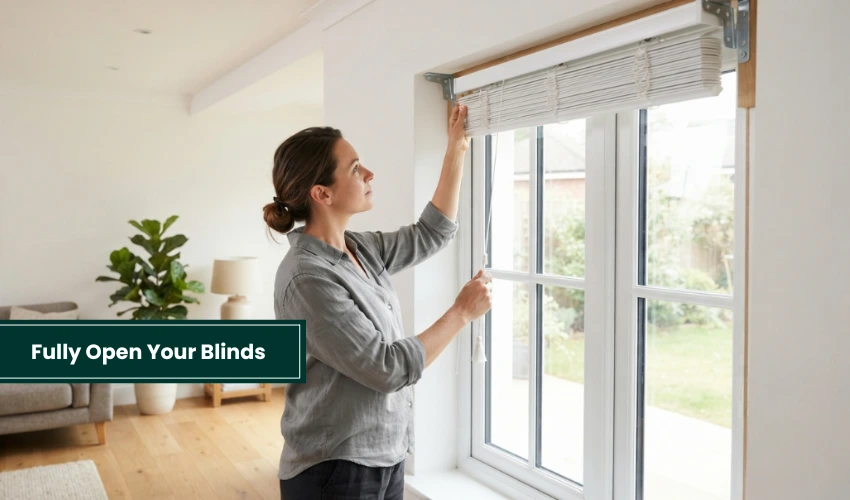
Start the process by completely opening the blinds. Pull the string carefully to lift the slats. This way, you can access the bracket and remove the blinds without any damage.
Step 2: Remove the Decorative Trim
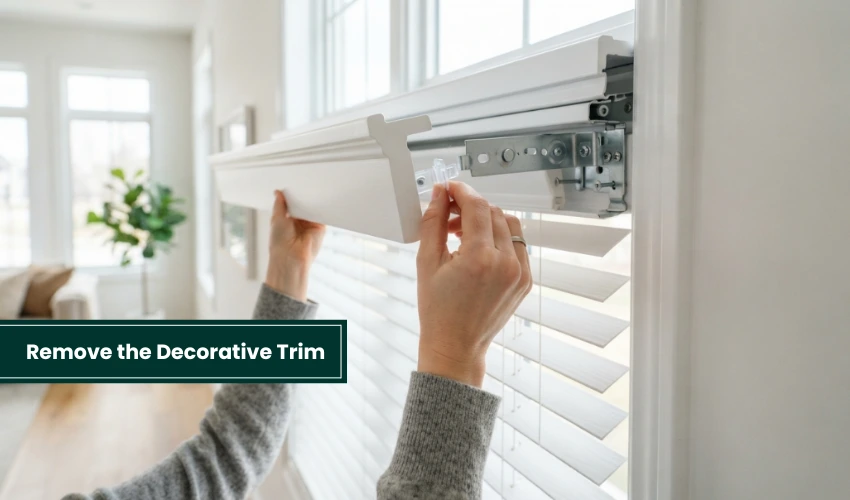
If your blind has decorative trim at the top, you have to remove it. The purpose of these trims is to properly cover the bracket and hardware. To safely remove these trims, remove the plastic retaining clip that keeps them in place.
Step 3: Locate the Brackets
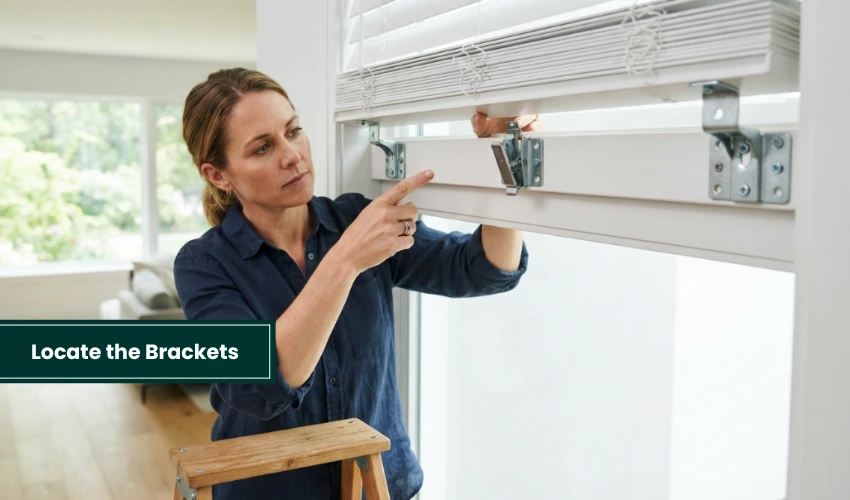
When the decorative trim is removed, the next step is to locate the brackets. These brackets secure the blinds to the window frames. Generally, there are two brackets present at the ends of the headrail. I have noticed that blinds that are a bit wide have a bracket in the middle as well. There are two types of brackets: the first is fixed in place. The second one comes with spring-loaded clips. These springs hold the headrail tightly.
Step 4: Remove the Headrail From Fixed Brackets
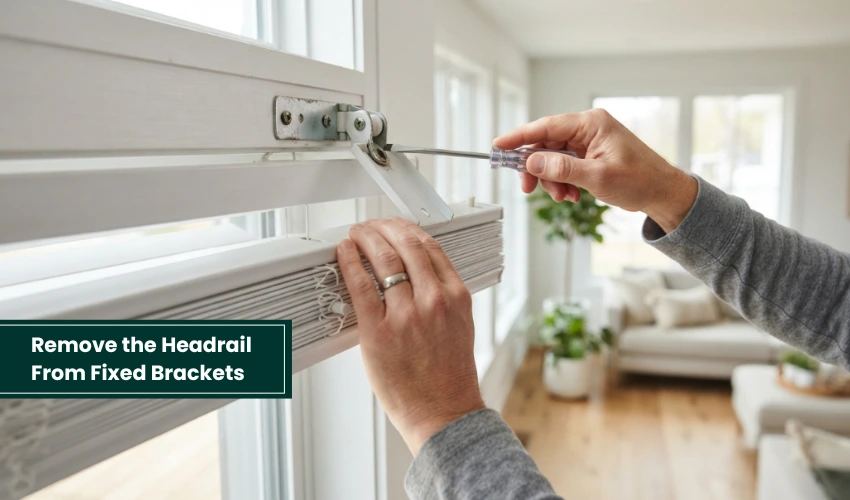
Removing the blinds from fixed brackets requires careful consideration. You need to insert a flathead screwdriver under the top of the bracket flap. Apply gentle upward pressure to pry the flap open. Start rotating the headrail forward and downward to slide it off.
Important note: Always keep one hand on the headrail. It prevents it from falling.
Step 5: Remove the Headrail From Spring-Loaded Brackets
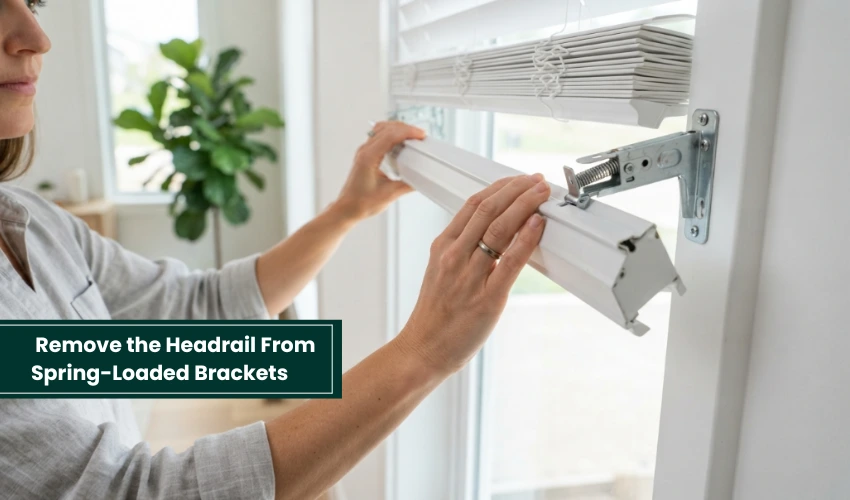
If you are removing blinds for the first time, removing the headrail from spring-loaded brackets can be a bit tricky. The clips of spring-loaded brackets hold the headrail very firmly. The most practical way is to push the complete headrail towards the window. This compresses the spring inside. Now carefully roll the headrail downwards and lift it out of the brackets.
Step 6: Unscrew the Brackets
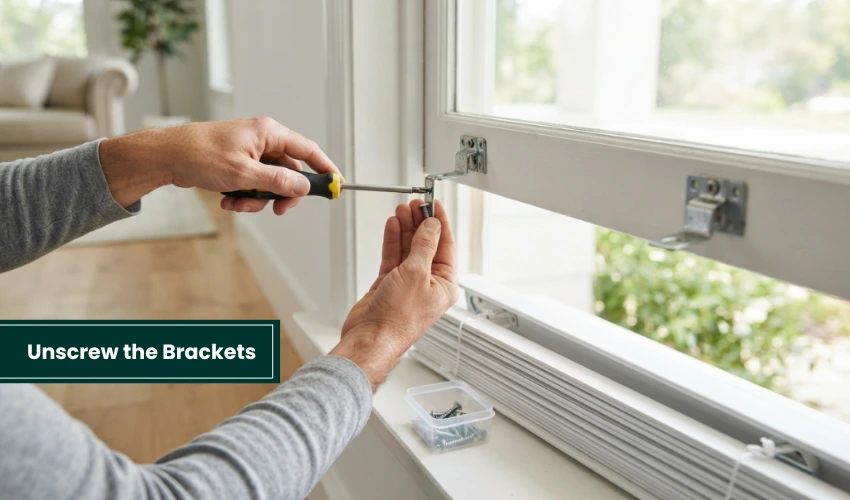
Once you have successfully removed the blinds, the next step is taking down the brackets. For this purpose, you need a Phillips-head screwdriver. Alternatively, a drill with the right bit also works well. After locating the screws, carefully remove them and keep them in a safe place. The very last step is to remove the brackets from the window frames.
How to Remove Wood/Faux Wood Blinds?
I thought removing wood or faux wood blinds was a very complicated task at first. But when I used the right tools and steps, I did it in just a few minutes. Take a look at how I removed the wooden window blinds.
Step 1: Raise Your Window Blinds
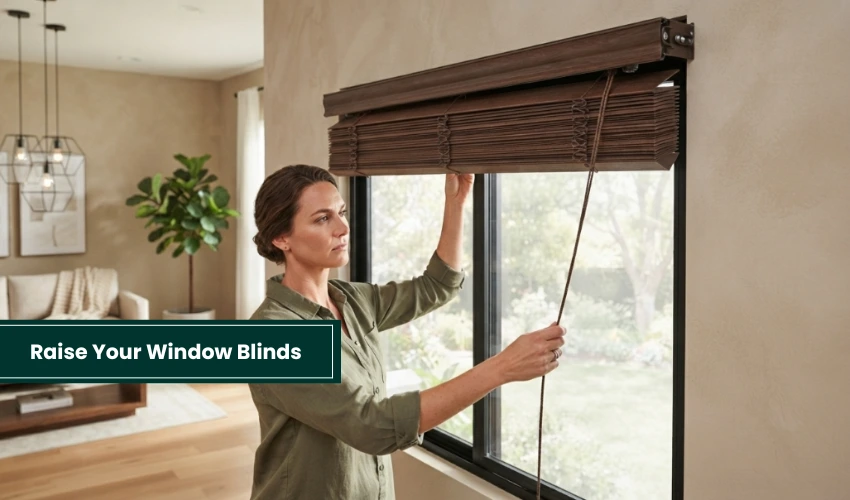
The most crucial step is to raise the blind slats completely. It helps you access the headrail without any obstruction.
Step 2: Set Up a Ladder
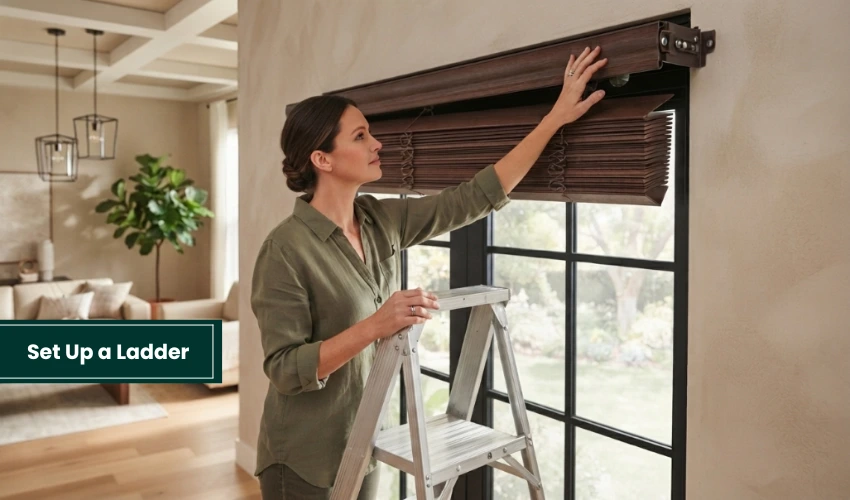
Once the blind slats are fully raised and locked in place, you need to step onto the ladder carefully. Make sure your ladder or stool can reach the mounting brackets. This way you can work without any hassle or danger of falling.
Step 3: Open the Mounting Brackets
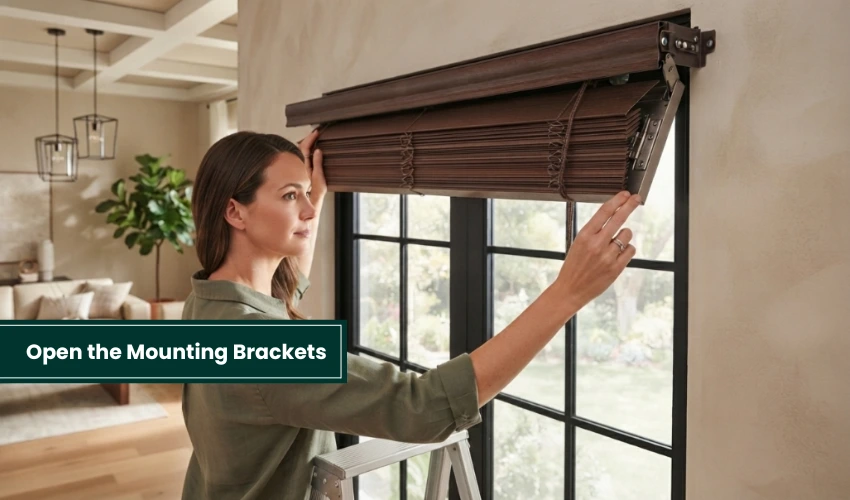
Usually, faux wood blinds are held by box-style brackets with front hinges or a button cover. So I started by flipping the cover open with my fingers. Alternatively, you can also use a flathead screwdriver for this task.
Step 4: Slide the Headrail Out
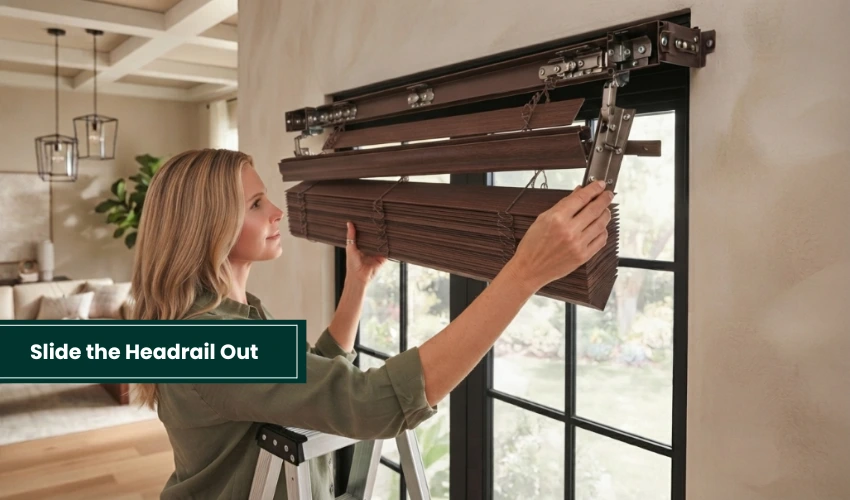
After opening the mounting bracket, slide the headrail out. For this process, support the weight of your blinds with one hand. With your second hand, you can carefully slide the headrail out of the open brackets.
Step 5: Lower the Blinds Very Carefully
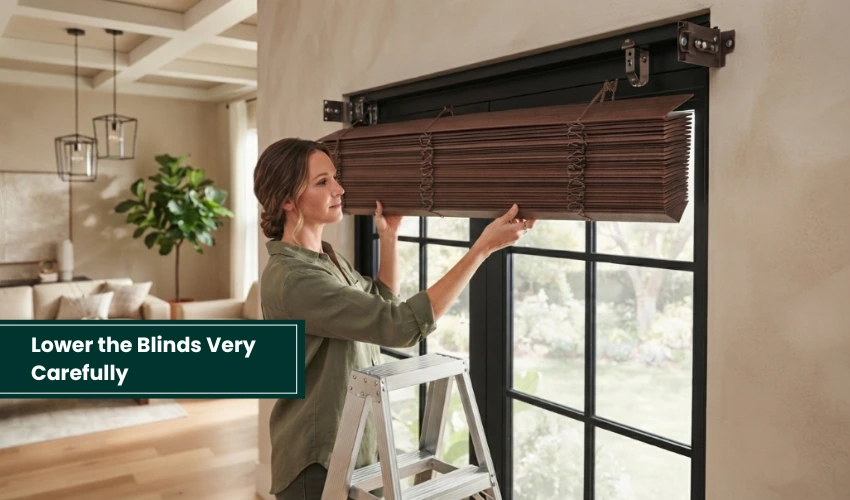
You have almost successfully removed the blinds. After that, carefully bring them down to avoid damaging the frame or slats. To replace the blinds or repaint the window, you must remove the mounting brackets as well.
How to Remove Vertical Blinds?
Vertical blinds are also commonly installed on home and office windows. Removing these blinds involves the following steps:
Step 1: Open & Rotate the Slats

To remove vertical window blinds, pull the blind cord to push all the slats to one side. Then, carefully rotate the slats to the open position. The main purpose of doing this is to hang the blinds flat.
Step 2: Start Removing the Slats From the Track

For vertical blinds, I observed that each slat hooks into a small carrier inside the headrail. Carefully hold each slat near the top. Once done, pull the slat downward at a slight angle. This will allow the hook to be removed from the carrier. You need to work from one end to the other to remove all the slats.
Step 3: Remove the Valance (If Required)
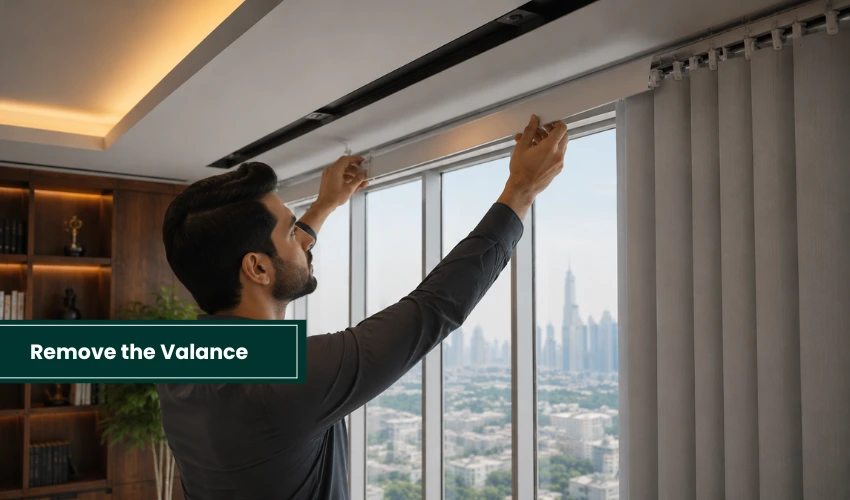
If your vertical blinds have a decorative valance, remove it. This decorative valance hangs over the headrail with plastic clips. First, squeeze the clips, then press them to remove the valance.
Step 4: Locate the Mounting Brackets
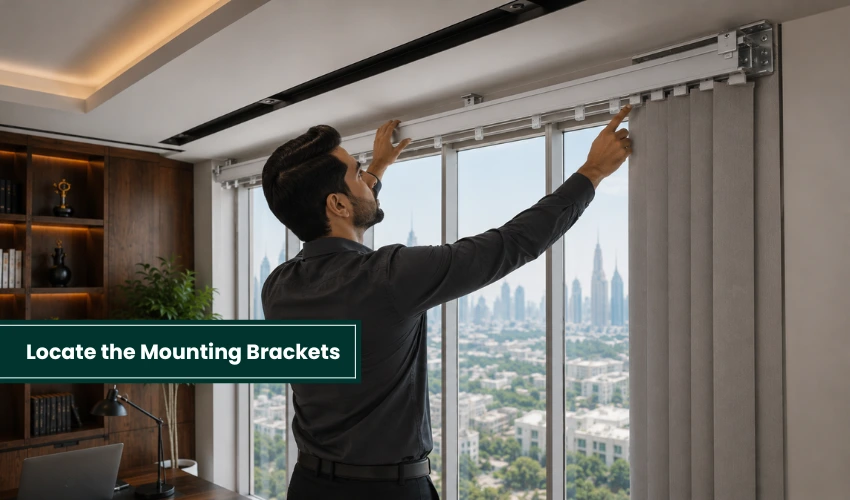
Once the decorative valance is removed, locate the mounting brackets. For normal-size blinds, only 2 brackets will be present at the ends of the headrail.
Step 5: Release the Headrail From the Brackets
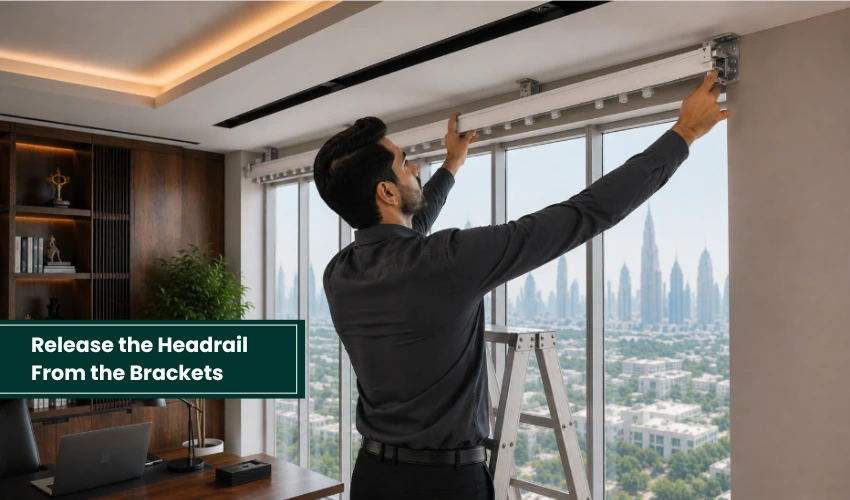
Blinds with vertical slats mostly come with brackets with locking tabs or a lever on the front or bottom. Here are the steps for releasing the headrail:
- Press and slide the tab to release the headrail
- Gently lift the headrail out of the mounting bracket
Make sure to support the headrail with both hands. This step will prevent it from falling and damaging the window frame.
Step 6: Unscrew the Brackets (Optional)
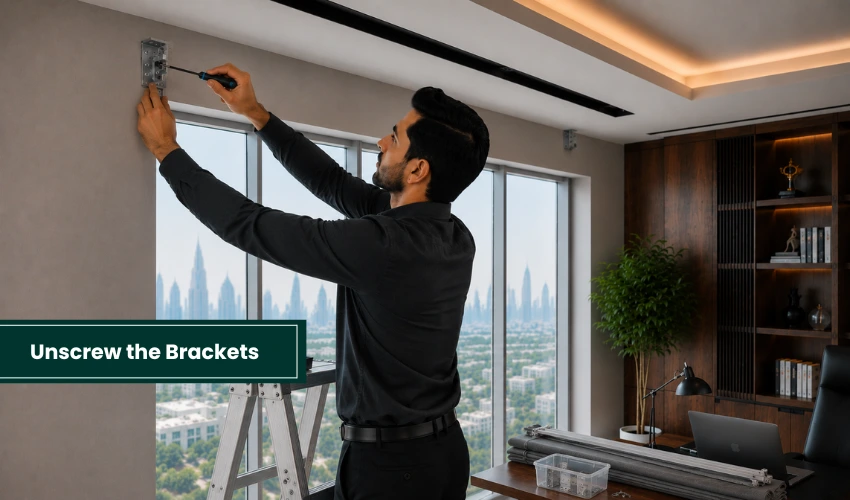
Removing the brackets is totally optional. But if you want to remove them, you will need a Phillips-head screwdriver or a drill. Use them to unscrew the brackets that are mounted on the wall or ceiling. To reuse the brackets, make sure to store the screws and brackets in a safe place.
How to Remove Roller Blinds?
Before removing roller blinds, you must understand their composition. They consist of a single fabric panel. The panel rolls up around a cylinder at the top of the window. Take a look at the steps involved in removing this blind.
Step 1: Open the Window Blind
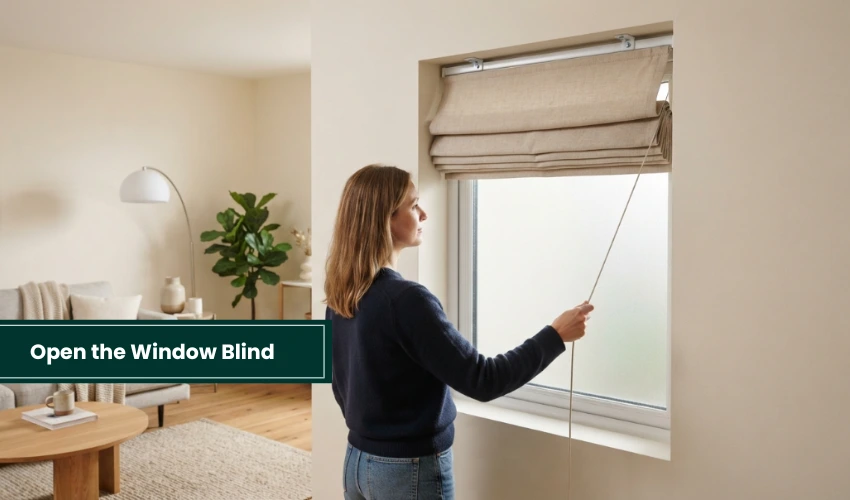
Start the process by pulling the roller blind up completely. When the blind is fully open, you can easily see and work on the hardware and brackets.
Step 2: Unhook the Chain Safety Clip
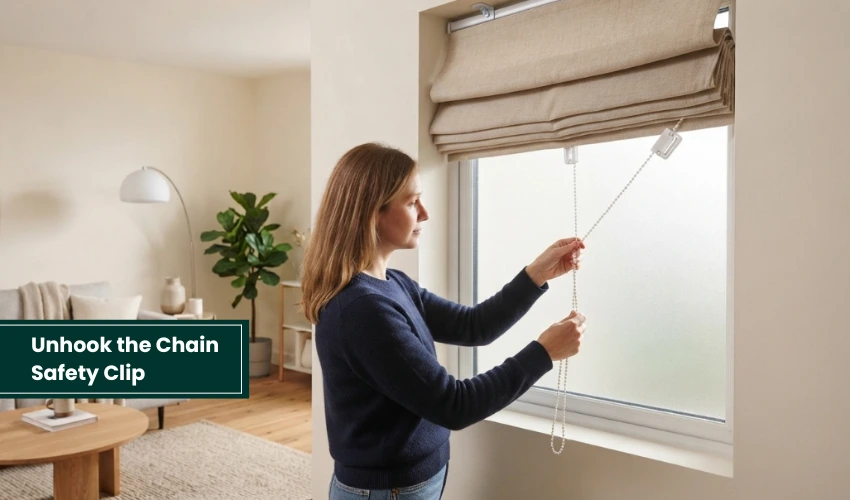
For blinds that use a chain to operate, you need to unhook it. It is located near the bottom of the window. Carefully remove the chain from the clip. For a clip secured with a screw, you need to unscrew it using a screwdriver.
Step 3: Find the Bracket Clip
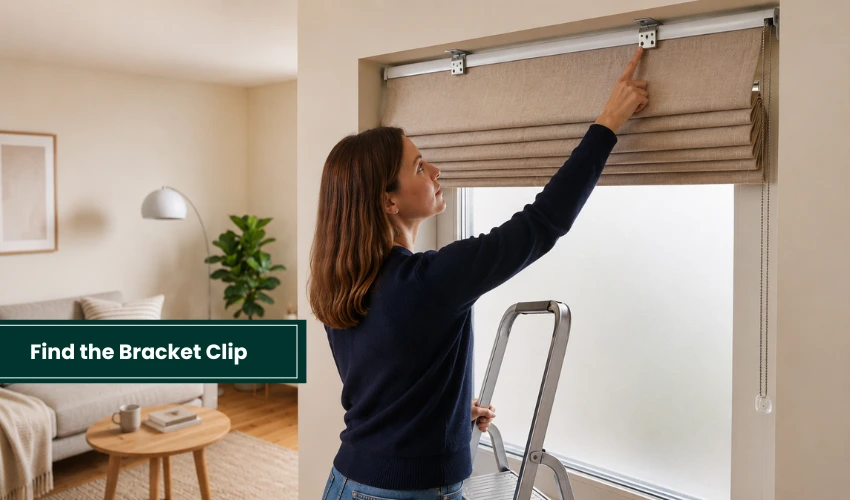
Now check the top of the window to find the bracket clip. It is usually located on the opposite side of the chain, at the top of the window. The main purpose of the bracket clip is to prevent the blinds from falling out during use. Different roller blinds come with different types of bracket clips.
Step 4: Release the Bracket Clip
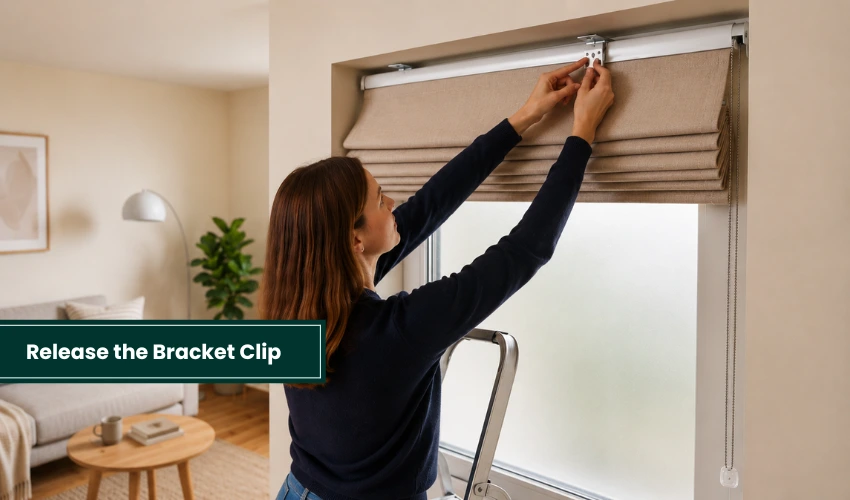
If you have high-end roller blinds, you need to squeeze the sides of the clips. Gently rotate them to release the blinds. For pocket-friendly roller blinds, you need to use a flathead screwdriver to pry the clamp away from the blind bracket. This way, you can release the blinds from the bracket clip.
Step 5: Remove the Roller Tube From the Mounting Brackets
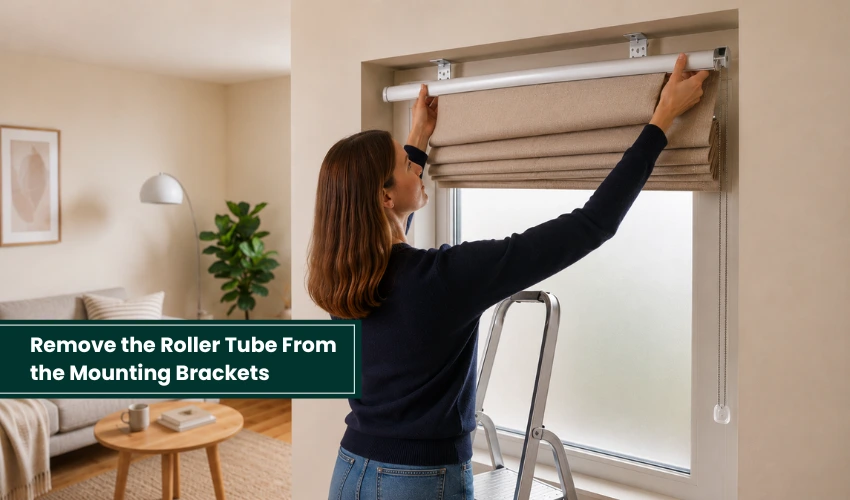
After releasing the bracket clip, you can remove the blinds from the brackets. Pull the chain side to easily release the blind. Lift the roller tube out from the brackets and set it aside.
Step 6: Remove the Brackets
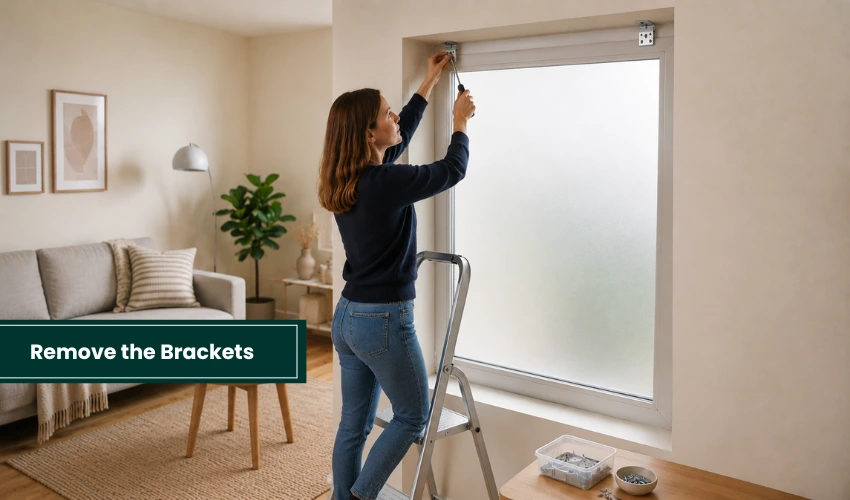
Use a drill with a suitable bit or a Phillips-head screwdriver to remove the bracket screws. Then, remove the brackets from the window frames. If you plan to reinstall the same blinds, make sure to store the hardware carefully.
How to Remove Roman Blinds (Corded or Cordless)?
I have removed both corded and cordless Roman blinds many times. So, I must say removing both of these blind variants is quick and effortless. I have listed the techniques and tools used to remove Roman blinds below.
Remove Roman Blinds with Pull-Down Shade
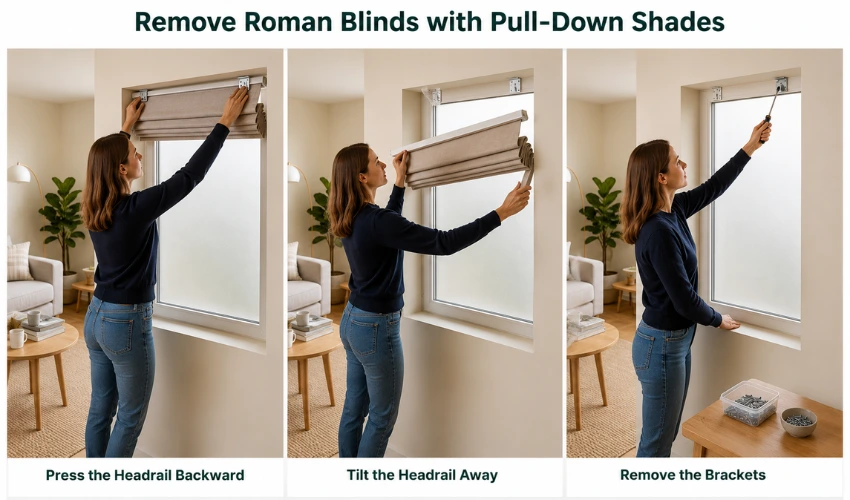
Roman blinds with a pull-down mechanism are easier to remove.
Step 1: Press the Headrail Backward
The very first step in removing pull-down shades is to press both ends of the headrail evenly toward the window.
Step 2: Tilt the Headrail Away
The second step is to pull the headrail forward and downward in a rolling motion. You need to tilt it until the blind is free from the bracket. That’s all for removing the blind itself.
Step 3: Remove the Brackets (If Required)
Use a screwdriver to remove the screws of the brackets and carefully take them off the wall or ceiling.
How to Remove Cordless Roman Blinds?
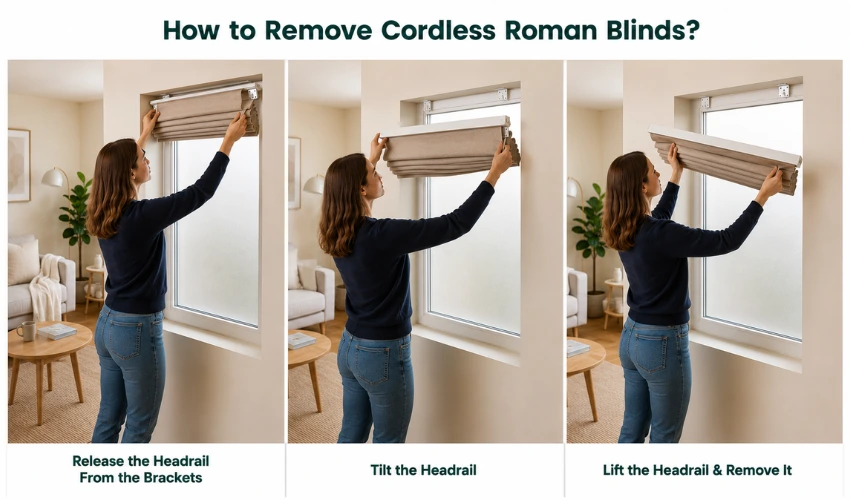
The removal process for cordless Roman blinds is a bit different from that of traditional blinds.
Step 1: Release the Headrail From the Brackets
Start the process by locating the Velcro attachment, snap bracket, spring clip, twist lock, or lever release on the back of the headrail. Carefully push and hold it. Meanwhile, slide the headrail away from the mounting brackets.
Step 2: Tilt the Headrail
You need to tilt the blind headrail until it becomes completely horizontal. At this point, pull it down.
Step 3: Lift the Headrail and Remove It
Carefully lift the headrail upward fully. You need to take it off the brackets and keep it aside. You can reuse it if you want to.
How to Remove Blinds with Hidden Brackets?
If you have blinds with hidden brackets, then I have mentioned the steps below to remove them without damaging the window. Take a look at the steps that you need to perform:
Step 1: First of All, Find the Release Point
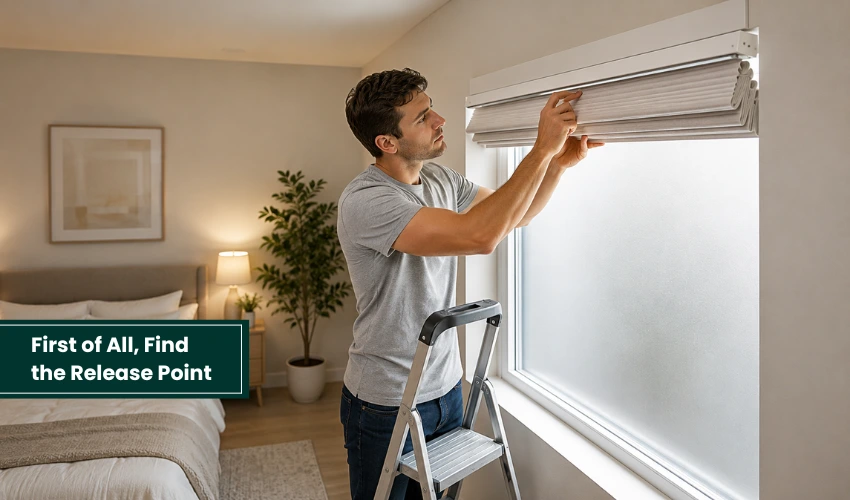
Finding the release point is crucial when removing hidden-bracket blinds. You need to carefully check the headrail from both ends and from the underside. Many blinds have this release point on the underside of the headrail.
Step 2: Carefully Unlock the Bracket Without Damaging It
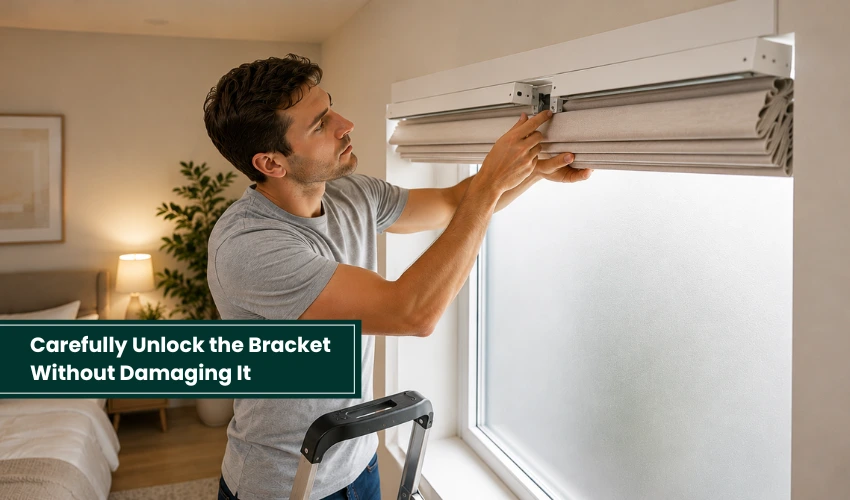
Once you have found the release point, press it to release the bracket. Make sure to support the headrail while unlocking the bracket. Depending on the manufacturer, hidden brackets may use a release tab, spring clip, locking lever, or push-button mechanism. Locate the correct release point before attempting to remove the blind. There is no need to apply heavy pressure before releasing the bracket. If you ignore this tip, there is a high chance of blind and bracket damage.
Step 3: Slide the Blinds Out of the Brackets
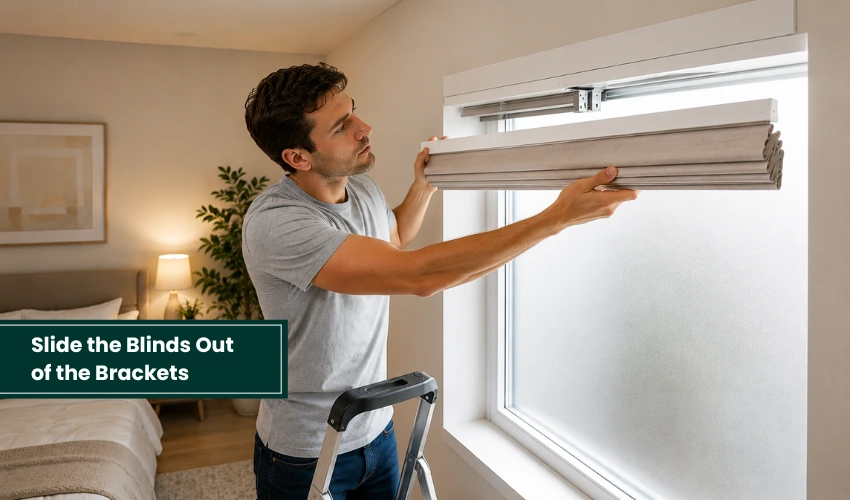
After unlocking the brackets and supporting the headrail with one hand, use your second hand to slide the blind to the side. Make sure to perform one step at a time. I would suggest unlocking the bracket first, then sliding that side to take out the blind. You can perform the same step for the second side as well.
Step 4: Detach the Headrail
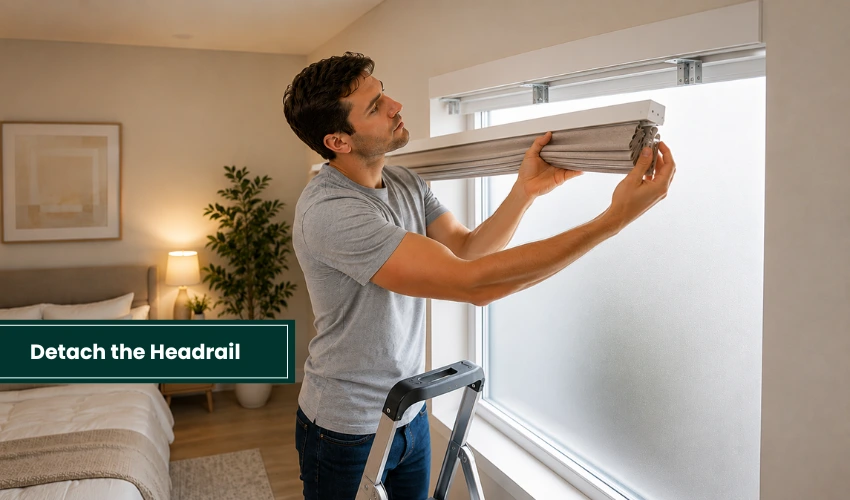
Detaching the headrail also requires some careful consideration. Make sure to check for any additional locks or screws that connect it with the lifting or cord mechanism before removing it. If you find any, then carefully remove them first. At this point, the headrail is free; you can take it off and store it for future use.
Troubleshooting Guide: When Blinds Won’t Come Off
Below, I have listed some problems I encountered while removing blinds and offered a quick fix for each.
1. Stuck Headrail
Sometimes the blinds won’t come off because the headrail is stuck in the mounting bracket or the spring-loaded release is seized.
Quick Fix:
- Open the bracket tabs with a flathead screwdriver
- Work on one side at a time
- If you notice the mechanism feels bound, support the headrail and wiggle it forward. Avoid pulling it hard.
2. Paint Over Brackets
Fresh paint acts as glue between the wall and the bracket door. It can cause a hindrance while removing the blind and bracket.
Quick Fix:
- You need to score along the edges of the bracket with a utility knife.
- Now, open the bracket with a flathead screwdriver to remove the headrail.
3. Broken Clips
Blinds with a clip-and-bracket system usually encounter this problem. If the clip has snapped, the headrail may not release. Ultimately, the removal of the blinds will be complex.
Quick Fix:
- Remove or replace the damaged clip with the correct matching clip.
- Snap the headrail back into its place.
- Make sure to test it before fully mounting the window blinds.
DIY Blind Removal Vs. Professional Blind Removal
| Factor | DIY Blind Removal | Professional Blind Removal |
|---|---|---|
| Cost | $0–$30 if you already own basic tools. $15–$60 if you need to buy a screwdriver, step ladder, or replacement brackets. | $50–$150 per window for standard blinds. Large, motorized, or hard-to-reach blinds may cost $150–$300 or more per window (cost varies by region). |
| Time | Can take longer (30–60 minutes) if the brackets are painted over, stripped, or stuck. | Usually faster (10–20 minutes) because an experienced installer already knows the release system. |
| Skill Level | Best for simple blinds with clear bracket release points. | Better for complex, heavy, or damaged blinds that need careful handling. |
| Risk of Damage | Higher if you force the headrail, strip screws, or crack clips. | Lower because professionals use the right tools and removal method. |
| Best For | Homeowners who are comfortable using basic hand tools. | Homeowners who want a quick, low-stress removal. |
| Safety | You may need to work on a ladder or deal with sharp hardware. | Safer overall since the job is handled by someone experienced. |
| When to Choose It | Good for routine removal, cleaning, or a simple replacement. | Good when the blinds are stuck, fragile, expensive, or badly installed. |
Final Thoughts
I hope that removing blinds is now easy for you after reading this guide. For easy understanding, I have mentioned the details of removing different types of window blinds. You are also aware of why blinds sometimes won’t come off and how to fix that specific issue. At the end, a comparison table of DIY vs. professional removal will help you select the most appropriate method for your case. Make sure to perform each step carefully and identify your blind type before removing it.
Frequently Asked Questions
Do I need to remove brackets to install new blinds?
It depends; if your new blinds perfectly match the existing bracket type, then there is no need to remove them. However, if your new blinds have different screw patterns and bracket shapes, you will need to replace the old brackets for a secure fit.
How to remove blinds without a screwdriver?
You can remove the blind by hand, unclipping it from its bracket. But make sure to support the headrail and tilt it to release one bracket. Then unclip the other side by hand. For a tightly seated clip, you can use a putty knife or a flat pry tool to remove the blinds.
Can a single person easily remove a blind?
For light blinds like roller, Venetian, and mini blinds, a single person can remove them. Removing these blinds only requires supporting the headrail and releasing the bracket clip one side at a time. On the other hand, for heavy blinds, you should seek assistance to avoid the risk of the headrail dropping, damaging the wall, or stripping the fasteners.
How to remove blinds from a metal frame?
To remove blinds from a metal frame, open the window first. Once you have full access to the top brackets, you can remove the blind. Identify the location of the locking mechanism. Once done, unlock the bracket in the most suitable way. Carefully retain the clip and disengage the tab. Lastly, roll the headrail out of the brackets.


