
We recently finished a project we’re really proud of: a parquet flooring installation at Jumeirah Golf Estates, Dubai. The family wanted new wooden floors in three bedrooms of their villa, and we completed the work on 24th September 2026, right on time. The home sits close to the golf course, with a calm, green view. The old bedroom tiles felt cold and outdated, so the owners wanted something warmer and more welcoming.
Parquet Flooring Installation at Jumeirah Golf Estates, Dubai
| Location | Jumeirah Golf Estates |
| Space Type |
Modern Villa |
| Work Type | Parquet Flooring Installation |
| Completion Time | 1 Day |
| Project Supervisor | Olivia Sterling |
Project Overview
What the Family Wanted
The owners had a clear idea from the start. They wanted bedrooms that felt cozy and natural. They also needed a floor that could handle daily life. With two young kids and a playful dog, the floor had to be durable and easy to clean.
Dubai’s weather was another big point. The air conditioning runs most of the year, and humidity changes with the seasons. Some wood floors don’t cope well with this. So we chose a product that would stay stable in these conditions.
Measuring the Rooms
First, we visited the villa and carefully measured each bedroom. The master bedroom was about 28 square meters. The two kids’ rooms were about 18 square meters each. That came to around 64 square meters in total.
We ordered 10% extra wood. This covers cutting waste and pattern matching. It also leaves the family with spare pieces in case a board ever needs replacing.
Choosing the Wood
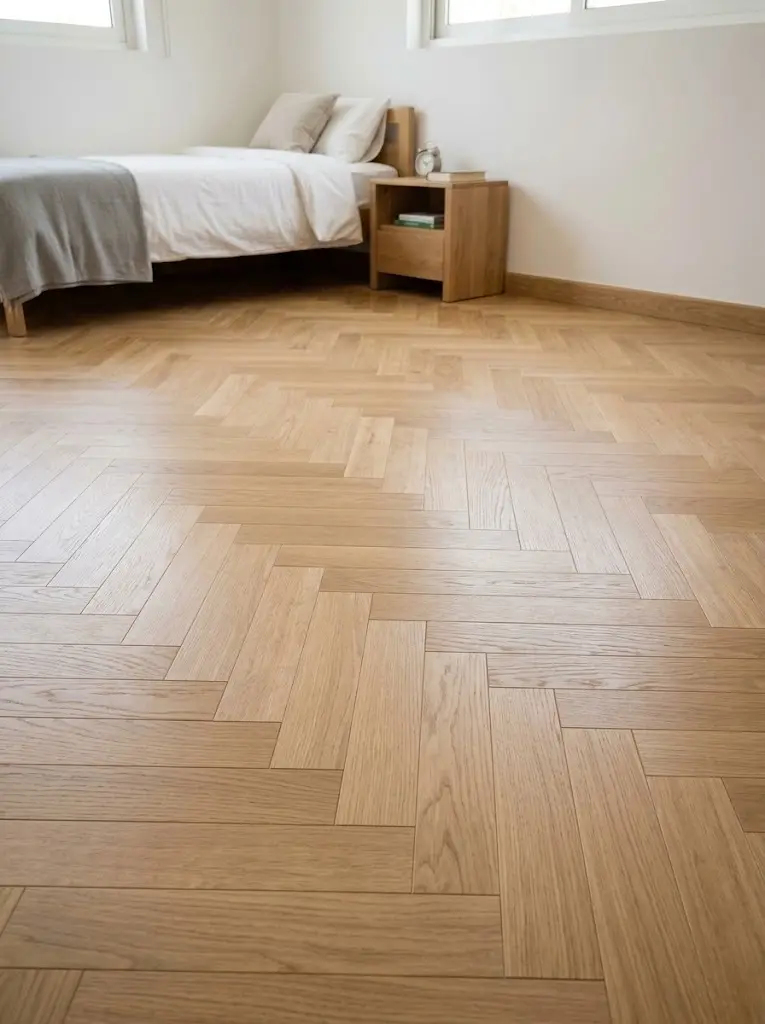
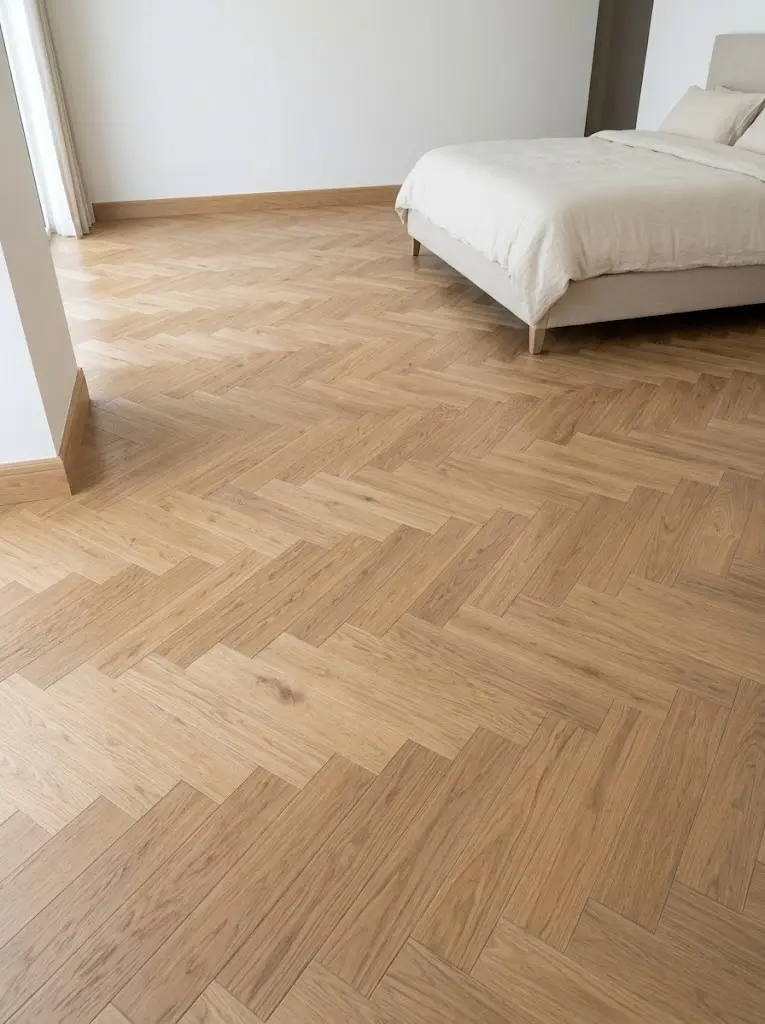
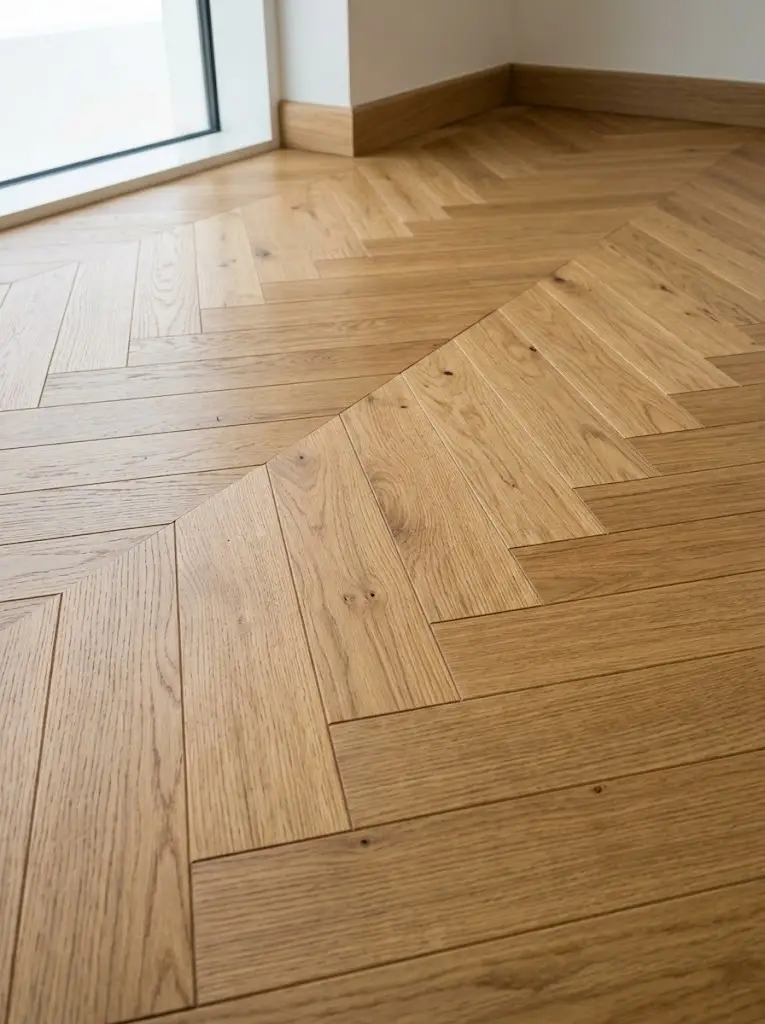
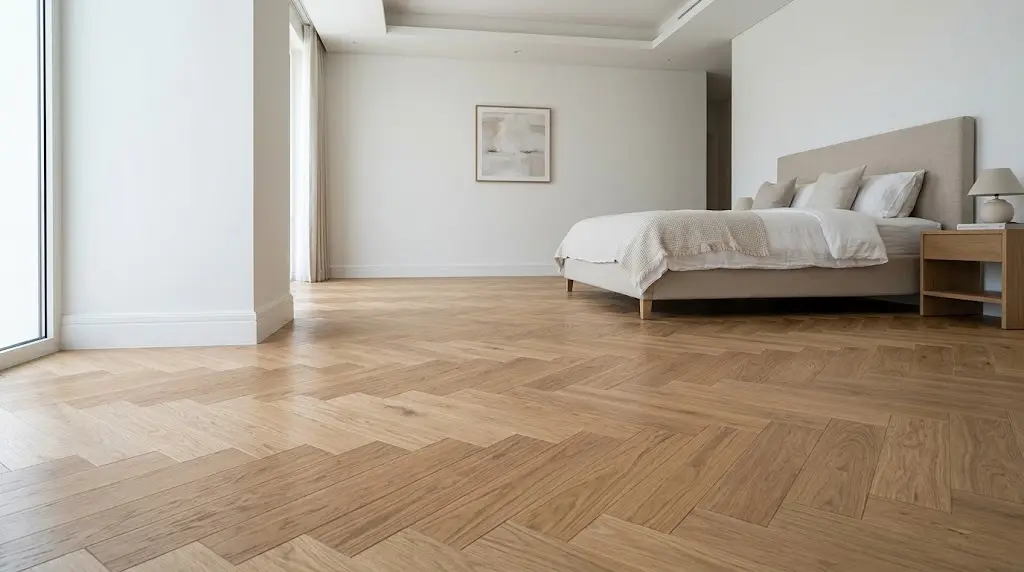
We suggested engineered European oak in a herringbone pattern. Herringbone is the classic zig-zag style you often see in old European homes. It looks elegant but never feels too formal.
Engineered wood is a great choice for Dubai. It has a real oak layer on top and strong birch layers underneath. This makes it much more stable than solid wood when temperature and humidity change.
Here are the key details of the boards:
- Size: 90mm wide and 600mm long
- Total thickness: 15mm
- Oak top layer: 4mm, which can be sanded and refreshed two or three times in the future
- Finish: natural matt lacquer with a light brushed texture
The matt finish shows off the wood grain nicely. It also hides small marks from toys and pet paws. The family picked a soft natural oak color with a slight honey tone. It goes really well with their white walls and light marble hallway.
Getting the Floor Ready
A good wooden floor needs a good base. Our team removed the old tiles and scraped away the leftover glue. Then we ground the concrete surface so it was clean and smooth.
Next, we tested the floor for moisture. Wood and damp concrete don’t mix well. All readings came back below 2%, which is safe for wood flooring.
We also checked how flat the floor was using a 2-meter straight edge. We found a few low spots near the master bedroom balcony that needed fixing. We used a self-leveling compound to fill them and let it dry fully. After that, we added a moisture barrier primer to protect the wood from below.
While this was happening, the oak boards rested inside the villa for 72 hours with the AC running. This is called acclimatization. It lets the wood adjust to the room before fitting, which helps prevent gaps or lifting later.
Fitting the Parquet
Herringbone needs care and patience. We started by marking a straight center line in each room, lined up with the doorway. This way, the pattern looks neat and balanced as soon as you walk in.
We glued every board directly to the floor using a strong, solvent-free adhesive. This glue stays slightly flexible. It lets the wood move naturally and also helps reduce footstep noise.
We left a gap of 10 to 12mm around all the walls. This small space gives the wood room to expand and shrink with the seasons. Each row was pressed tightly into place, and we kept checking the lines to make sure they stayed straight.
The Final Details
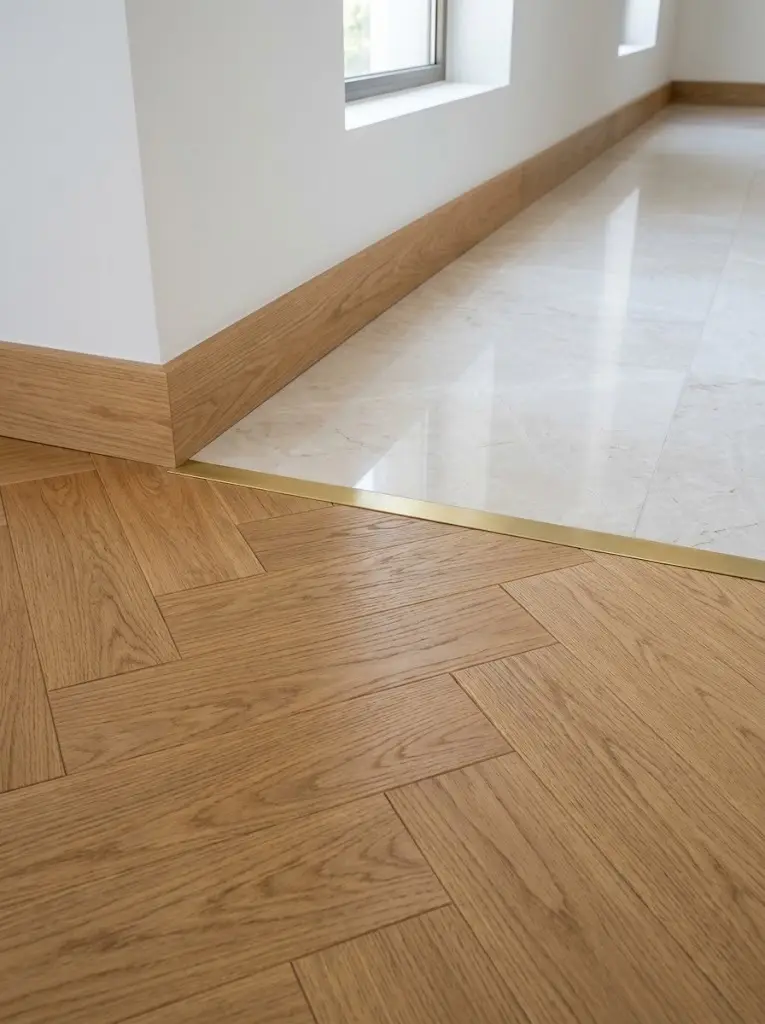
Once the glue had set, we fitted 80mm oak skirting boards to match the floor. These cover the expansion gaps and give the rooms a clean finish. Where the wood meets the marble hallway, we added slim brass strips for a smooth and stylish change between the two floors. We also trimmed the bedroom doors slightly so they open and close easily.
Before handover, we cleaned everything and checked each board one by one. Then we walked the family through all three rooms.
Simple Care Tips
We gave the family a few easy tips to keep their floors looking great:
- Put felt pads under chair and bed legs
- Sweep or vacuum often to remove sand and dust
- Clean with a slightly damp mop and a wood-safe cleaner
- Try to keep indoor humidity between 45% and 60%
We Would Like to Meet You
Our Successful Projects


Work With Us
If you’re planning new wooden floors for your home, we’d love to help. We can visit, take measurements, and guide you to the right wood, pattern, and finish for your space.