
Affordable Wall Paneling Ideas That Look Expensive

The best affordable wall paneling ideas that look expensive include picture-frame molding, board and batten, Shaker-style wainscoting, and painted shiplap, all built from inexpensive primed MDF or pine. DIY materials for these styles typically cost about $1.50 to $6 per square foot. They look high-end because of correct proportions, tightly caulked seams, and a smooth, consistent paint finish, not because of costly materials. In this Floor Land blog post, you’ll find 20 ideas with costs, room recommendations, and the finishing details professionals rely on.
What Makes Budget Wall Paneling Look Expensive?
Proportion, finish quality, and paint choice determine whether paneling looks custom or cheap. Material cost matters far less than most homeowners expect.
Once you prime and paint them, MDF, pine, and poplar look virtually identical. Stain, on the other hand, exposes the grain, and low-grade wood rarely holds up to that kind of scrutiny. That’s why painted paneling dominates budget-friendly designs.
Height matters too. Traditional wainscoting usually covers the lower third of a wall, at roughly 30 to 36 inches tall. Many designers now push paneling two-thirds of the way up for a more modern effect. Either choice works. What doesn’t work is an in-between height that looks accidental.
Finally, finishing separates professional results from amateur ones. Filled nail holes, caulked joints, and crisp paint lines make paneling look like it was originally part of the house.
20 Affordable Wall Paneling Ideas That Look Expensive
We’ve grouped wall panel ideas by style so you can jump straight to what suits your home. Each one works on a modest budget with careful planning and a quality finish.
Classic Paneling Ideas With Timeless Appeal
Take a look at the classic wall panel ideas that you can use instead of wall paint.
1. Picture-Frame Molding
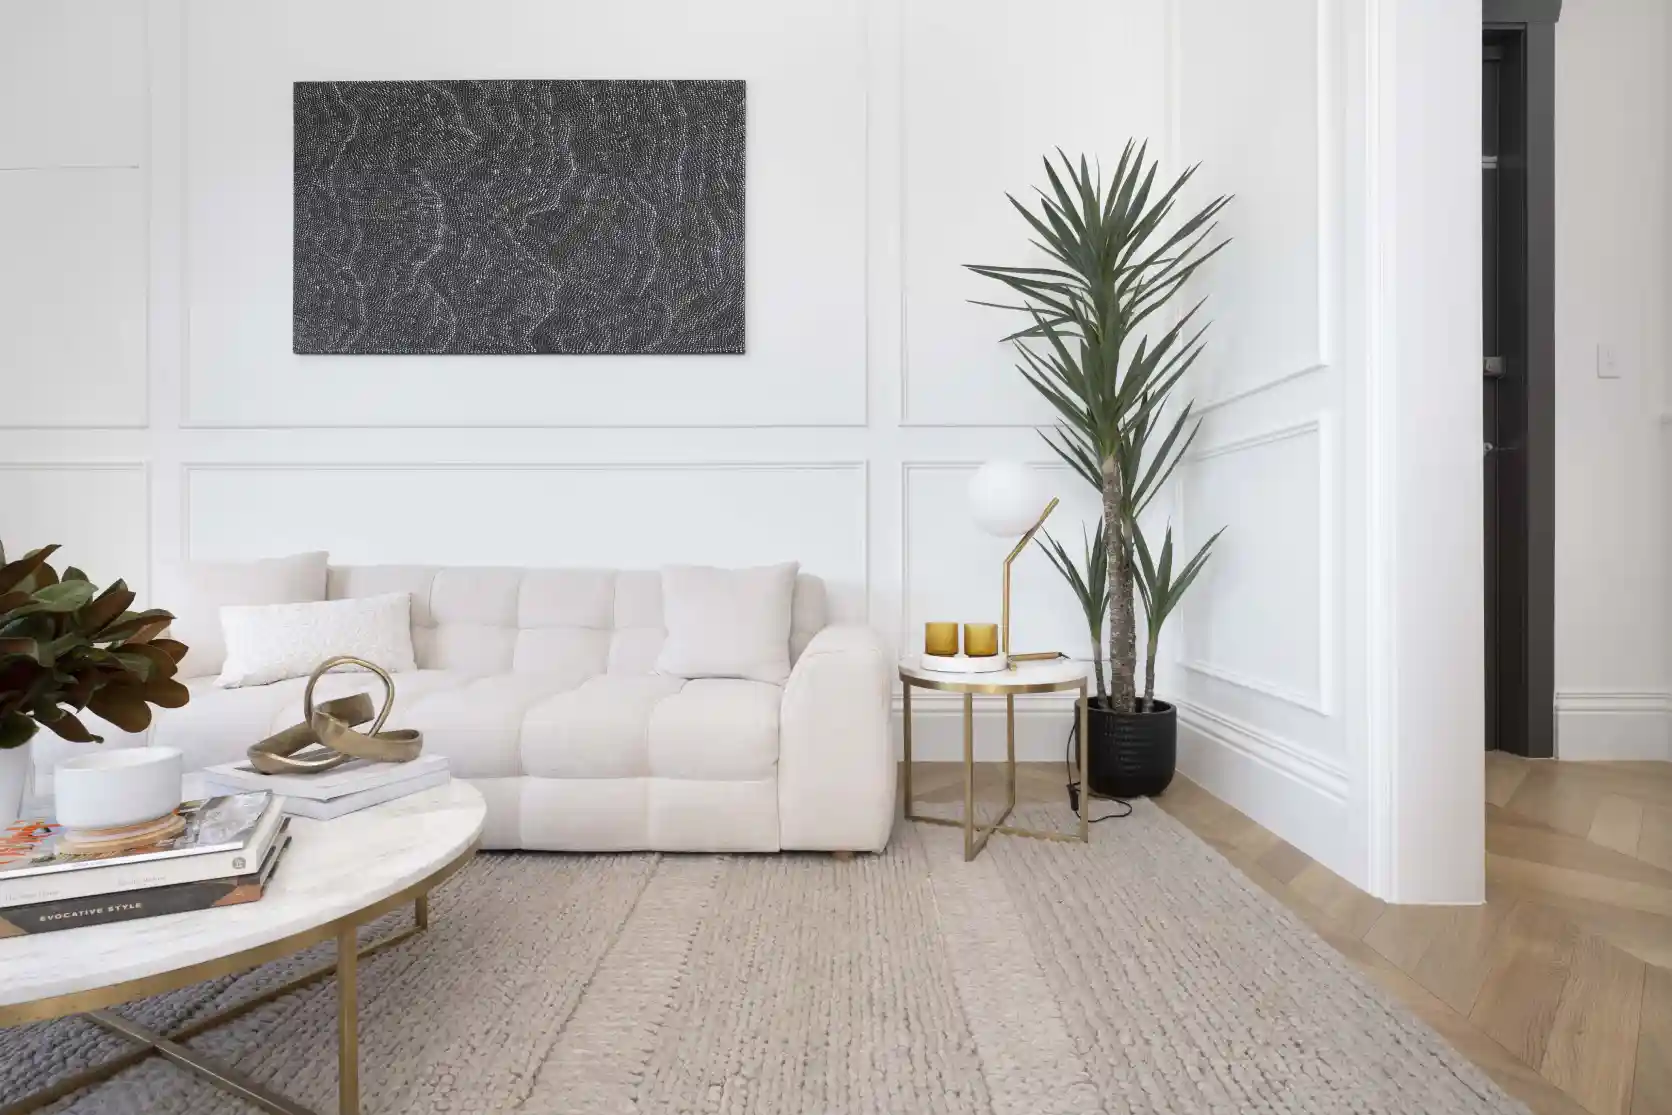
Picture-frame molding delivers more visual impact per dollar than almost any other treatment. You simply nail thin decorative trim onto drywall in rectangles, then paint the trim and wall the same shade. Because you only buy trim rather than full panels, the material bill stays small even on a large wall.
The look borrows from pre-war Parisian apartments, and it suits living rooms, bedrooms, and dining rooms equally well. Keep the gaps between boxes consistent, and align box edges with nearby windows and doorframes. Uneven spacing gives away a rushed installation faster than anything else.
2. Two-Thirds Height Board and Batten
Board and batten uses evenly spaced vertical strips with a horizontal cap at the top. Running it two-thirds up the wall draws the eye upward and makes ceilings feel taller. Some installers rank board and batten as the wainscoting style with the strongest visual payoff for the money.
Spacing makes or breaks this project. Use this simple method:
- Measure the full wall width.
- Divide by your target spacing (12 to 16 inches works for most rooms).
- Round to the nearest whole number to get the number of gaps.
- Divide the wall width by that number to find your exact spacing.
This approach guarantees equal gaps and a full batten in each corner.
3. Shaker-Style Flat-Panel Wainscoting
Raised-panel wainscoting looks stately, but it demands specialized tools and serious carpentry skill. Shaker-style flat panels offer a cleaner alternative that any confident DIYer can build. You create the effect by nailing flat MDF rails and stiles onto drywall in a grid, letting the wall surface act as the recessed panel.

For an authentic touch, make the top rail slightly wider than the vertical stiles. Traditional cabinetmakers used this trick to add visual weight to the top edge, and it still makes the finished wall look properly built.
4. Painted Shiplap Accent Wall
Best for: bedrooms, laundry rooms, and coastal or farmhouse-inspired spaces.
Skip it if: you want a formal, traditional look, or you plan to panel the entire room.

White shiplap has become so common that it can feel dated. Paint it charcoal, deep navy, or forest green instead, and the same boards suddenly look tailored and intentional. Limit it to a single feature wall to avoid a cabin-like feel.
5. Vertical Nickel-Gap Paneling
Nickel-gap boards leave a narrow, uniform reveal between each plank, roughly the thickness of a nickel. Install them vertically to create subtle pinstripe shadows that stretch the height of a room.
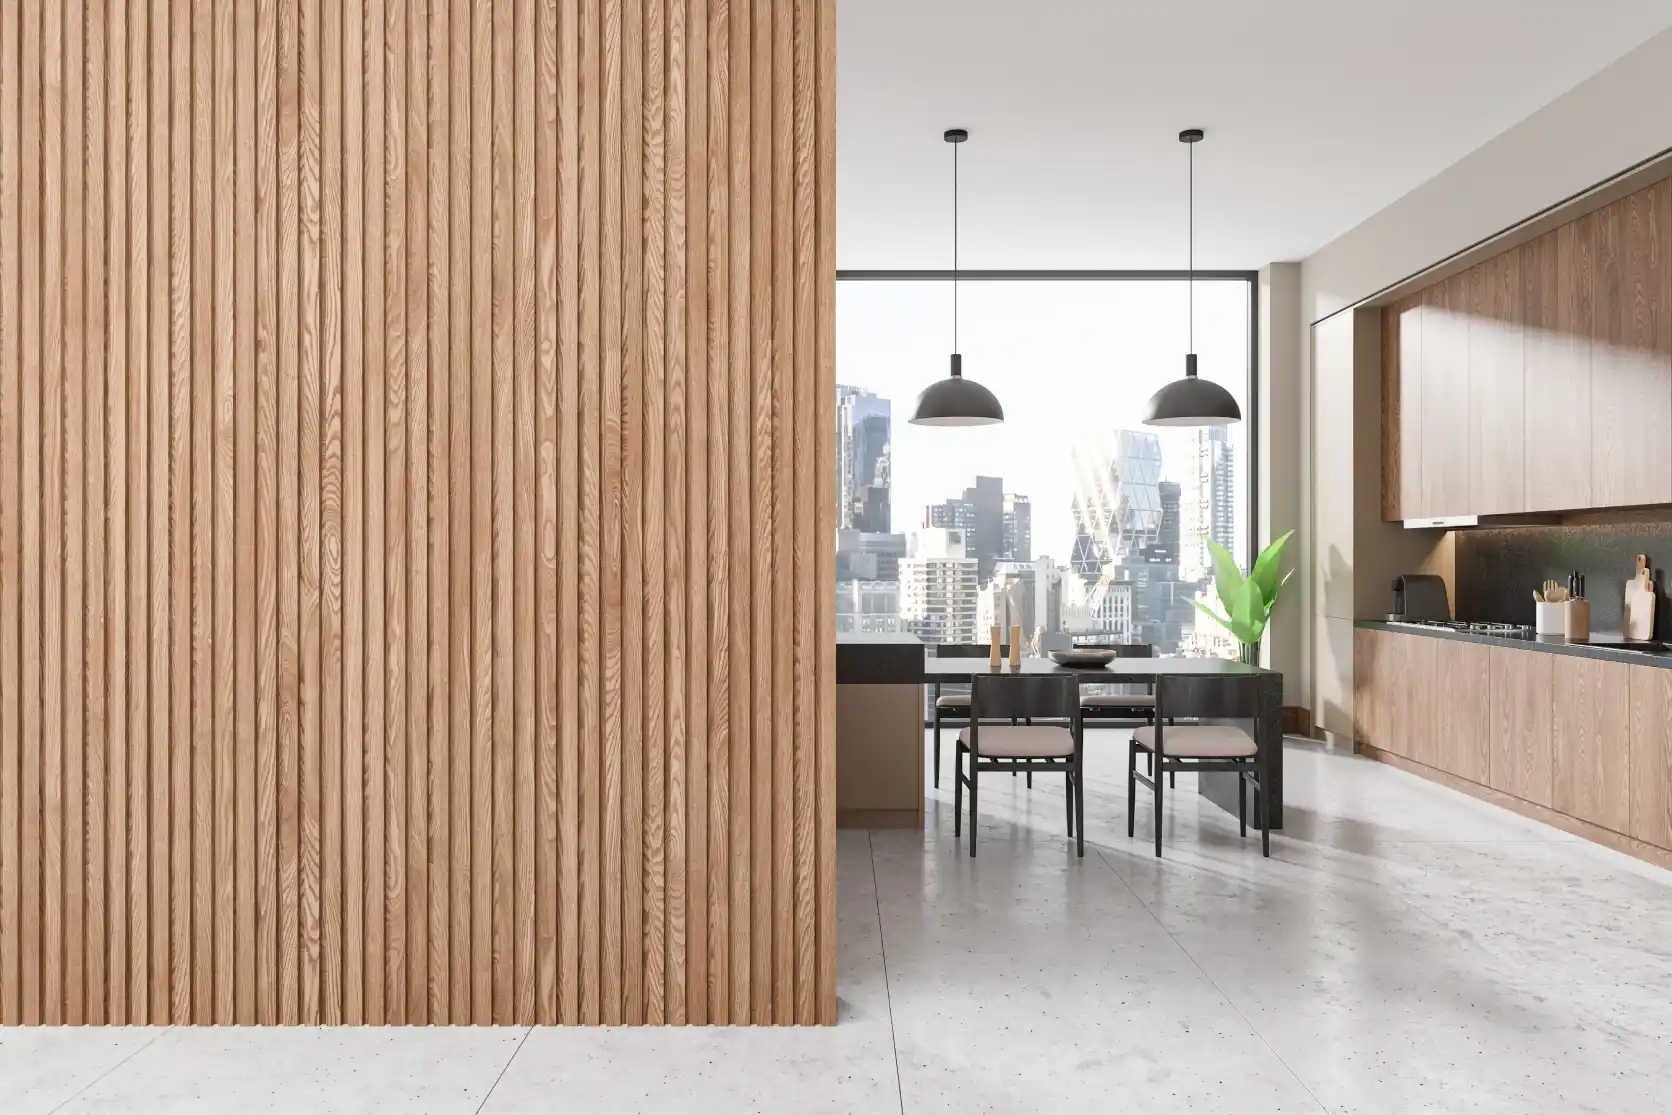
This style works especially well in powder rooms and small entryways, where you want texture without visual clutter. Pair it with a slim cap rail at chair height or run it all the way to the ceiling for a cleaner, more contemporary finish.
6. Beadboard Wainscoting
Beadboard comes in large sheets with narrow vertical grooves, so you can cover a wall quickly with minimal cuts. Professionals describe it as a relaxed, cottage-style choice that typically costs $10 to $20 per square foot installed, and DIY installation brings that figure down significantly.
Choose a substantial chair rail to cap it, since a skimpy rail makes beadboard look unfinished. In full bathrooms, choose PVC beadboard over MDF, which swells when it repeatedly absorbs moisture.
Modern Paneling Ideas for Contemporary Homes
Here are some modern paneling ideas for villas or apartments renovated in a contemporary style.
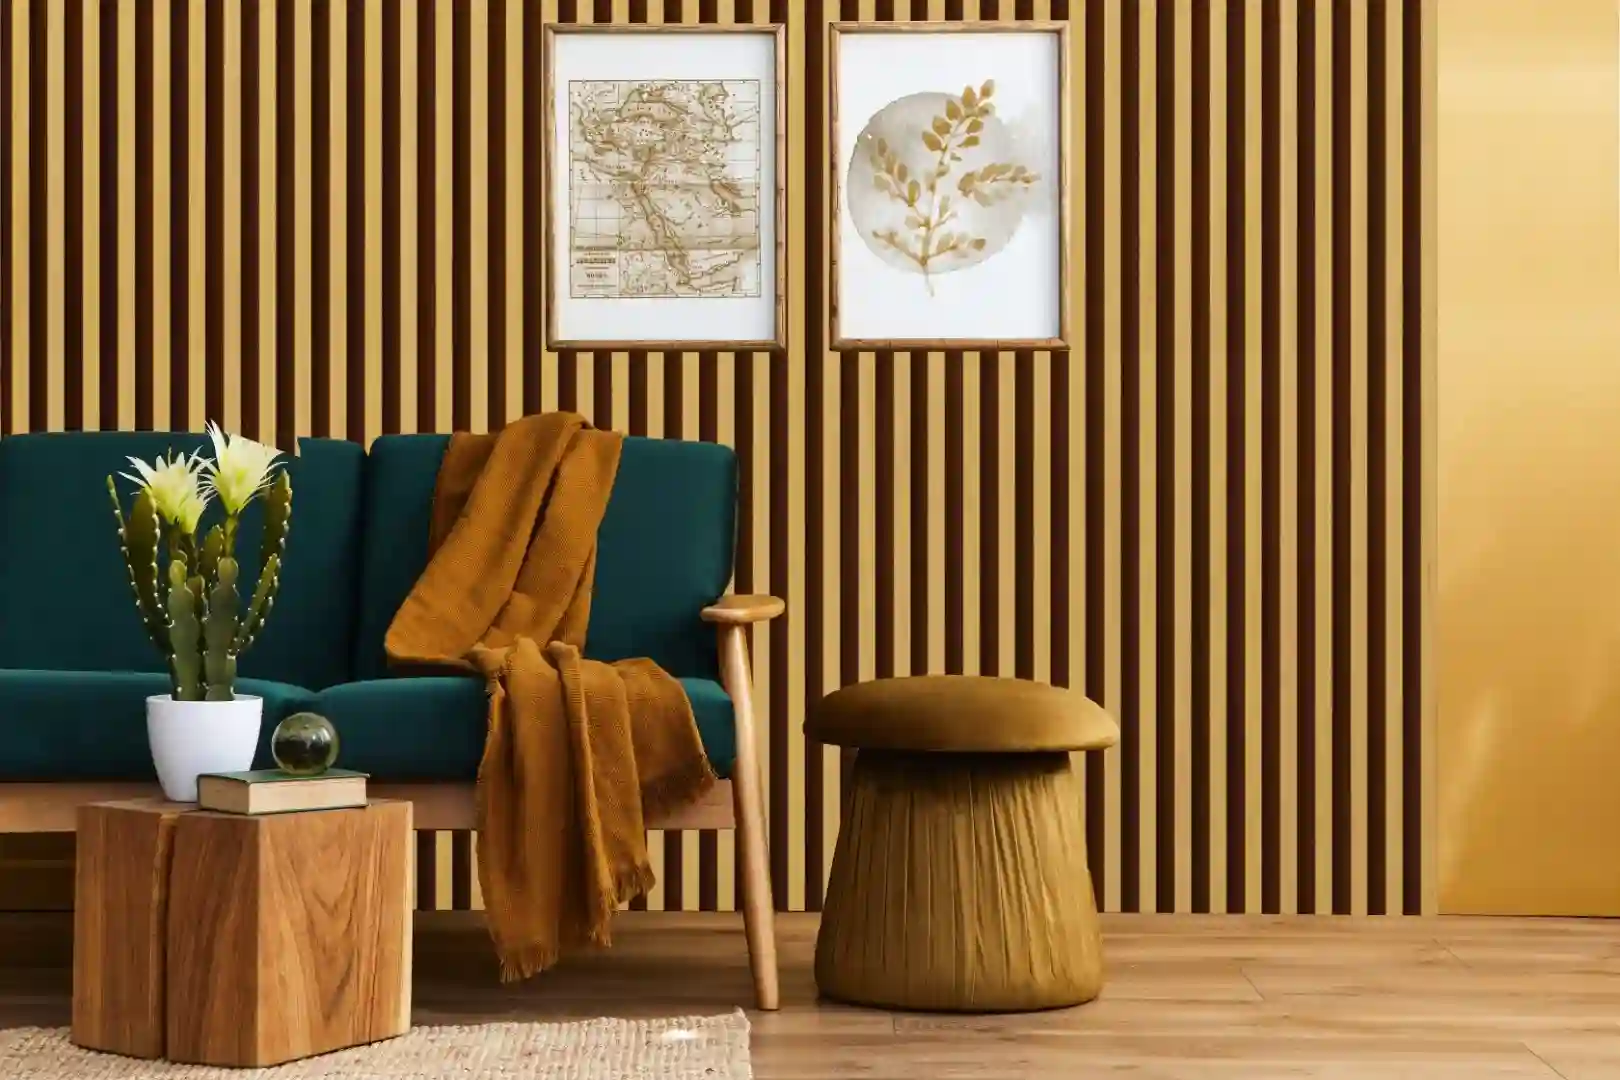
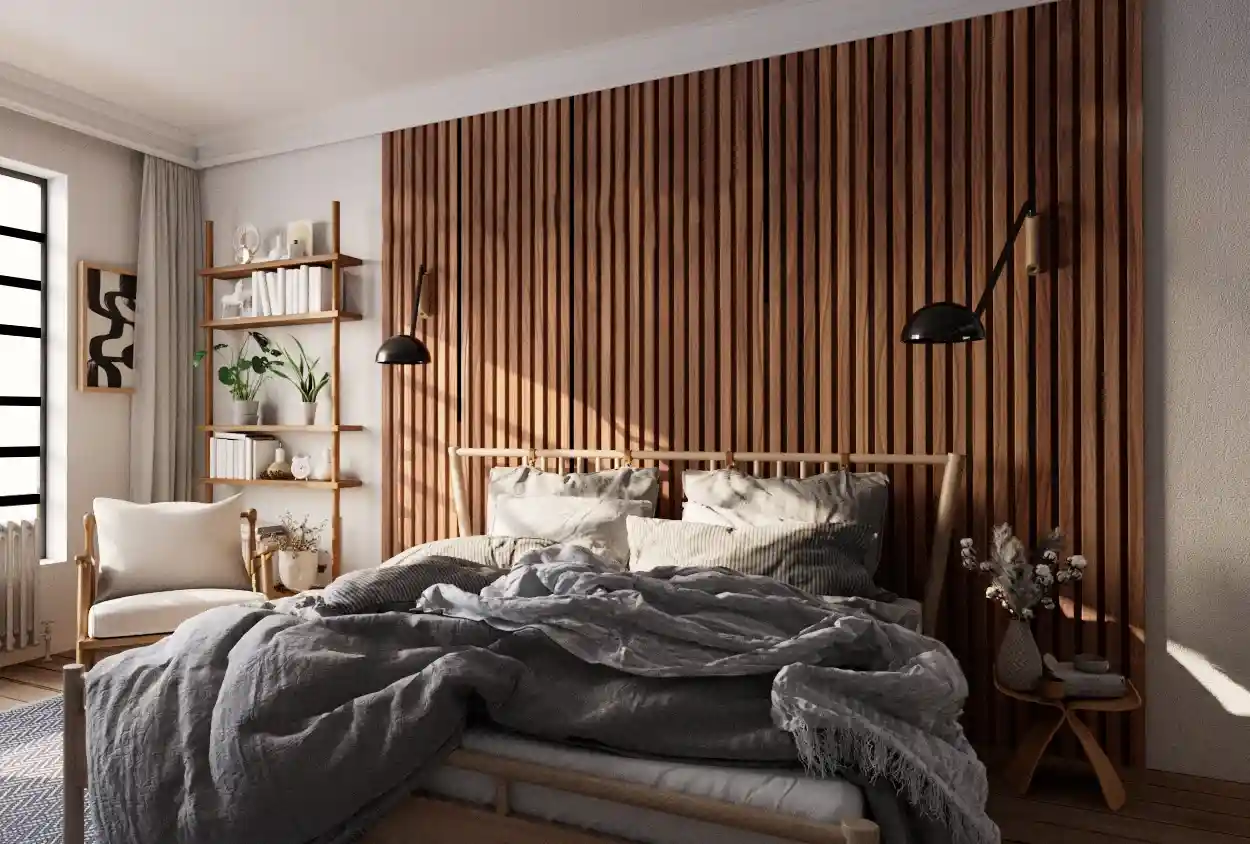
7. Fluted or Slat Wood Panels
Slat panels feature vertical wood strips mounted on a dark acoustic felt backing. They arrive as ready-made sheets, so installation moves quickly. They cost more per square foot than paint-grade trim, but a single feature wall stays manageable.

| Cost Item (10 x 8 ft feature wall) | Approximate DIY Cost |
| Slat panels (about 6) | 30–90 each |
| Total DIY materials, including adhesive, screws, and trim | 250–700 |
These estimates assume veneered oak panels on a standard 10-by-8-foot feature wall. Use slats behind a TV, bed, or desk to anchor the space and soften room echo. Because trendy slat and fluted styles can divide potential buyers in traditional markets, keep them to one wall if you plan to sell soon.
8. Grid Paneling
Picture a bedroom with soft linen bedding, a low wooden bed frame, and a full wall of evenly spaced squares painted warm greige. That’s grid paneling at its best. It brings calm, geometric order to Scandinavian and Japandi interiors.
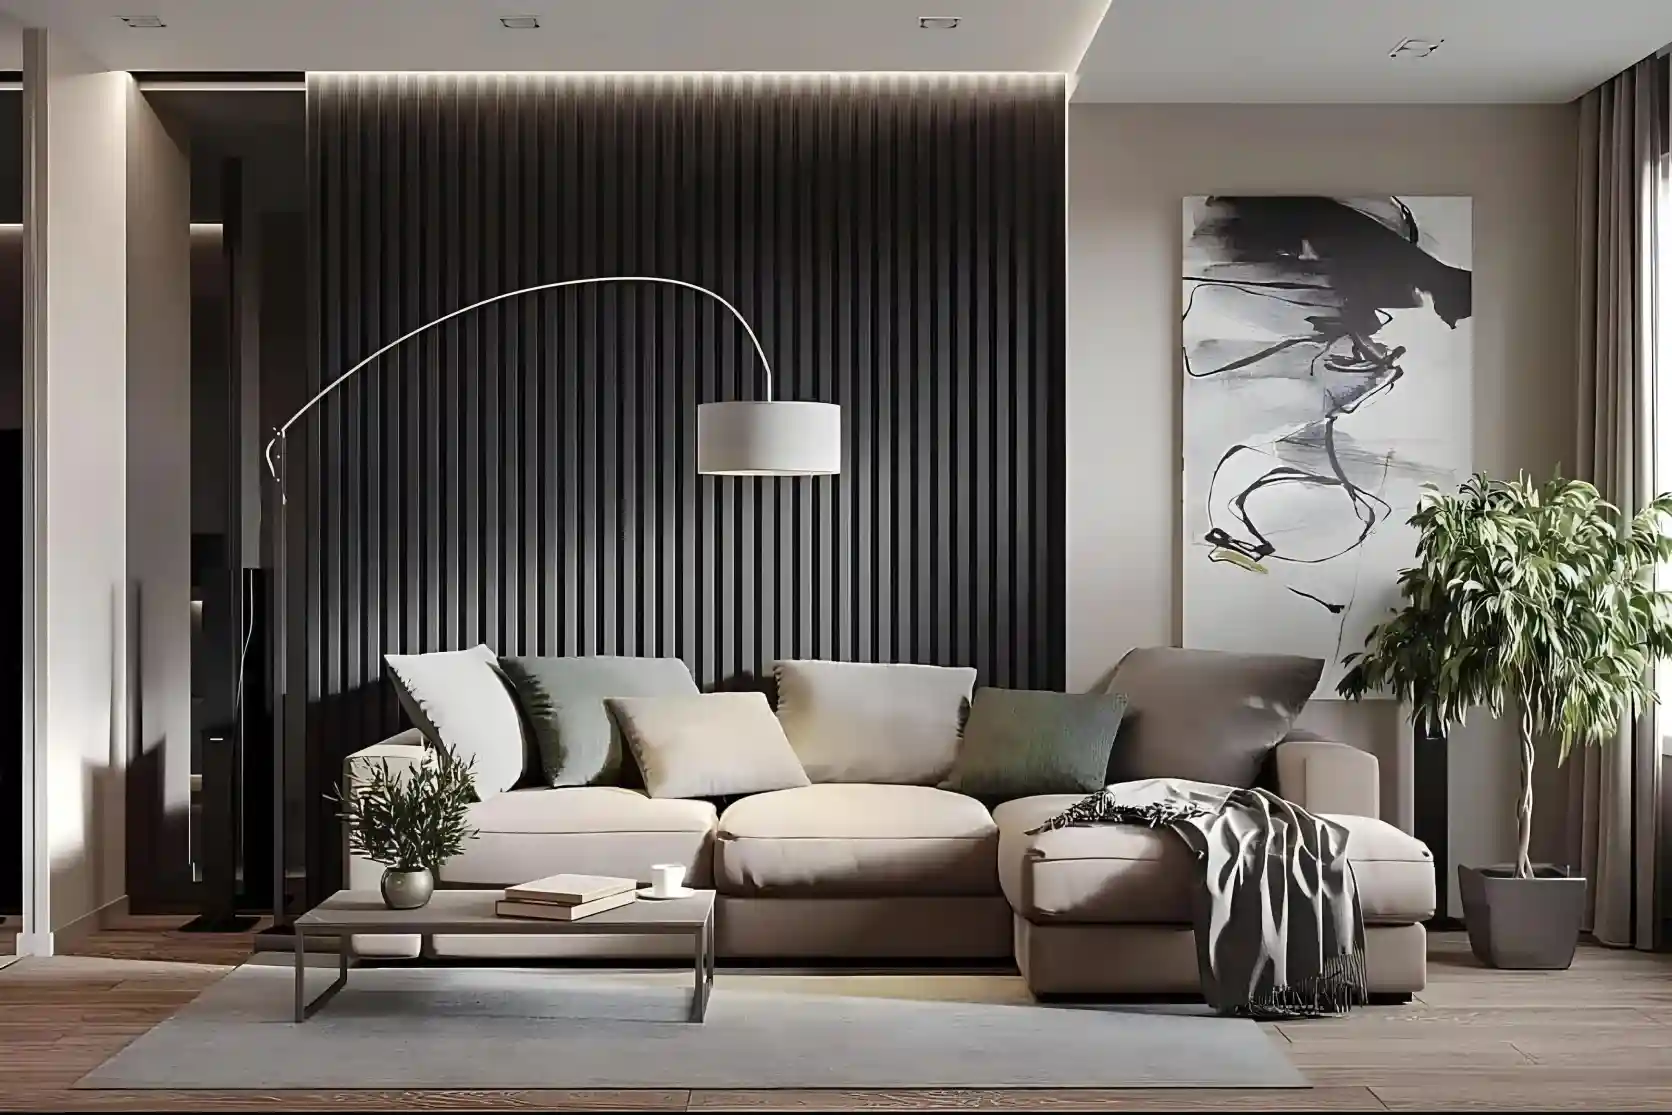
You’ll need more trim than board and batten requires, but flat stock keeps costs reasonable. Stick to true squares wherever possible. Rectangles in a grid can look off unless the proportions clearly look deliberate.
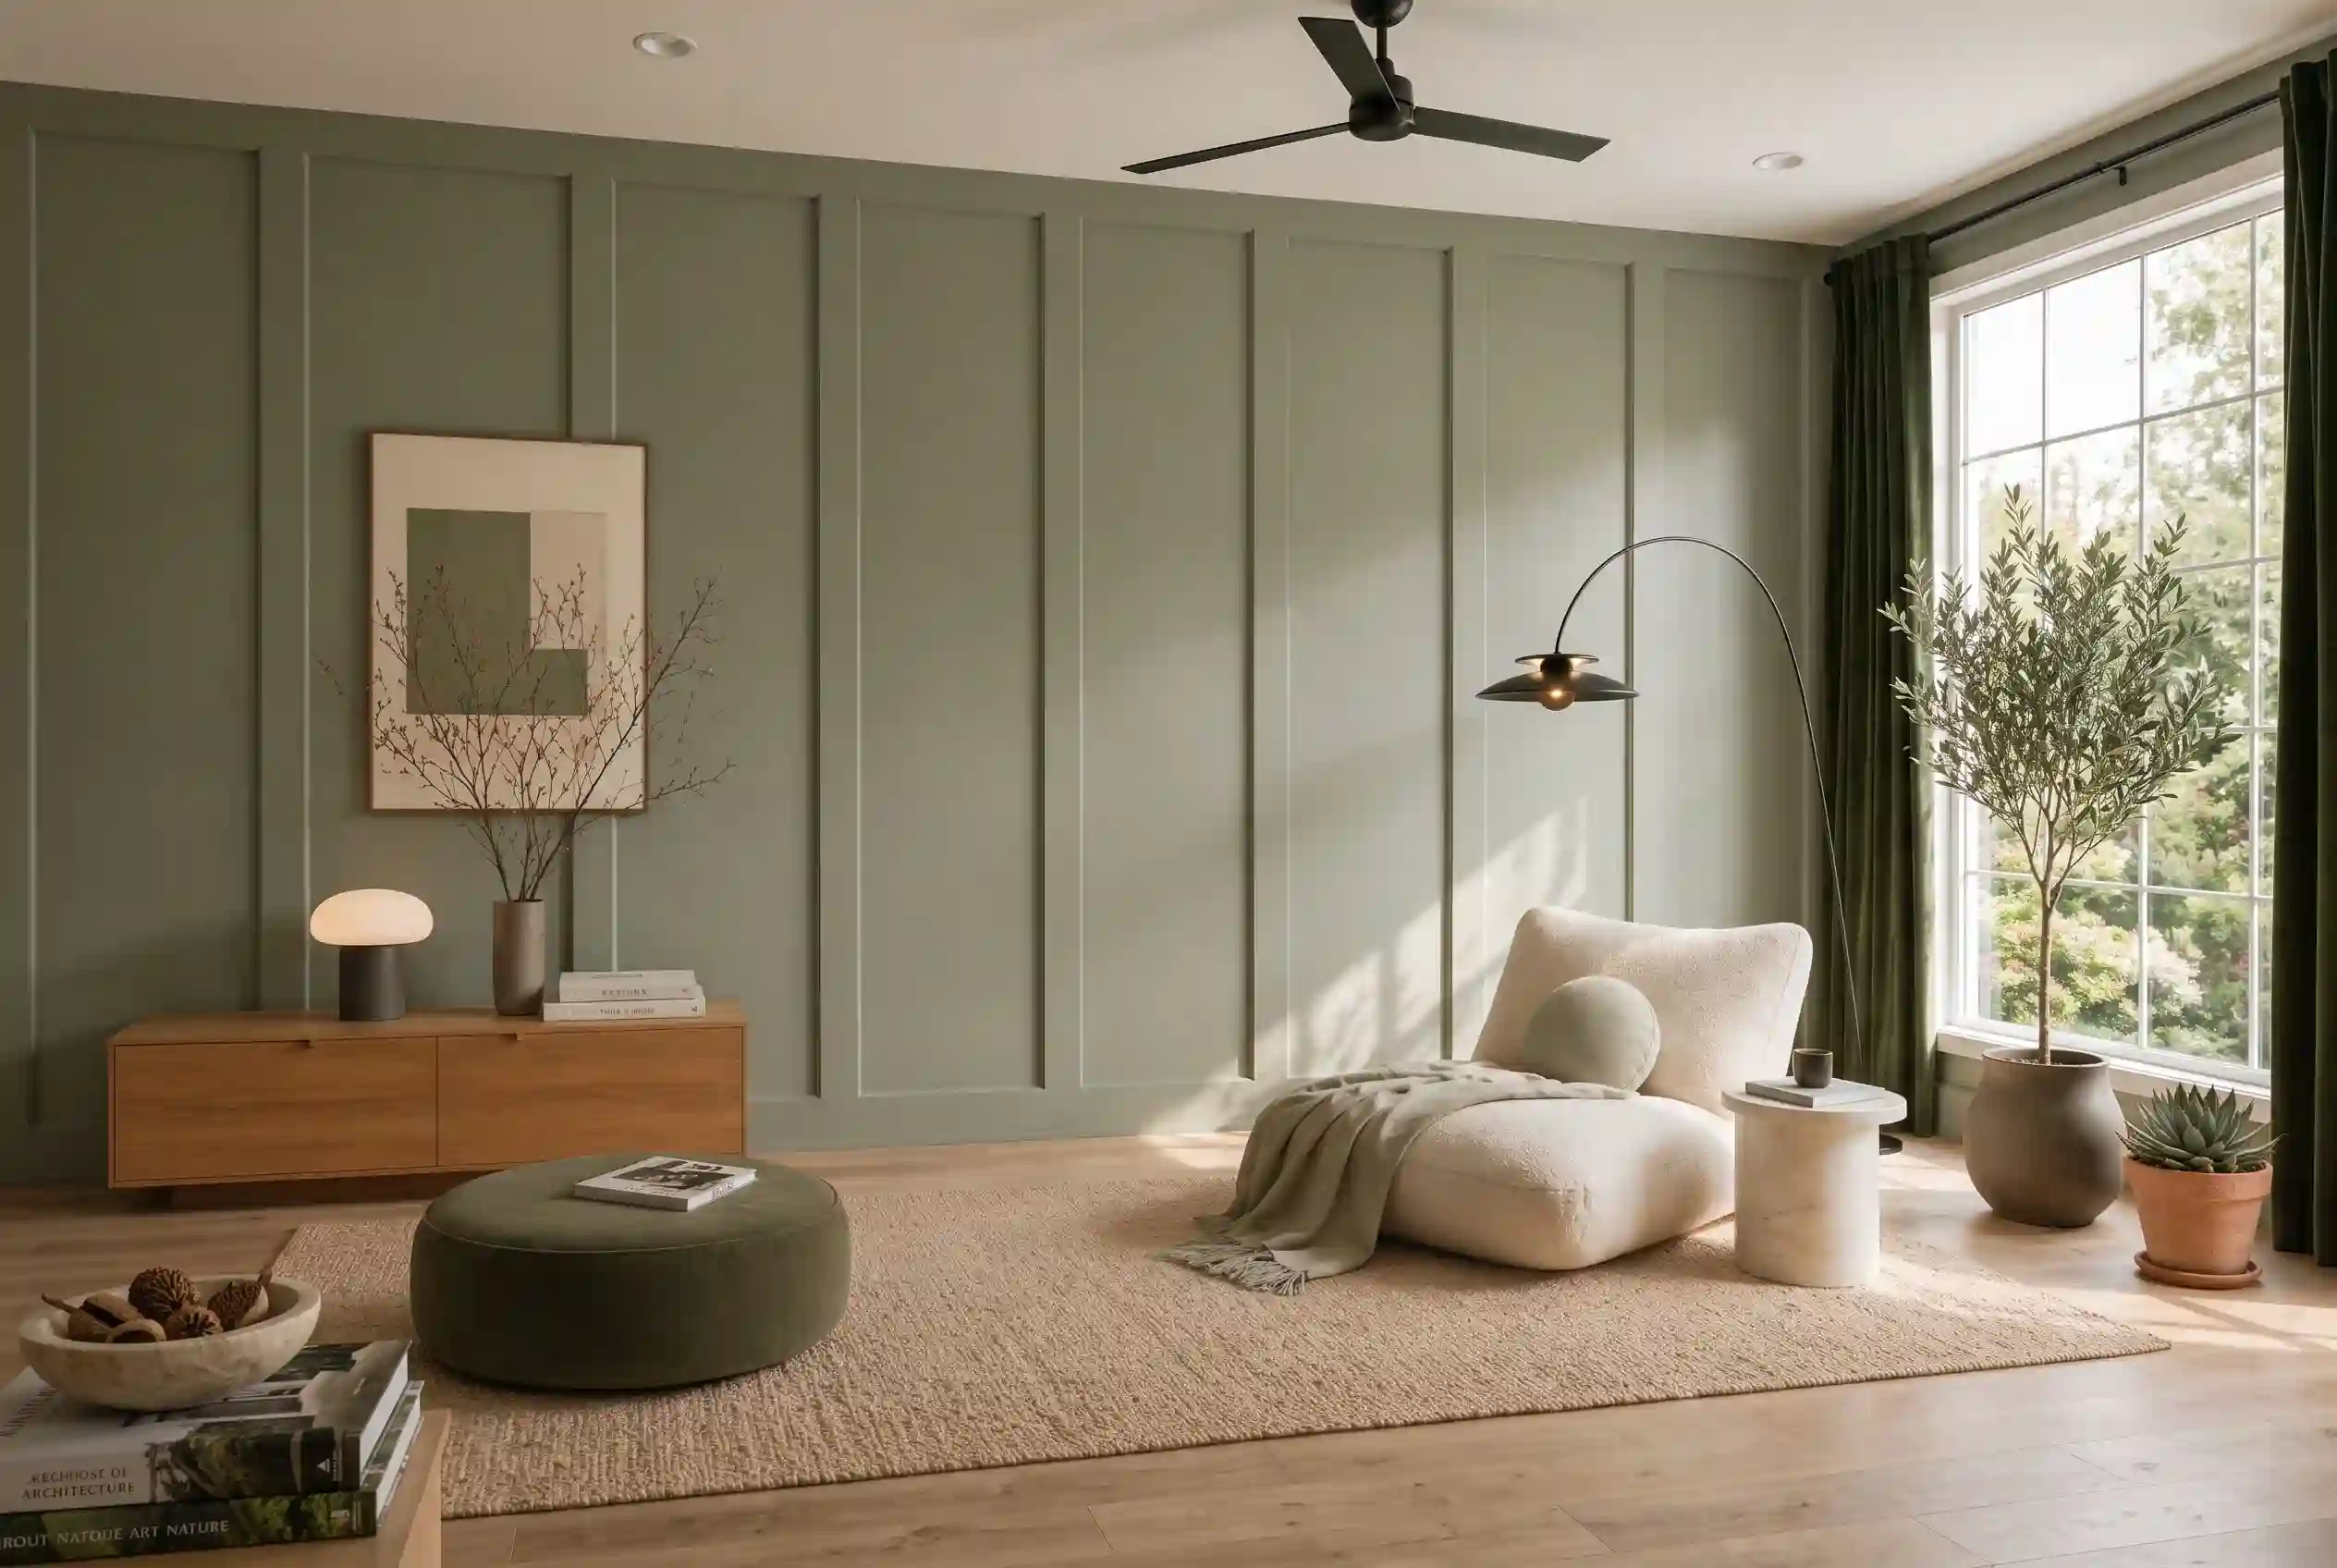
9. Color-Drenched Paneling
Color drenching means you paint the walls, paneling, trim, and sometimes the ceiling in one single color. It costs almost nothing beyond paint, and it makes inexpensive materials look remarkably refined.
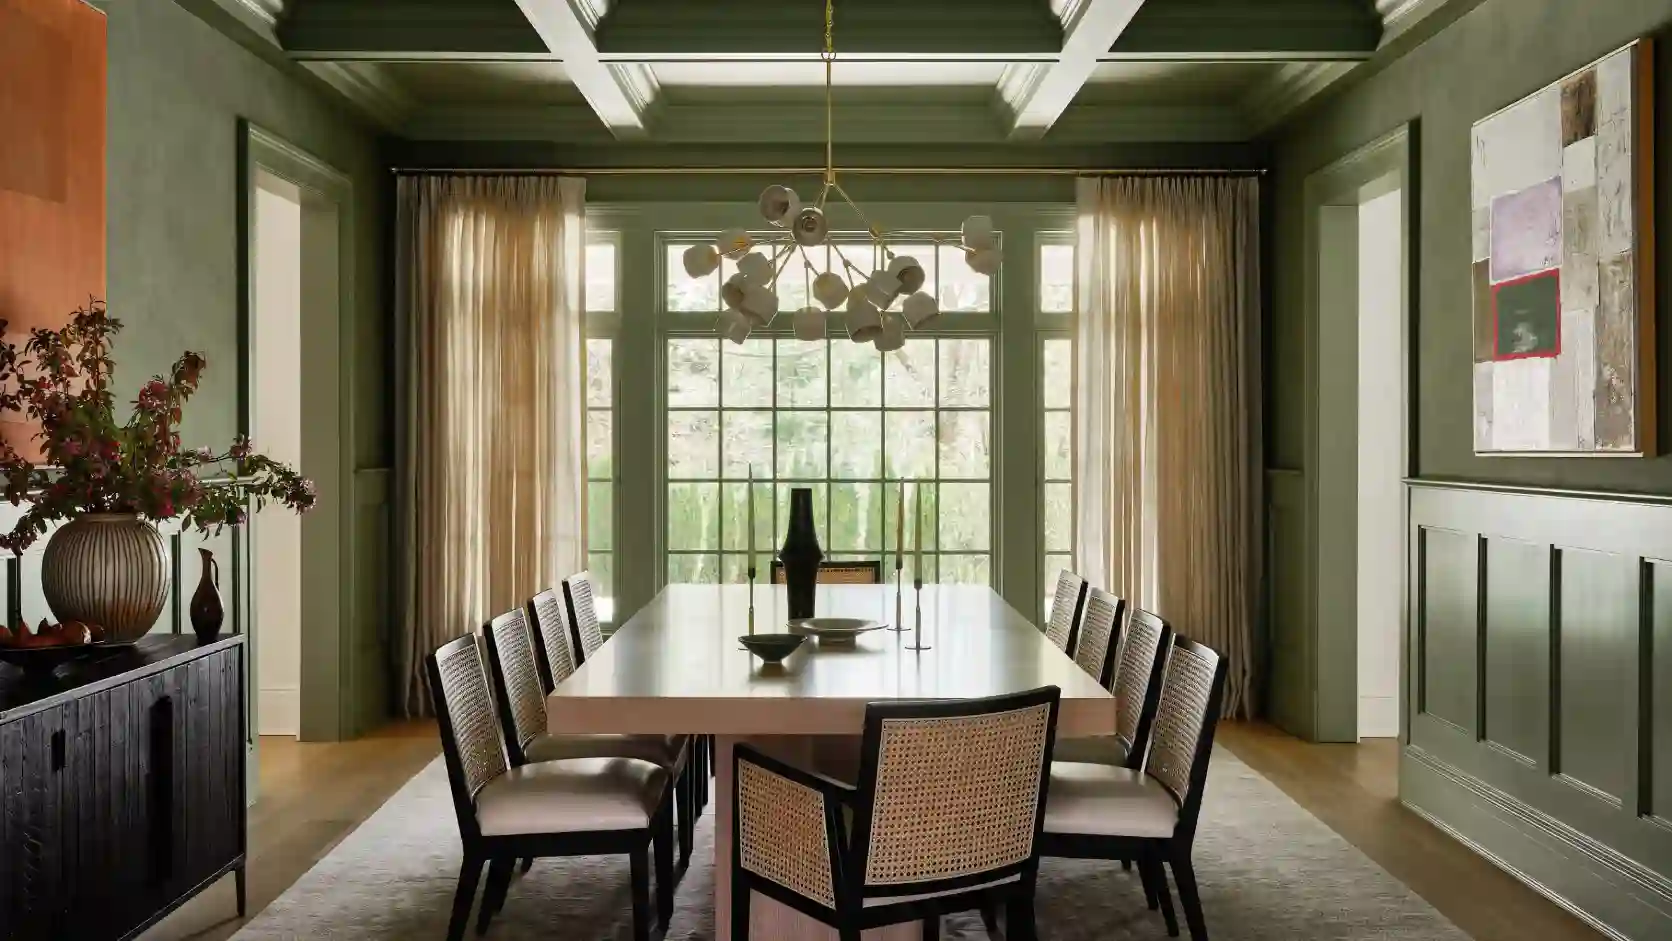
Moody shades such as olive, aubergine, terracotta, and deep teal work especially well. For added depth, use a matte or eggshell finish on the walls and a satin finish on the paneling and trim. The color stays consistent, while the sheen difference catches light along every edge.
10. Two-Tone Paneling
Two-tone paneling splits the wall visually: a darker color on the lower paneled section and a lighter shade above. The contrast grounds the room and hides scuffs in high-traffic areas such as hallways and kids’ rooms.
Choose colors from the same family, like navy below and pale blue-gray above, for a polished result. High contrast combinations, such as black and white, look striking but demand perfectly straight cap lines.
11. Half-Wall Paneling With a Picture Ledge
Why settle for a decorative chair rail when the cap can do real work? Replace a slim rail with a 3- to 4-inch-deep ledge, and your wainscoting becomes a display shelf for framed art, photos, and small plants.
This idea shines in hallways and dining rooms. You can rotate artwork without patching dozens of nail holes, and the built-in function makes the whole wall look custom. Route a small groove along the top of the ledge so frames stay put.
Statement Paneling Ideas for Specific Spaces
While wall paneling looks great anywhere, certain areas of your home call for a special touch. From cozy bedrooms to high-traffic hallways, these tailored paneling ideas help you turn awkward corners and blank walls into striking focal points.
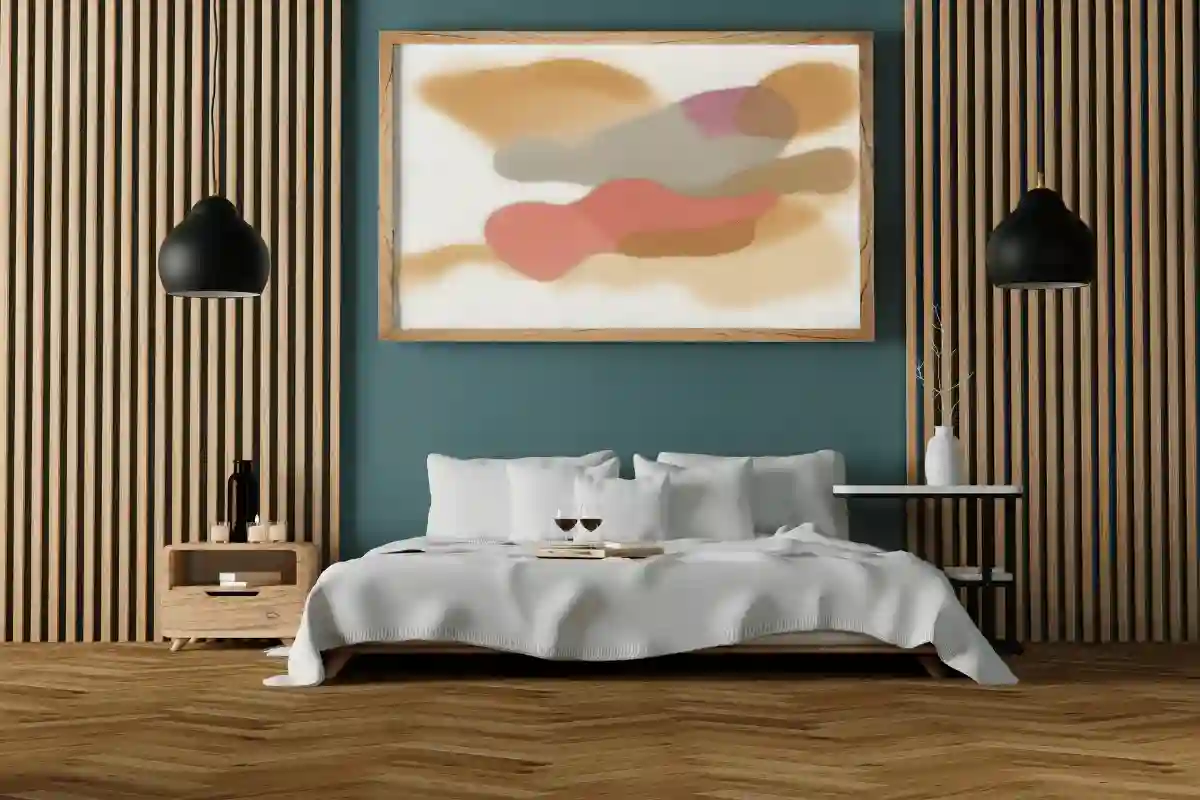
12. Paneled Headboard Wall
A paneled wall behind the bed costs far less than many upholstered headboards and makes even a basic bed frame look high-end. Board and batten, grid paneling, and slats all suit this idea.
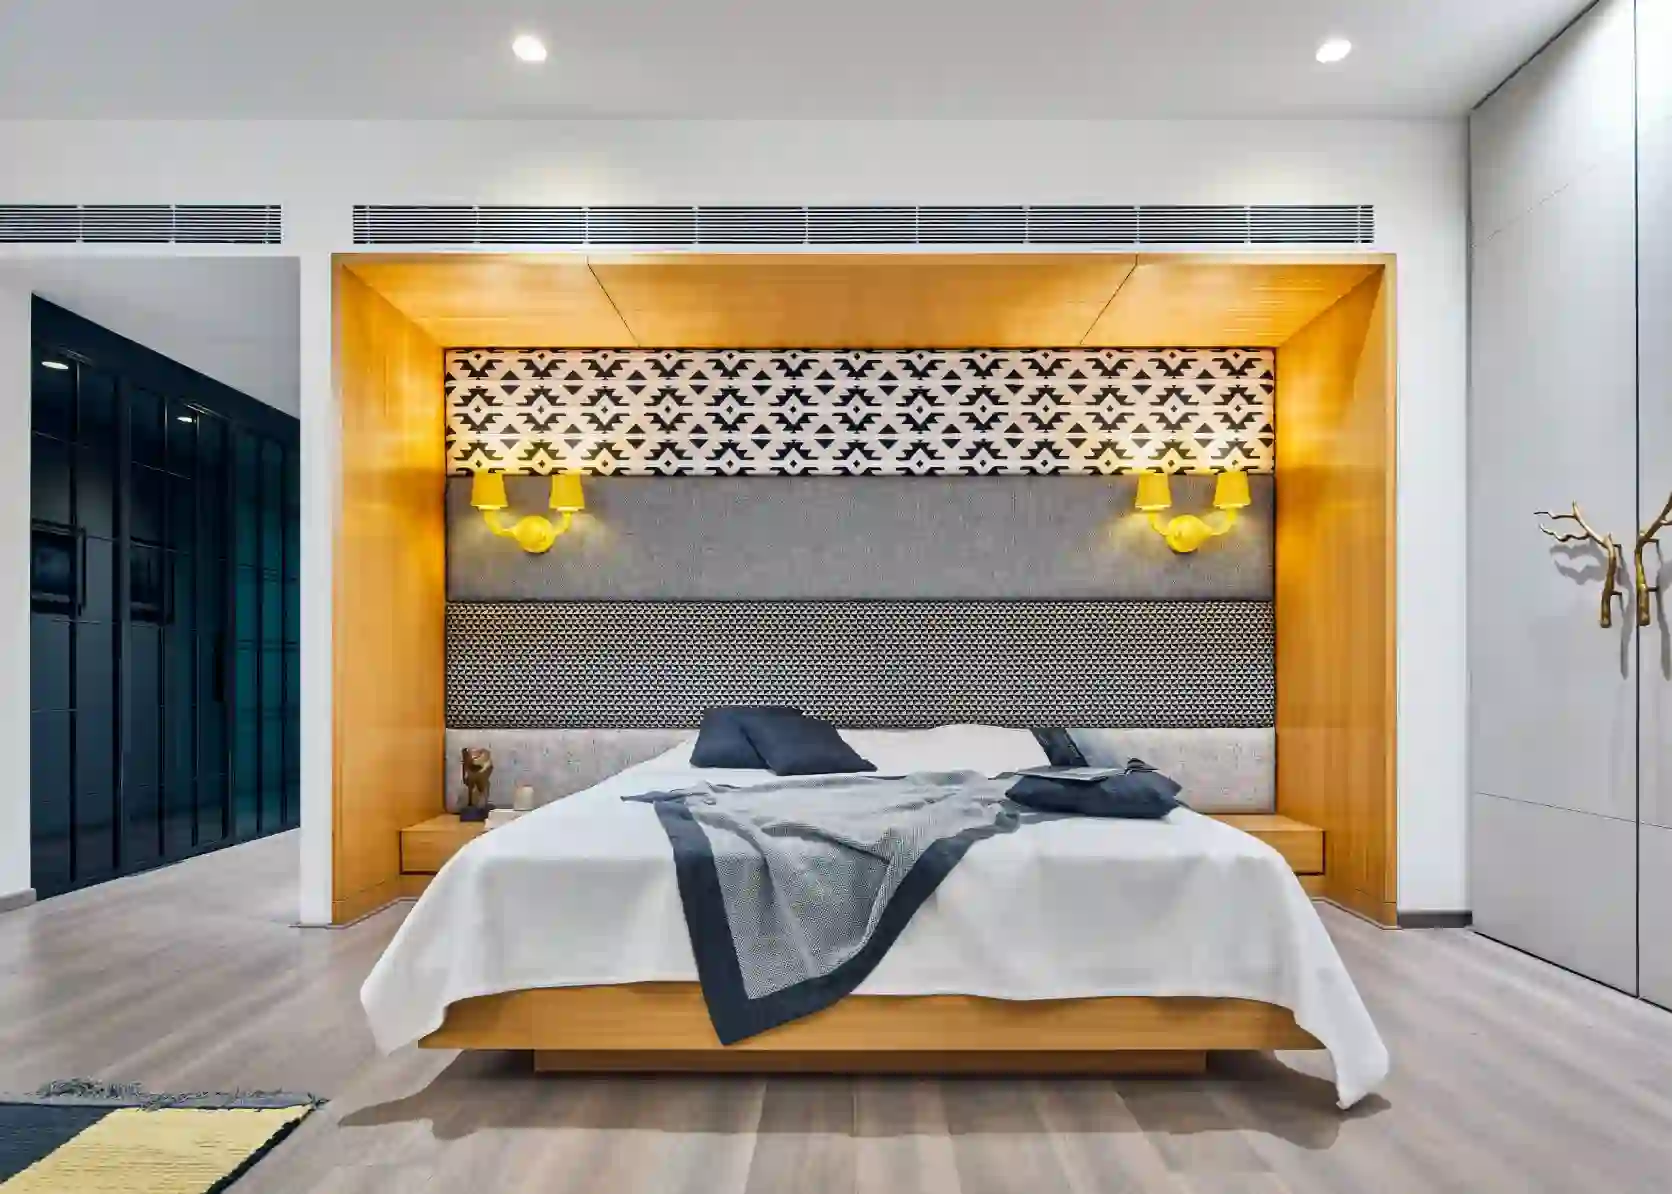
Extend the paneling 12 to 18 inches beyond each side of the bed so your nightstands sit within the paneled zone. Stop at around 5 feet and add a ledge for books and a lamp, or run it floor to ceiling for maximum drama.
13. Arched Panel Molding
Arches soften the straight lines of a typical room and add a sense of architecture that feels expensive. You can create arched panels with flexible polyurethane molding, which bends around curves without cracking.
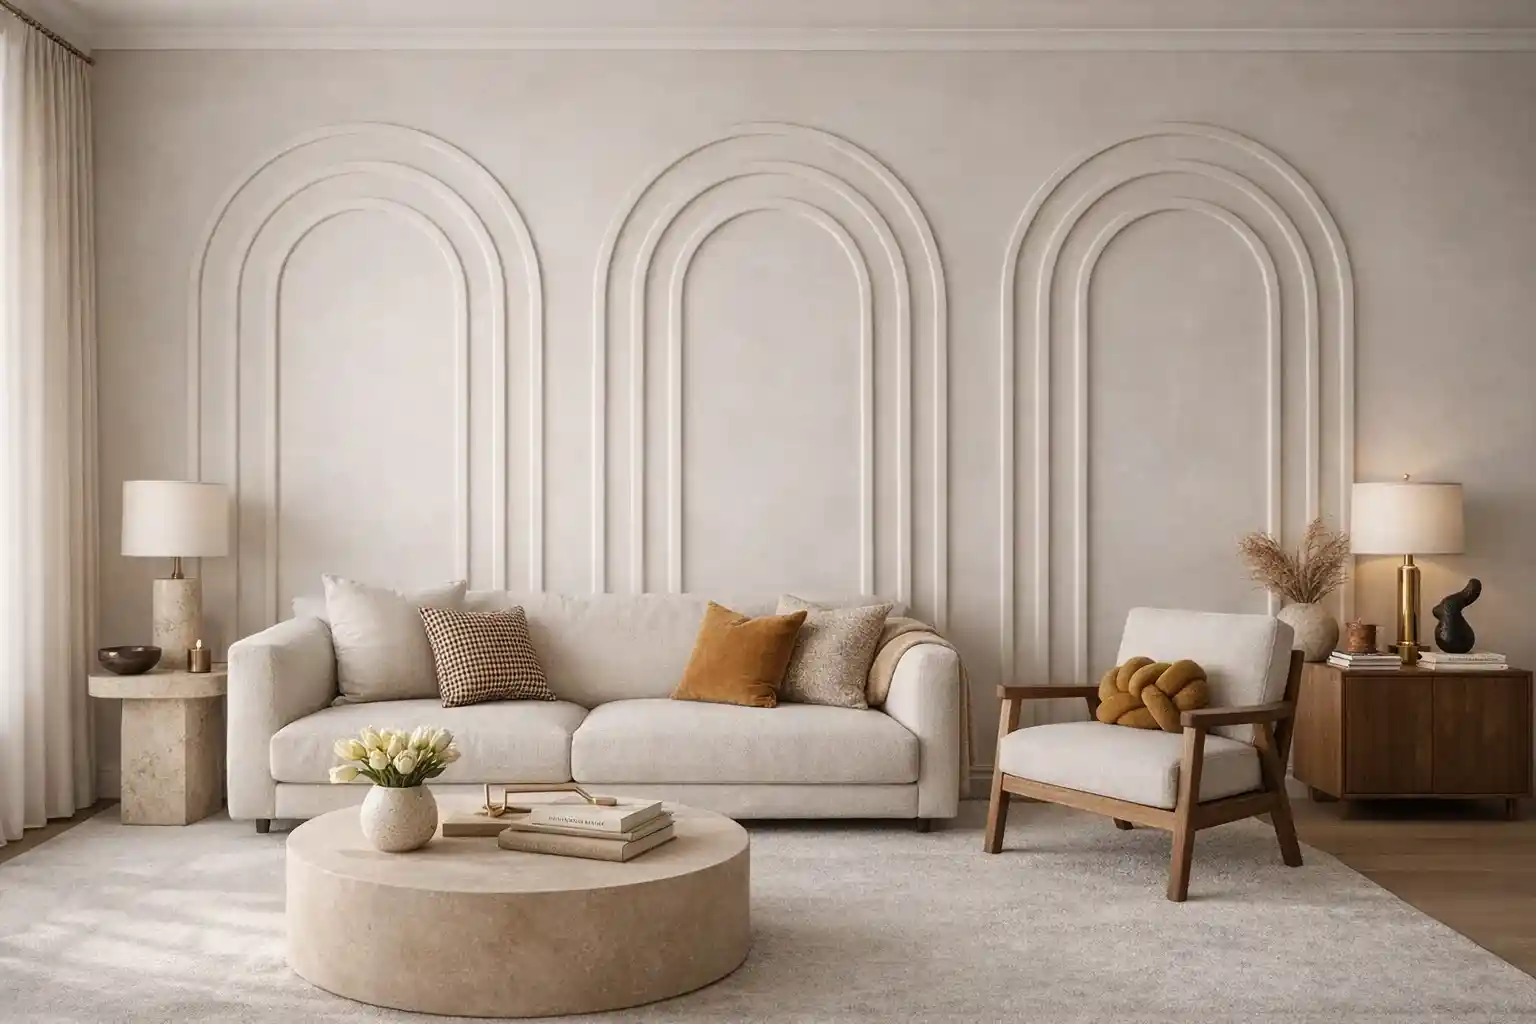
Trace your arch with a string-and-pencil compass before installing anything. A single arched panel behind a console table or bed makes a strong statement, while a row of arched panels along a dining room wall looks almost European.
14. Paneled Ceiling Accent
Most people overlook the ceiling, which makes paneling there feel unexpected and luxurious. Apply thin trim in a simple grid to create a faux coffered effect, or frame a large rectangle around a light fixture.
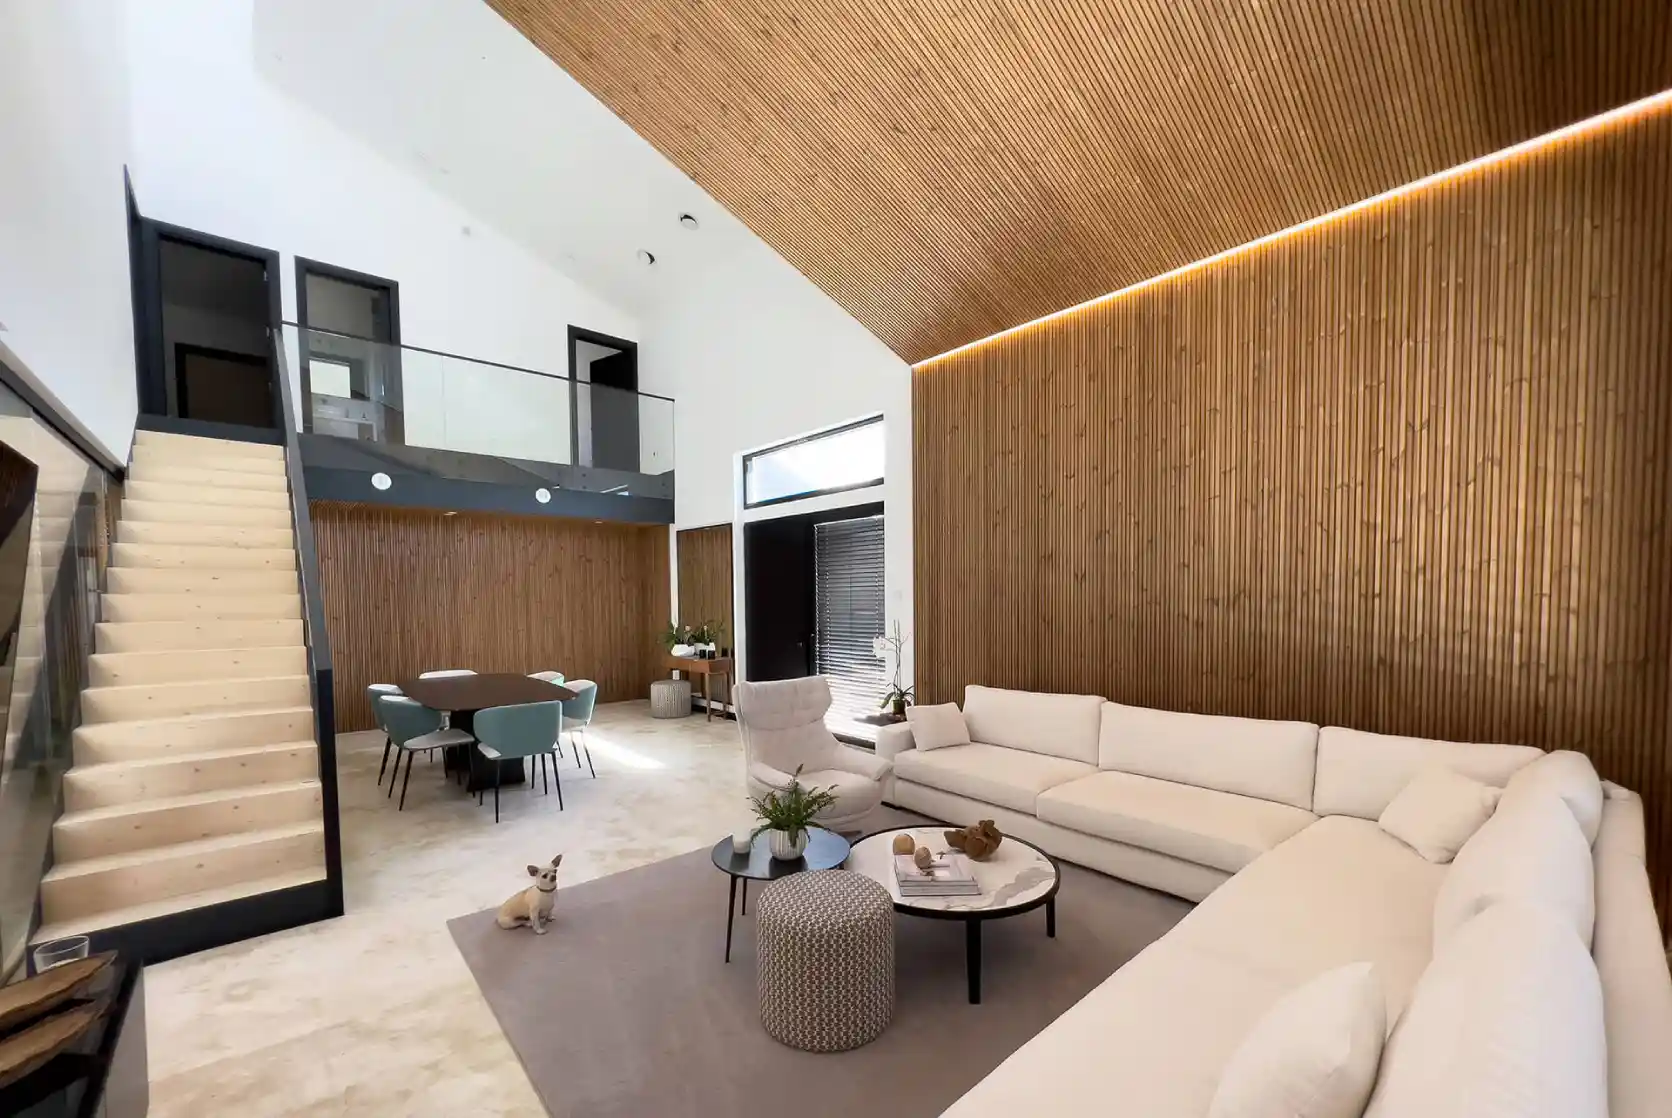
Paint the ceiling paneling a shade darker or lighter than the walls to highlight it. This idea works best in rooms with ceilings of at least 8 feet; lower ceilings can start to feel heavy.
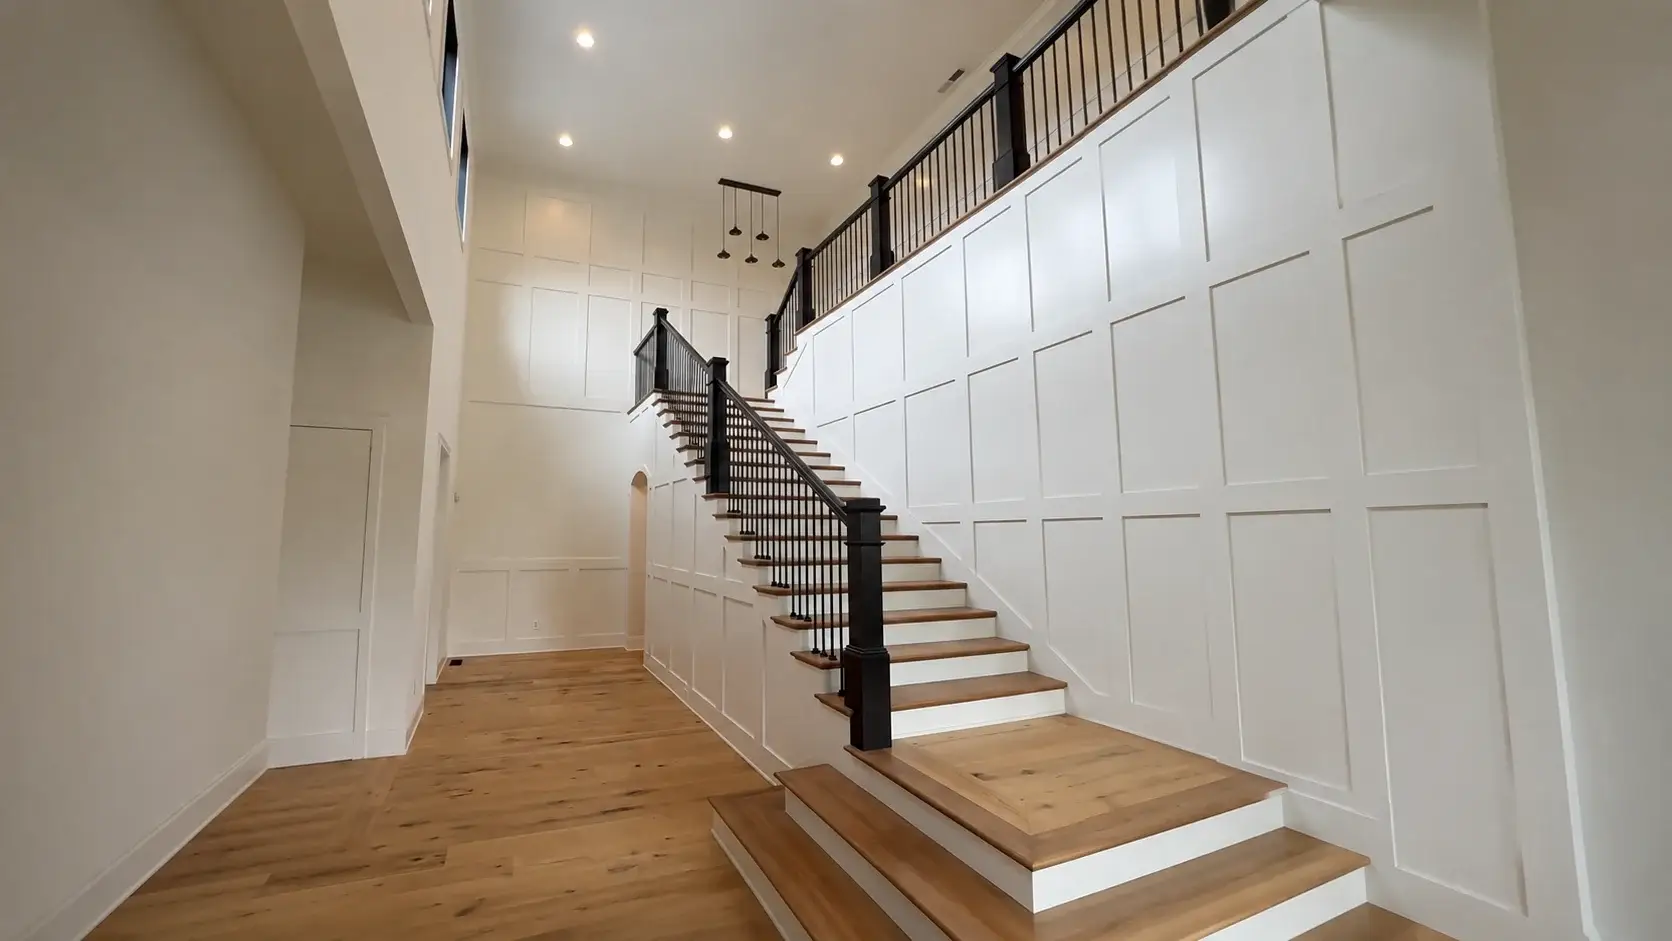
15. Paneled Staircase Wall
Running wainscoting up a stairwell turns a forgettable transition space into a design feature. Board and batten and picture-frame molding both adapt well to stairs.
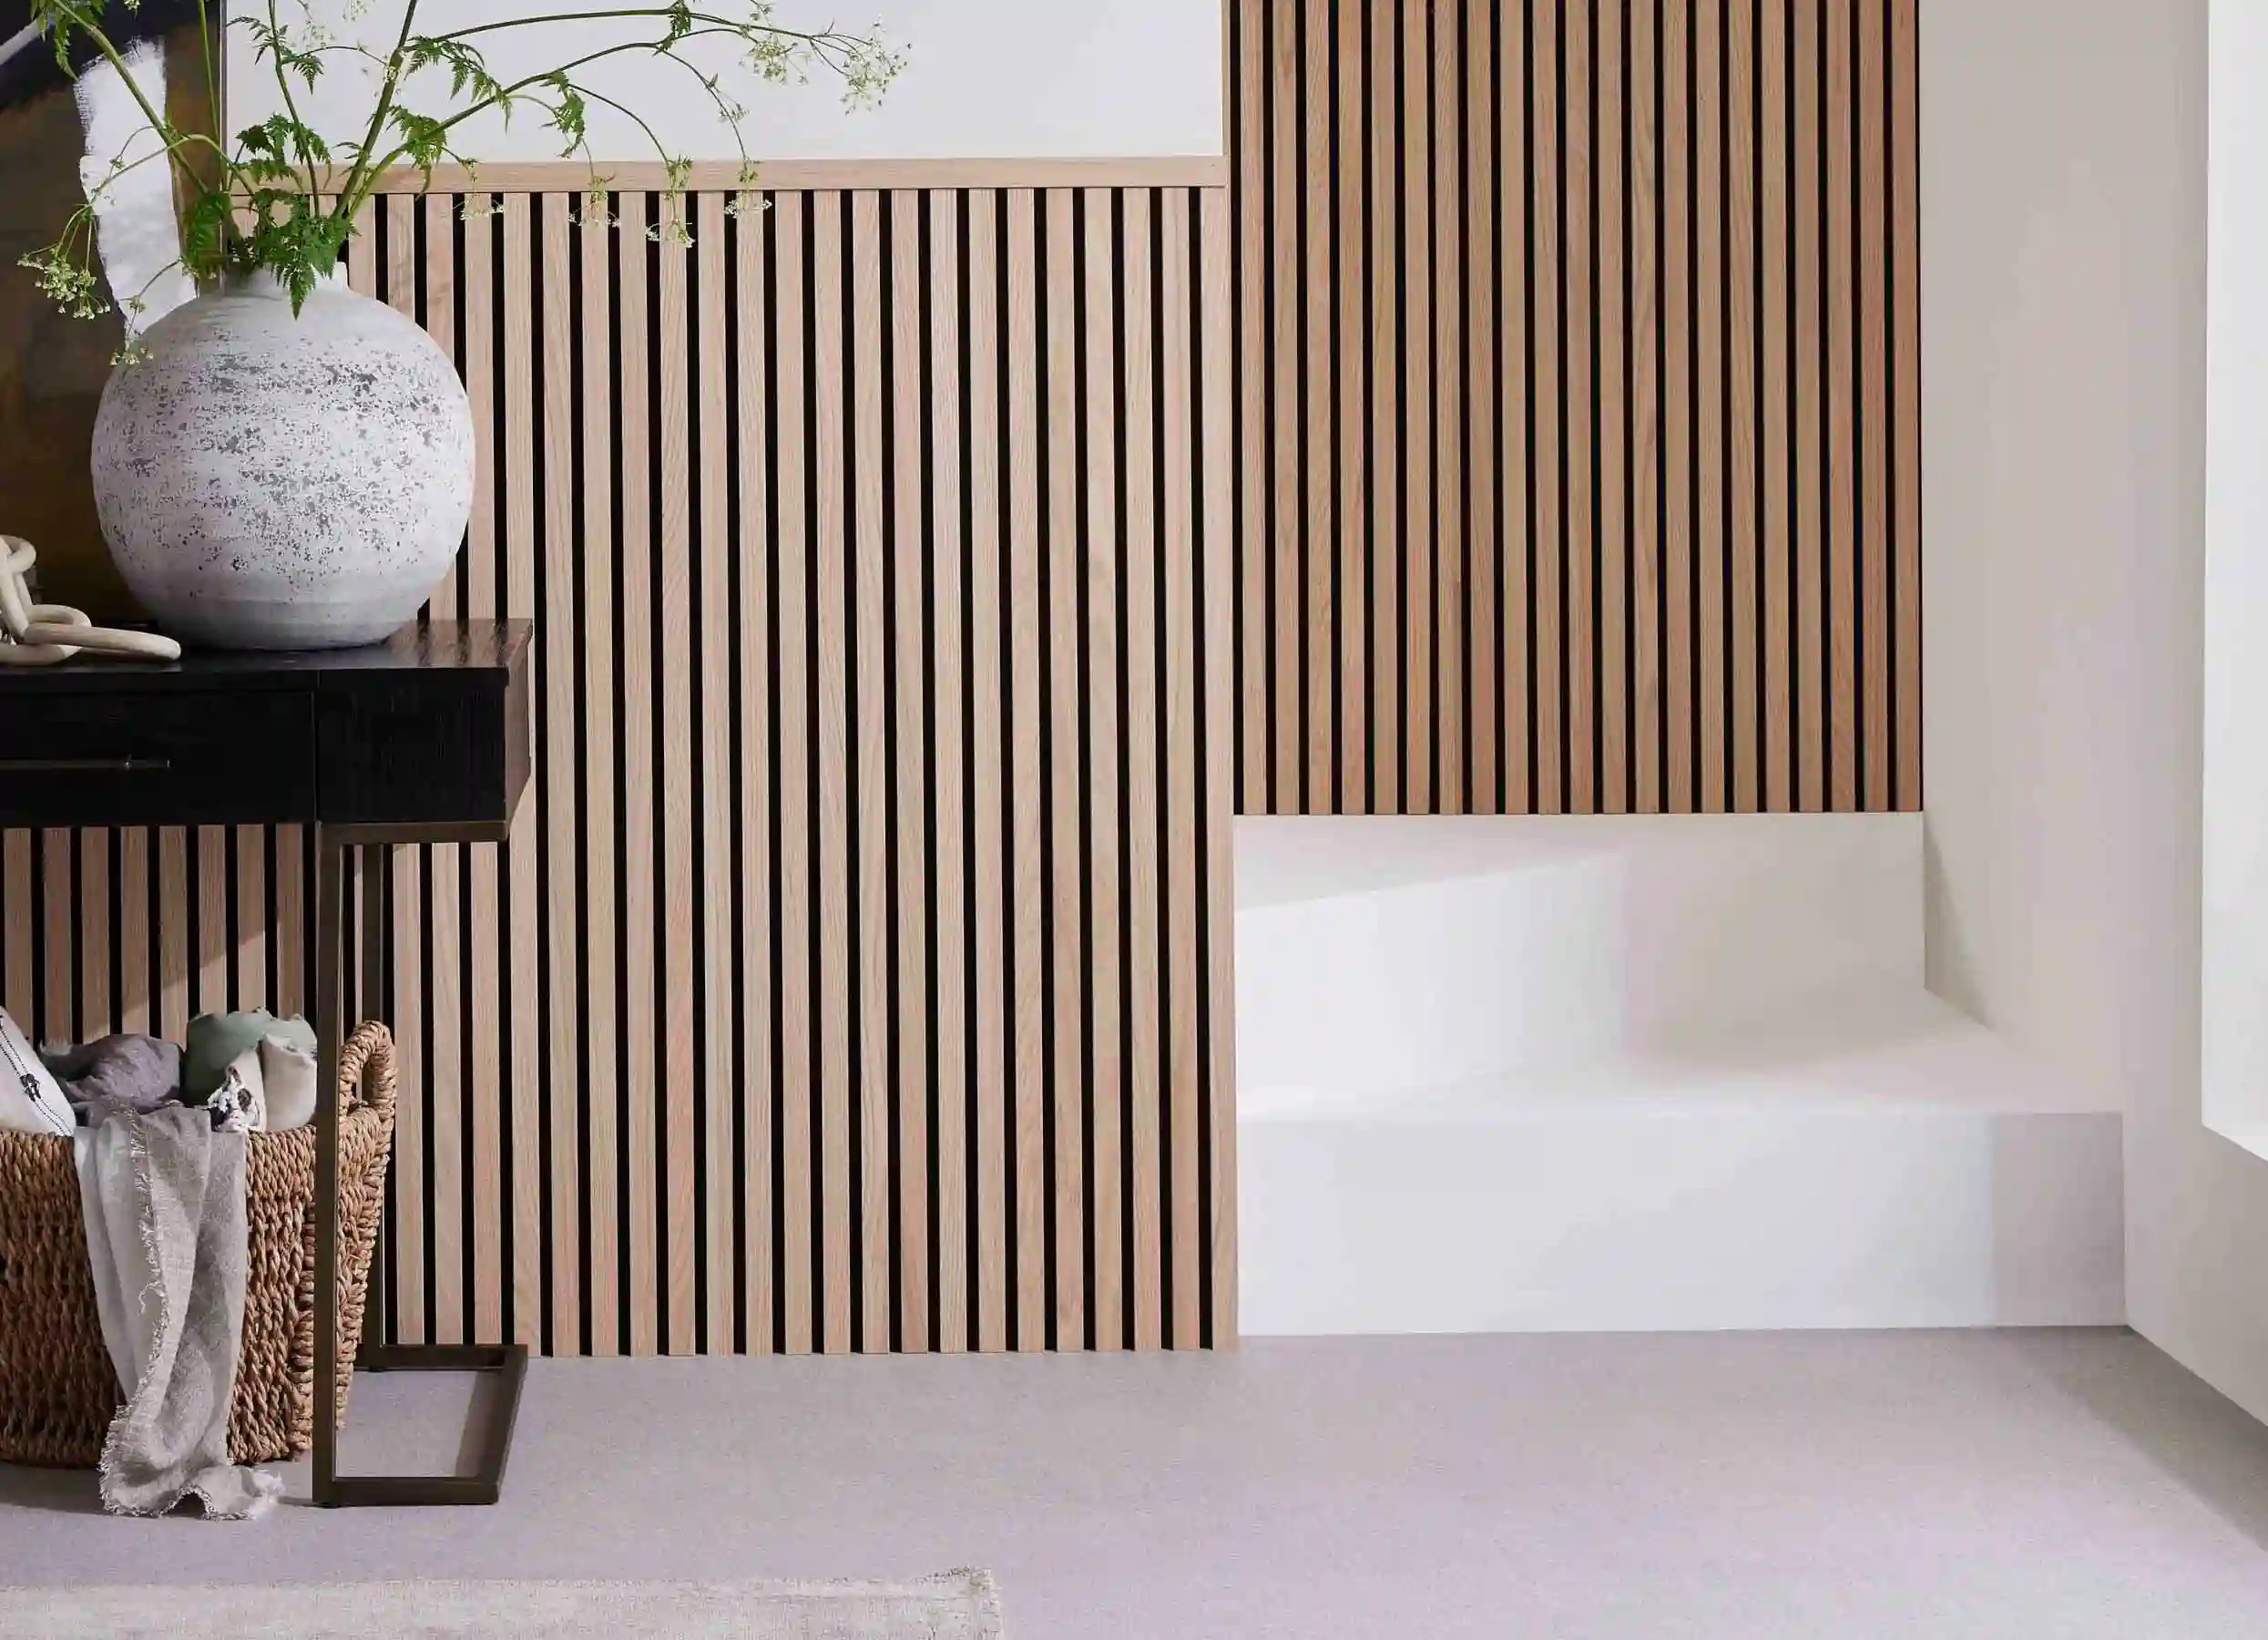
Be warned, though: this project requires angled cuts that follow the stair pitch, so it challenges beginners. Measure the stair angle with an angle finder, cut test pieces from scrap, and keep the top cap parallel to the handrail for a clean, professional line.
16. Plywood Plank Paneling
Sanded plywood offers one of the cheapest routes to a plank-style wall. Rip full sheets into 6- or 8-inch strips with a table saw (many home improvement stores will make the cuts for you), then install them horizontally or vertically with a small gap between each board.
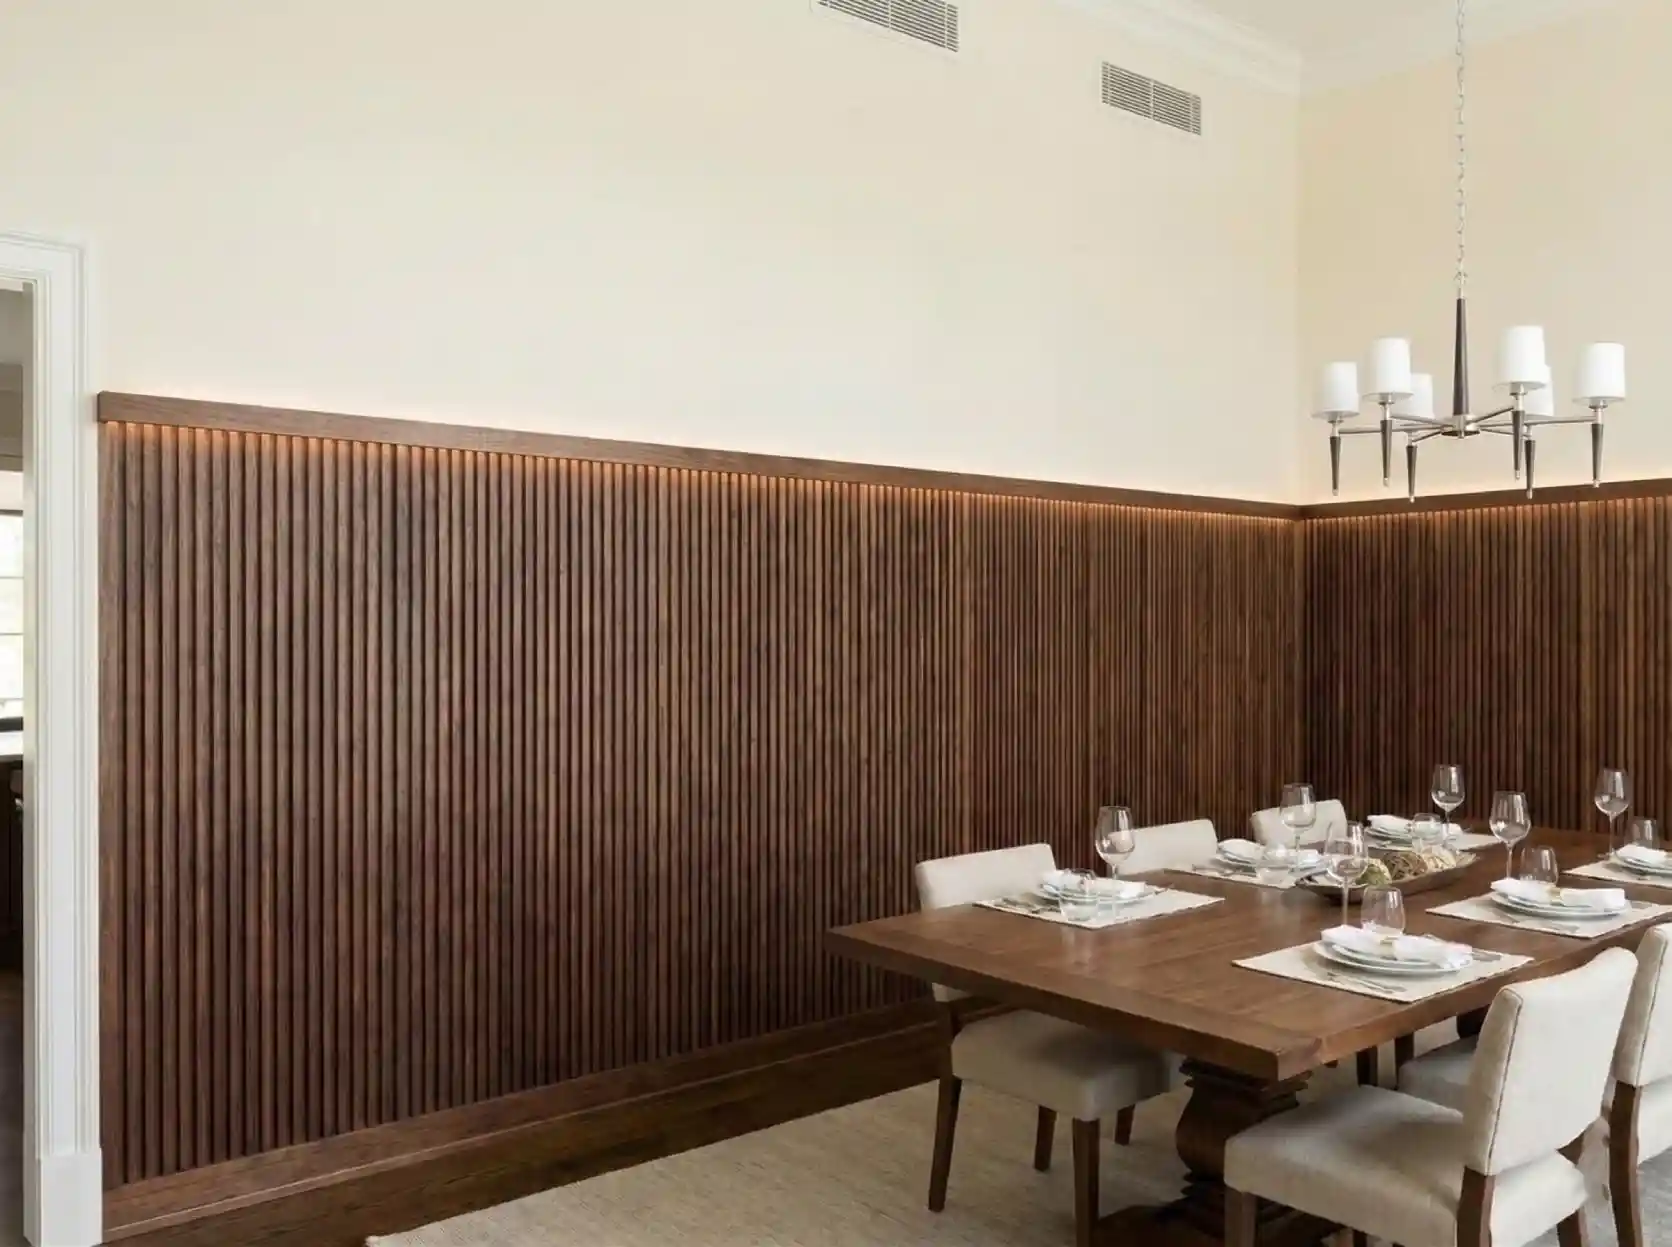
Once painted, the strips look like expensive custom planks. Sand all cut edges smooth before priming, since plywood edges show every flaw under paint.
17. Limewashed Paneling
Limewash creates a soft, cloudy finish with subtle movement that looks like aged plaster. Apply it over primed paneling, and it adds an old-world character that flat paint can’t match.
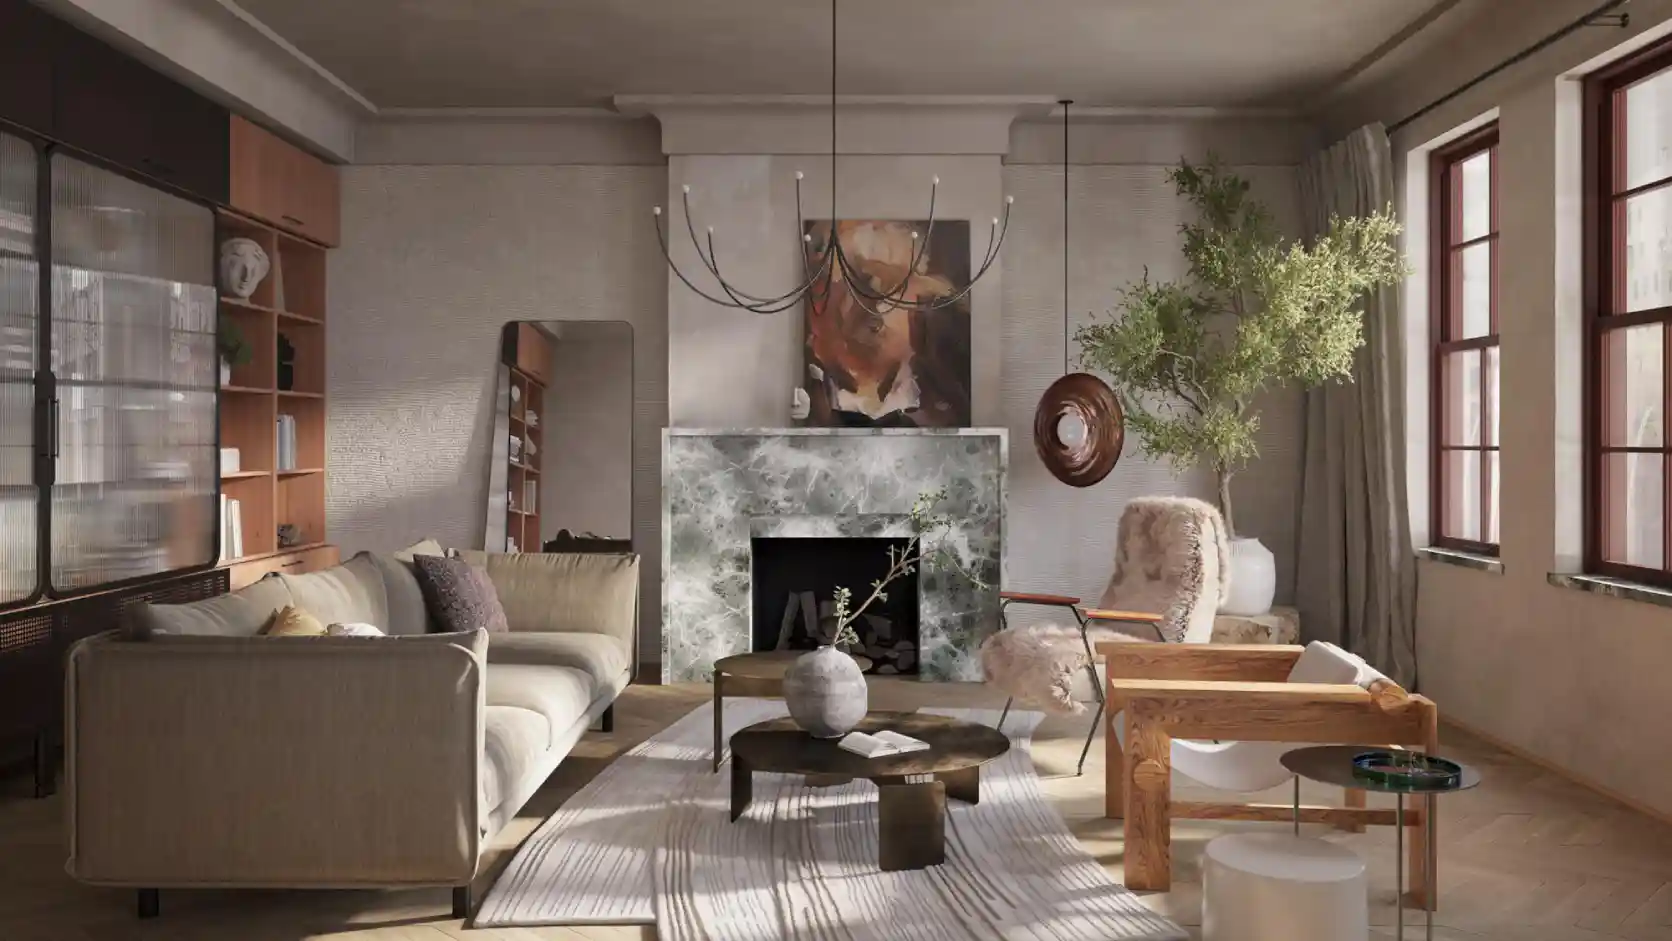
This technique pairs beautifully with picture-frame molding and Shaker-style panels in earthy tones such as clay, sand, or soft sage. Brush it on in loose crisscross strokes, and apply two coats for richer depth. Check the manufacturer’s instructions first, because some limewash products require a mineral-based primer.
Low-Commitment and Moisture-Smart Options
Paneling doesn’t have to be permanent or high-maintenance. Discover peel-and-stick styles and waterproof materials designed to handle moisture-prone rooms and temporary living spaces effortlessly.
18. Textured Peel-and-Stick Panels for Renters
Renters can still enjoy paneled walls. Peel-and-stick options rank among the least expensive choices, starting at around $2 per square foot, and they install easily, which makes them popular with renters.
Quality varies a great deal, so look for textured versions with real raised detail rather than flat printed patterns. Keep in mind that peel-and-stick materials can bubble or lift in humid conditions. Test one panel in your space first, and read your lease, because some adhesives pull paint when you remove them.
19. PVC Wainscoting for Bathrooms
Steam destroys standard MDF, which makes bathrooms a common failure point for paneling projects. PVC panels and trim solve the problem entirely. They resist moisture, and once you paint them, they look nearly identical to painted wood.

Pair PVC wainscoting with a framed mirror and vintage-style sconces for a classic, hotel-inspired bathroom. Use a bathroom-rated acrylic paint, and caulk the top edge of the cap to seal out moisture.
20. Paneled Entryway Drop Zone
An entryway drop zone combines paneling with everyday function. Here’s a simple way to build one:
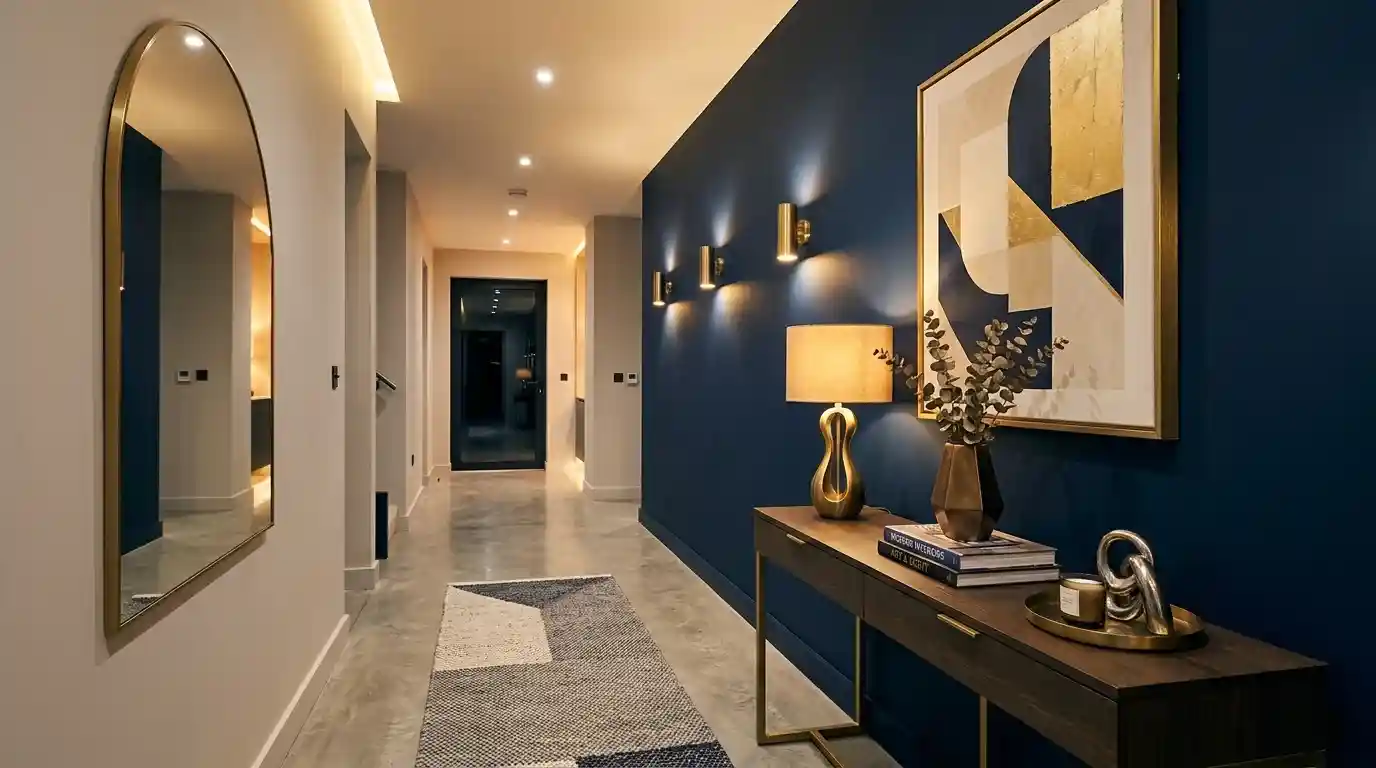
- Install board and batten or beadboard to about 5 or 6 feet high.
- Cap it with a sturdy 1×6 shelf for baskets and keys.
- Mount coat hooks onto the battens, screwing into studs or solid backing.
- Add a bench below for shoe storage.
The result looks like a custom mudroom built-in, yet it costs a fraction of a cabinetry installation.
How Much Does Affordable Wall Paneling Cost?
DIY wall paneling typically costs $1.50 to $6 per square foot in materials, while professional installation usually runs $7 to $40 per square foot. Style, material, and wall size drive the final price.
| Paneling Style | Typical DIY Material Cost | Skill Level | Best Suited For |
| Peel-and-stick panels | From about 1–2/sq ft | Beginner | Renters, quick updates |
| Shiplap (prefinished MDF) | 1.50–4/sq ft | Beginner to intermediate | Casual, coastal, farmhouse rooms |
| Board and batten (primed pine) | 2–5/sq ft | Intermediate | Transitional and modern farmhouse homes |
| MDF wainscoting | 3.50–6/sq ft | Intermediate | Dining rooms, formal spaces |
| Fluted or slat panels | 8–22/sq ft | Beginner to intermediate | Modern and Japandi interiors |
Current cost guides put DIY board and batten at roughly $2 to $5 per square foot with primed pine 1x4s, DIY shiplap at $1.50 to $4 with prefinished MDF (or $4 to $9 for real pine), and DIY MDF wainscoting at $3.50 to $6 per square foot.
Hiring a professional changes the math considerably. Contractors commonly charge between $1,000 and $5,000 for a wainscoting installation, and professionally installed paneling ranges from $7 to $40 per square foot. If you can operate a brad nailer and read a level, DIY delivers the biggest savings.
Which Paneling Style Works Best in Each Room?
The right paneling style depends on how you use the room, how much moisture it sees, and the level of formality you want.
| Room | Recommended Styles | Reason |
| Living room | Picture-frame molding, slat panels, board and batten | High-visibility walls benefit from bold, polished treatments |
| Bedroom | Headboard wall, grid paneling, arched molding | Creates a focal point without overwhelming the space |
| Dining room | Shaker wainscoting, picture ledge, limewashed panels | Adds traditional character and protects walls from chairs |
| Bathroom | PVC beadboard, PVC wainscoting, nickel gap | Moisture resistance is essential |
| Hallway or entry | Two-tone paneling, drop zone, board and batten | Handles scuffs and heavy traffic |
| Home office | Slat panels, Shaker wainscoting | Reduces echo on calls and looks professional |
| Rental | Textured peel-and-stick panels | Removes cleanly when you move out |
How Do You Make Cheap Paneling Look High-End?
You make inexpensive paneling look high-end by caulking every seam, filling every nail hole, and applying a smooth, consistent paint finish. Finishing accounts for roughly half the project, and most DIYers rush it.
Follow these professional finishing steps:
- Caulk all joints. Apply paintable acrylic latex caulk wherever trim meets the wall or another board. Skipping caulk on seams is one of the most common reasons DIY paneling fails, with joints cracking within about a year.
- Fill and sand nail holes. Apply lightweight spackle or wood filler, let it dry, and sand it flush. Plan for two rounds on most walls.
- Seal cut MDF edges. Raw MDF edges absorb paint unevenly and look fuzzy. Coat them with a shellac-based primer before painting.
- Choose a durable sheen. Satin or semi-gloss finishes highlight the paneling profile and withstand regular cleaning.
- Roll, then brush. Use a small foam roller on flat surfaces for a factory-smooth finish, and reserve the brush for corners and grooves.
- Upgrade outlet covers. Replace plastic covers with screwless or paintable versions, and use outlet box extenders so the covers sit flush with the new surface.
- Add accent lighting. Paneling depends on shadow and depth. A wall sconce or picture light reveals the profile and makes a modest wall look custom.
Common Mistakes That Make Wall Paneling Look Cheap
The most damaging mistake involves picking a paneling height that clashes with existing features. If your windowsills sit at 34 inches and your cap rail lands at 38 inches, the near-miss catches the eye immediately. Align with the sills, or choose a clearly different height.
Watch for these other pitfalls:
- Relying on drywall alone. Nailing into drywall rather than studs commonly causes panels to separate from the wall over time. Use construction adhesive, and hit studs whenever the boards carry real weight.
- Paneling every room. A single feature wall or one paneled room looks curated. Paneling throughout the entire house quickly dates your home.
- Mixing incompatible styles. Ornate crown molding beside ultra-modern flat battens confuses the eye. Choose one design direction and commit to it.
- Skipping a layout plan. Mark studs, outlets, and switches, and sketch your spacing on paper before you buy materials.
- Ending at random points. Always stop paneling against a corner, doorframe, or clear vertical edge so the wall looks finished.
Should You DIY Wall Paneling or Hire a Professional?
DIY makes sense for most accent walls and simple wainscoting, since labor often accounts for half the total cost. Hire a professional for whole-house projects, badly uneven walls, staircases, or jobs that require relocating electrical outlets.
Most feature walls fit comfortably into a weekend. DIYers typically spend 6 to 10 hours across two days on a board-and-batten accent wall, and 8 to 14 hours on a slat panel feature wall.
A basic toolkit covers most projects: a miter saw, brad nailer, stud finder, 4-foot level, caulk gun, and tape measure. If you don’t own a brand nailer, many hardware stores rent them by the day.
We recommend starting with a small, low-risk space, such as a powder room or headboard wall. You’ll build confidence, refine your technique, and keep any mistakes inexpensive to correct.
Does Wall Paneling Increase Home Value?
Classic, well-executed paneling can make a home more appealing to buyers, particularly Shaker wainscoting in dining rooms and board and batten in entryways. Trend-driven styles carry more risk. Paint-grade paneling in neutral or timeless colors offers the safest investment, because new owners can repaint it without tearing anything out.
If you plan to sell within a year or two, choose classic styles and reserve bold colors or slat walls for spaces you can easily change.
Final Words
Expensive-looking walls rarely come from expensive materials. They come from smart choices: a paneling style that suits the room, a height that respects existing architecture, and finishing work that leaves no visible seams or nail holes. Primed MDF, pine trim, and a quality can of paint can produce results that rival custom millwork costing several times more.
If you’re new to paneling, begin with picture-frame molding or board and batten. Both forgive minor mistakes, cost little, and deliver a dramatic transformation in a single weekend. Homeowners who want a modern edge can invest in one slat or fluted feature wall, while renters can experiment freely with textured peel-and-stick panels.
Whatever style you choose, plan your layout on paper, buy about 10% extra material for cuts and errors, and give the finishing stage the time it deserves. That final round of caulk and paint turns a simple DIY project into a professionally designed wall.
Frequently Asked Questions
What is the cheapest wall paneling that still looks good?
Picture-frame molding and board and batten made from primed pine or MDF rank among the cheapest paneling options that still look high-end. Because you only add trim rather than covering the full wall, material costs often stay at just a few dollars per square foot.
Is MDF a good material for wall paneling?
MDF works well for painted paneling in dry rooms such as living rooms, bedrooms, and hallways. It offers a smooth, stable surface, costs little, and takes paint well after priming. Avoid standard MDF in full bathrooms and laundry rooms, where moisture causes swelling; choose PVC instead.
Can you install wall paneling over existing drywall?
Yes. Most affordable paneling styles, including board and batten, picture-frame molding, and slat panels, install directly over existing drywall. Use construction adhesive along with brad nails, and fasten heavier boards into wall studs for a secure hold.
How high should wainscoting be?
Traditional wainscoting covers roughly the lower third of a wall, usually 30 to 36 inches high. For a more modern, dramatic look, designers often run paneling two-thirds of the way up, at about 60 to 66 inches on an 8-foot wall.
Is peel-and-stick wall paneling worth buying?
Peel-and-stick paneling suits renters and short-term updates because it costs little and removes cleanly. Textured versions with raised detail look far more realistic than flat printed designs. Humidity can cause it to lift, so it performs poorly in bathrooms.
Should you paint the paneling the same color as the walls?
Painting paneling the same color as the walls ranks among the easiest ways to make budget paneling look expensive. A single color disguises imperfections and makes paneling look built-in. A slightly glossier sheen on the paneling adds subtle contrast without introducing a second color.