
Fixing Cracks in Basement Floor: Causes, Repair Methods, and Prevention
To fix cracks in a basement floor, clean out loose debris and select a filler based on the crack type. For dry hairline or wide cracks, chisel out crumbling concrete, insert a foam backer rod into deep gaps, and fill with flexible polyurethane sealant or epoxy. If the crack is actively leaking, inject expanding polyurethane foam to seal out moisture. For severe water pressure beneath the slab, install an interior perimeter drain and sump pump.
In this guide by Floor Land, you will learn how to diagnose different crack types and quickly determine if they pose a structural threat. After that, there are step-by-step repair methods for dry, wide, or leaking cracks, and we explain which sealant to use. Finally, you will discover practical ways to fix groundwater issues and prevent new cracks from forming.
Why Basement Floors Crack, and Why It Usually Is Not Your Foundation
Concrete cracks. That is not a defect; it is a property of the material. Concrete is strong when you push on it and weak when you pull on it, so anything that stretches a slab even slightly will open a line somewhere.
1. Your Slab Is Not Holding Up Your House
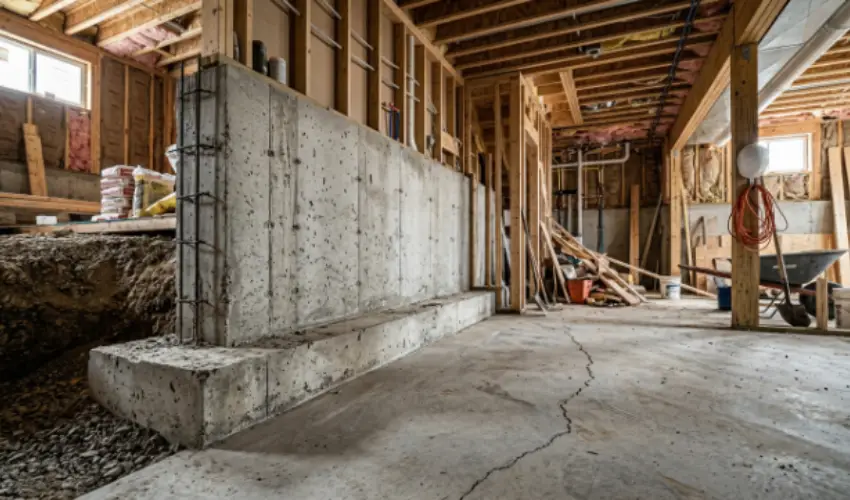
One fact calms a lot of unnecessary worry: your basement floor is not what supports your home. The weight of the house is carried by the foundation walls and footings, while the concrete slab is poured separately as the basement floor. Because it is not a structural element, builders expect it to crack over time and often cut control joints to guide where those cracks occur. That is why a crack in the basement floor is very different from a crack in a foundation wall.
2. Shrinkage During Curing
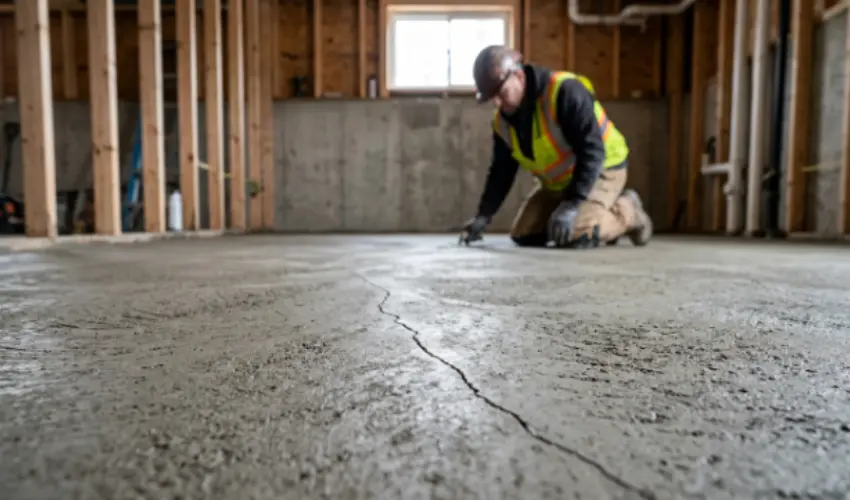
The most common reason for basement floor cracks is natural concrete shrinkage. As fresh concrete cures, it loses moisture and contracts slightly. Since the slab cannot shrink freely, thin hairline cracks develop, usually within the first year. These cracks are typically cosmetic and do not continue growing.
3. Settlement Under the Slab
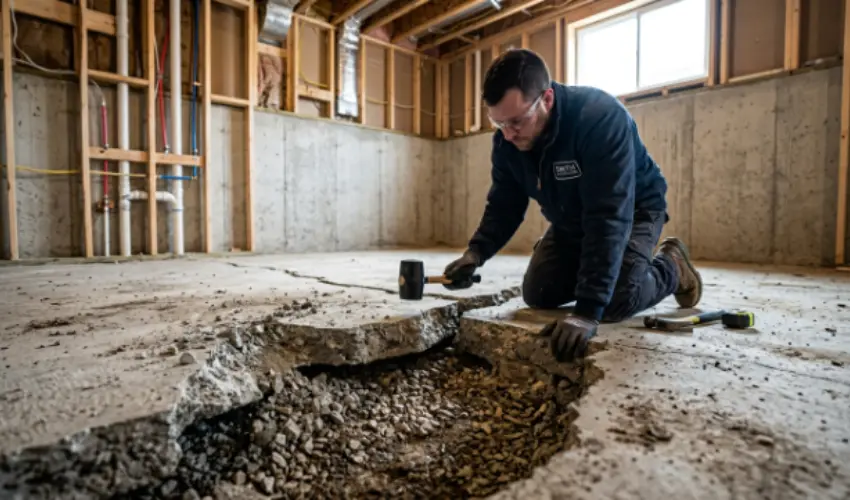
If the soil beneath the slab was not compacted properly before pouring, it can settle over time. As the slab loses support, wider cracks, uneven sections, or hollow-sounding spots may appear. This is more common in homes built on poorly compacted fill.
4. Water Pressure From Below
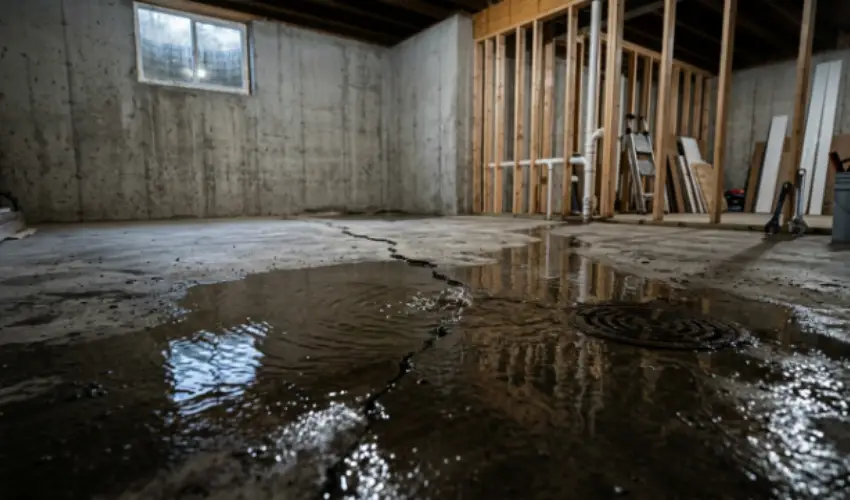
Groundwater beneath the slab creates hydrostatic pressure, which pushes upward on the concrete. Cracks that leak after heavy rain, damp patches, or persistent moisture are signs that water is the real problem. Sealing the crack alone will not stop it if the pressure remains.
5. Frost Heave and Expansive Soil
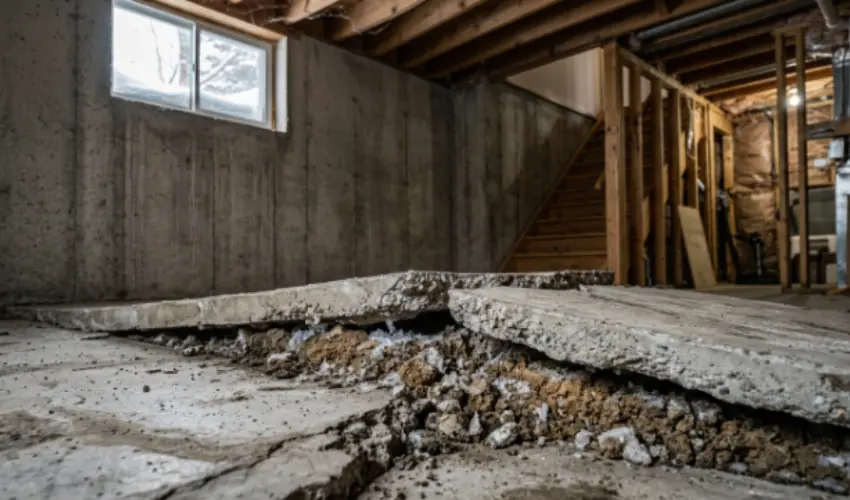
In areas with clay-rich soil, seasonal expansion and shrinkage cause the ground to move, leading to cracks and uneven floor sections.
6. Heavy Loads and Thin Pours
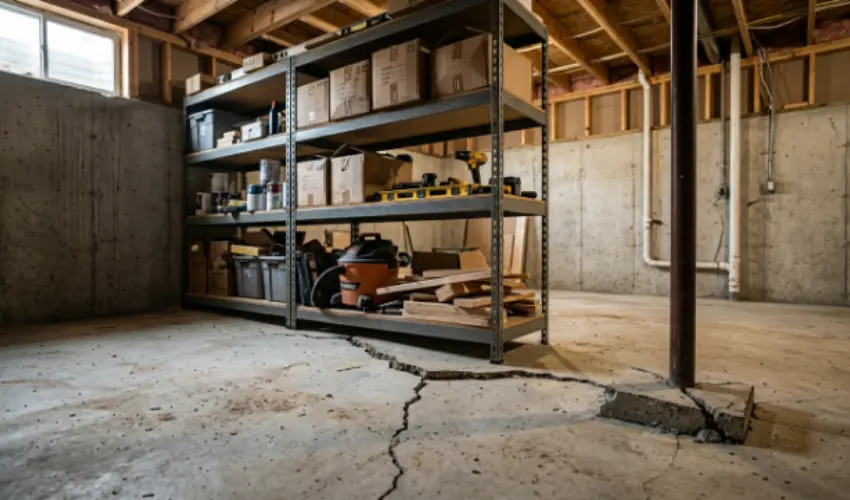
Some cracks simply result from construction or use. A slab poured too thin, weak concrete, poor support beneath a post, or excessive weight in one area can all cause predictable cracking.
Types of Basement Floor Cracks and How to Recognize Them
| Crack Type | What It Means | Recommended Action |
|---|---|---|
| Hairline & Shrinkage Cracks | Thin, cosmetic cracks caused by concrete curing. | Seal to reduce moisture and radon entry if needed. |
| Straight Cracks & Control Joints | Planned joints that allow concrete to crack in a controlled way. | Seal joints if moisture or radon is a concern. |
| Map or Spiderweb Cracks | Surface cracking from poor finishing or possible slab movement. | Inspect for hollow spots or sinking before repairing. |
| Wide Cracks (Over 1/4 Inch) | May allow water, radon, and debris to enter the slab. | Repair with an appropriate crack filler or seek professional advice. |
| Displaced or Heave Cracks | One side of the crack is higher, indicating slab movement. | Have the slab inspected for foundation or soil issues. |
| Spalling, Pitting & Flaking | Surface damage caused by poor finishing and moisture. | Patch damaged areas and address the underlying cause. |
Tools, Materials, and Working Conditions
Proper preparation determines your repair’s success. Gather your prep tools and safety gear, and apply sealants on clean, dry concrete above 50°F for a strong, long-lasting seal.
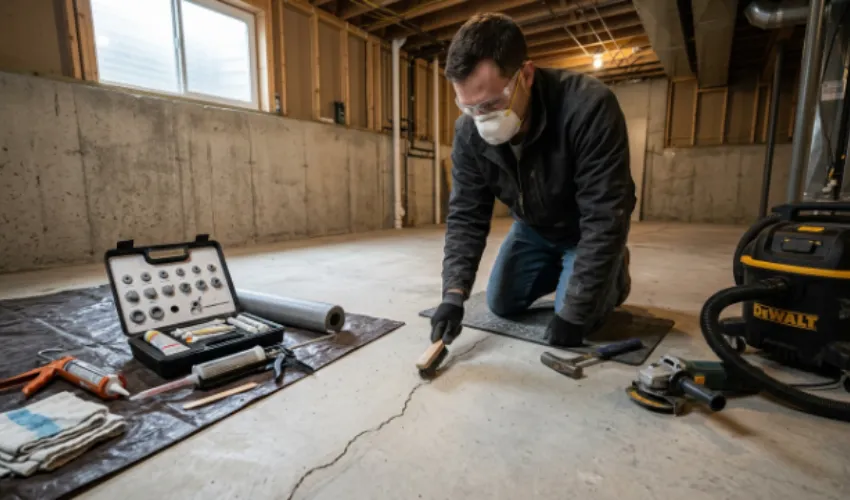
For a Basic DIY Repair
You will need the following for a DIY basement floor crack repair:
- Vacuum
- Wire brush
- Cold chisel and hammer (or an angle grinder with a crack-chasing blade)
- Foam backer rod
- Chosen concrete filler
- Caulk gun
- Putty knife or trowel
- Bucket for debris
For an Injection Kit
The kit typically includes:
- Surface ports
- Paste sealer (to hold ports in place)
- Cartridges of epoxy or urethane
- Dispensing gun
Read the instructions completely before you open anything, since working time on these products is short.
Conditions Matter More Than People Think
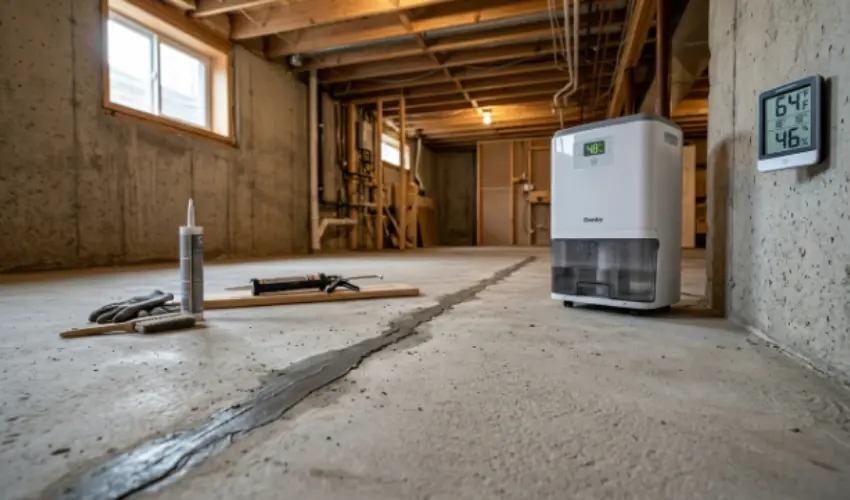
Most concrete repair products need a slab temperature above 50 degrees Fahrenheit. Epoxy also needs a dry surface. Polyurethane and hydraulic cement work on wet cracks. Cold, damp basements slow curing dramatically. Run a dehumidifier for a day or two beforehand, and give the repair the full cure time on the label before covering it with anything.
Prioritize Safety
Grinding or chiseling concrete releases crystalline silica dust, which damages lungs over time. Use a vacuum shroud or wet cutting, and wear a properly fitted N95 or P100 respirator rather than a paper dust mask. Urethane and epoxy products need ventilation and skin protection. Isocyanate vapor can cause permanent respiratory sensitization, so do not breathe it. Open a window, run a fan, and wear nitrile gloves and eye protection.
How to Repair Each Type of Crack in Basement Floors
Match the method to the crack. Using the wrong material is the most common reason a repair fails.
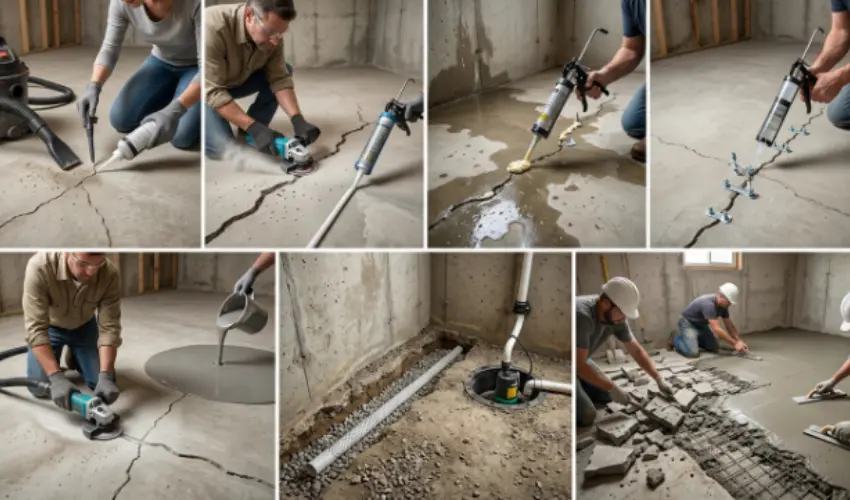
1. Hairline Cracks
Vacuum the crack out, wipe the surface clean, and apply a thin, low-viscosity concrete crack sealer that can wick down into the opening. Let it cure fully before walking on it. That is the whole job. Do not chase a hairline crack with a grinder unless it is leaking.
2. Wide or Open Cracks
Open the crack slightly with a cold chisel or a grinder to remove crumbling edges and give the filler something solid to bond to. Vacuum thoroughly, because dust is the enemy of adhesion. For deep cracks, push foam backer rod down into the gap so your filler sits in the top portion rather than disappearing into the void. Fill, tool it flush, and cure.
3. Leaking Cracks
Polyurethane injection is the right choice here. It goes in as a liquid, reacts with the moisture already in the crack, and expands into a flexible foam that fills the full depth. It works on wet cracks, where standard epoxy does not, and it stays flexible enough to tolerate small seasonal movement. Polyurethane contains isocyanates. A dust mask or N95 will not protect you. Wear a respirator with organic vapor cartridges, plus gloves and eye protection, and ventilate the room. Some of these products are unpleasant to breathe.
4. Cracks That Need Bonded Strength
Epoxy injection welds the two sides of a crack back together and cures harder than the concrete around it. It is the right call when you need structural bond and the crack is dry and stable. It is the wrong call on a wet crack or a crack that still moves, because a rigid repair on a moving crack simply cracks again beside the original line.
5. The Professional Grind and Seal
This is what contractors do that homeowners generally do not. They run a diamond grinder along the crack to cut a clean channel, removing every bit of loose and deteriorated concrete, then fill that channel with self-leveling epoxy or a commercial-grade flexible seal that flows to full depth. The result is a gas-tight, water-tight repair finished flush with the floor.
The reason it lasts is prep, not magic. A patch spread over an unprepared crack has almost no bonding surface, so it lifts. A filler poured into a ground-out channel bonds to fresh concrete on both faces.
6. When the Problem Is Drainage, Not the Crack
If water keeps coming, the crack is a symptom. The real fix is intercepting water before it reaches the slab: an interior perimeter drain routed to a sump pump, plus exterior grading and downspout work. It costs far more than a crack repair, and no amount of sealant substitutes for it.
7. When Slab Replacement Makes Sense
Rarely. Removing and repouring a basement floor is warranted when the slab is extensively broken, actively heaving, or so deteriorated that patching is pointless. It is a major disruptive job costing many thousands of dollars, and it is worth mentioning only so you know it exists. It is not the answer to two cracks in an otherwise sound floor.
Choosing a Filler: Epoxy, Polyurethane, or Hydraulic Cement
Always choose the filler that depends on your crack’s condition. Epoxy restores strength in dry concrete, flexible polyurethane seals active water leaks, and hydraulic cement works as a quick emergency stopgap.
| Feature | Epoxy | Polyurethane | Hydraulic Cement |
|---|---|---|---|
| Cures | Rigid | Flexible foam | Rigid, sets fast |
| Works on Wet Cracks | No | Yes | Yes |
| Restores Strength | Yes | No | No |
| Handles Movement | Poorly | Well | Poorly |
| Blocks Radon & Water | Yes | Yes | Only briefly |
| Typical DIY Cost | High | Moderate | Low |
| Best Used For | Dry, stable cracks needing bond | Active or damp leaking cracks | Emergency stopgap only |
Hydraulic cement is genuinely useful for plugging an active leak in a hurry. It sets in minutes, and it will stop the water today. What it will not do is survive a crack that expands and contracts with the seasons, because it is rigid and cannot move.
A homeowner patches the crack. The patch pops loose within a year, so they patch again. After several rounds, they have spent more time and money than a proper repair would have cost. Ordinary caulk is not a repair either. It will hide a crack and nothing more.
If Your Crack Still Moves
Use a flexible product. Polyurethane, a urethane-based flexible sealant, or a commercial rubberized seal will follow small seasonal movement without tearing away from the concrete. Rigid materials on moving cracks are guaranteed to fail.
Find the Real Source Before You Repair Anything
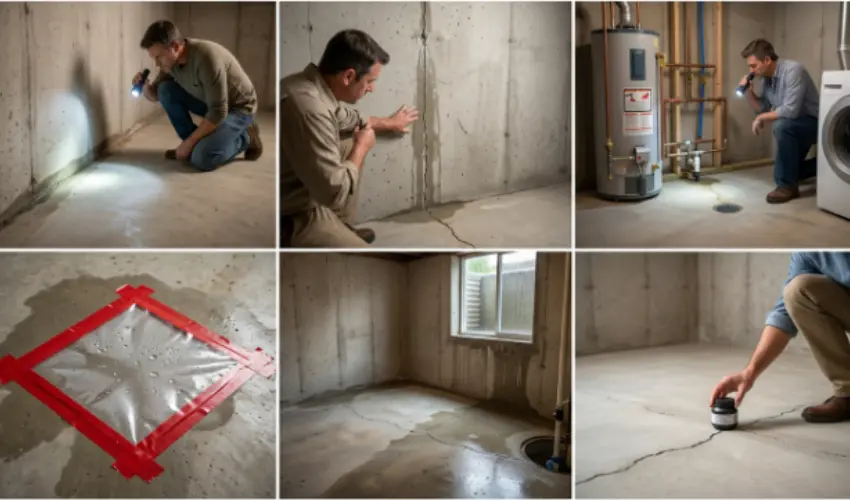
This is the step almost everyone skips, and it is the reason so many repairs fail within a year.
- Check the cove joint, where the basement floor meets the foundation wall. It is one of the most common places for water to enter and can make nearby cracks appear to be leaking.
- Inspect the walls above the crack. Water may travel down from a wall crack and collect on the floor before becoming visible.
- Rule out plumbing leaks by checking water heaters, supply lines, floor drains, and nearby appliances.
- Perform a plastic sheet test by sealing a clear plastic sheet over the damp area for 24 to 48 hours. Moisture beneath the plastic indicates water is rising through the concrete. If the moisture is on top of the plastic, it suggests condensation caused by high indoor humidity.
- Pay attention to when the moisture appears. After heavy rain, it usually points to poor drainage. During spring thaw, it may indicate a seasonal rise in the water table. Throughout the year, it often suggests hydrostatic pressure beneath the slab.
- If a repaired crack starts leaking again or new cracks become wet, the issue is likely water pressure rather than a failed repair.
- Test your basement for radon before sealing cracks. Sealing can reduce gas entry, but homes with high radon levels require a dedicated mitigation system in addition to crack repair.
Cosmetic or Structural? A Clear-Cut Way to Tell
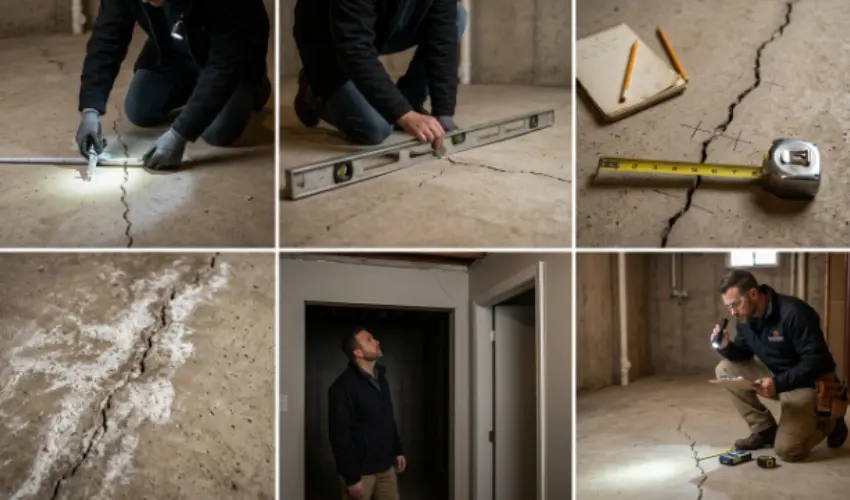
You can do this yourself in about twenty minutes with a flashlight, a tape measure, a pencil, and a coin.
- Measure the width. Under 1/16 inch is cosmetic. Between 1/16 and 1/4 inch should be sealed but is rarely serious on a floor. Over 1/4 inch deserves a closer look, especially if it is widening along its length.
- Check for displacement. Lay a straightedge or a level across the crack. If one side sits higher than the other, even by a couple of millimeters, note it. You can also drag a coin across the crack. If it catches on a lip, you have vertical movement.
- Test for movement over time. Draw two short pencil lines across the crack at the widest point and at one end, write the date next to them, and measure the gap. Check again after 60 and 90 days, ideally spanning a wet season. Cracks that do not change over 90 days need no further action. Cracks that open a measurable amount are active and need a professional opinion, not a tube of filler.
- Look for the white stuff. A chalky white deposit near the crack is efflorescence, mineral salts left behind by water evaporating out of the concrete. It is proof that water is moving through, even if the floor looks dry when you are standing there.
- Read the rest of the house. Floor cracks matter more when they come with other symptoms. Doors that stick, windows that bind, gaps opening at baseboards or where walls meet ceilings, diagonal cracks above door frames upstairs, a chimney pulling away from the siding. One symptom is usually nothing. Three or four together tell a different story.
DIY or Hire a Professional?
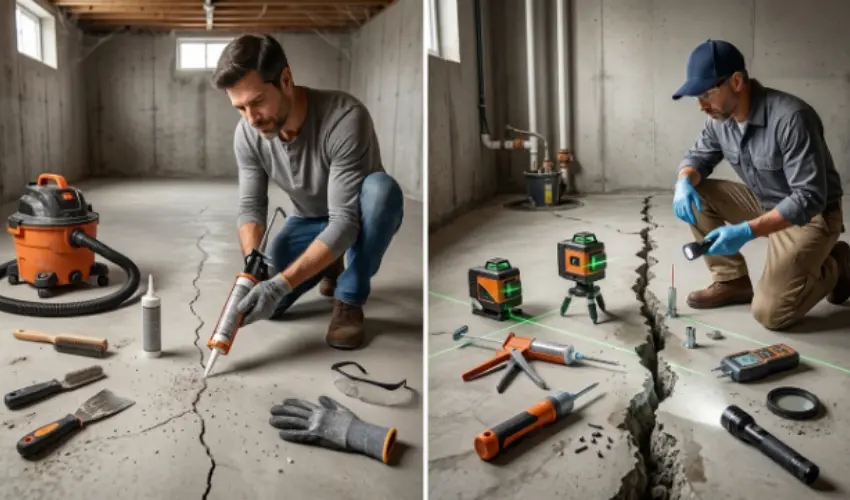
A few factors decide whether this is a DIY job:
Handle It Yourself When
The crack is dry, stable across a season of monitoring, under a quarter inch, has no vertical displacement, and comes with no other symptoms in the house. That describes the large majority of basement floor cracks.
Call a Professional When
There is vertical displacement between the two sides. The crack leaks repeatedly. It has widened measurably while you monitored it. You have elevated radon. There are matching symptoms upstairs. Or you are selling the house and want documentation of a warranted repair rather than an inspector’s note about a homeowner patch.
Choose a foundation or concrete repair specialist, not a general handyman, for anything in that list.
What Basement Floor Crack Repair Costs
Prices vary by region, and published figures across the industry differ quite a bit, so treat these as planning ranges rather than quotes.
| Scenario | Typical Range | Who This Is For |
|---|---|---|
| DIY Materials, One Crack | $20 to $150 | Dry, stable, cosmetic cracks |
| Professional Floor Crack Repair | $500 to $1,500 per project | Most homeowners with one to two cracks |
| Injection Repair (Per Crack) | $350 to $1,500 | Leaking or wider individual cracks |
| Structural Evaluation by an Engineer | $300 to $800 | Displacement or suspected movement |
| Radon Mitigation System | $1,000 to $3,500 | Elevated radon test results |
| Interior Perimeter Drain & Sump | $8,000 to $15,000 | Persistent water under pressure |
| Major Structural Stabilization | $15,000 and up | Genuine foundation failure, rare for floors |
What moves your number: total crack length rather than count, how many cracks are being done in one visit, whether water is actively entering, access to the area, whether a previous patch has to be removed first, and local labor rates.
Does insurance cover it?
Usually not. Standard homeowners policies exclude damage from settling, cracking, and gradual water seepage, and they exclude earth movement. Coverage tends to apply only when a covered peril causes the damage, such as a burst pipe washing out soil beneath the slab. Read your own policy language and ask your agent before assuming either way.
Mistakes That Turn a Small Crack Into an Expensive One
These mistakes turn a small crack into an expensive one.
- Filling without preparing. Sealant needs clean, sound concrete to grip. Squeezing filler into a dusty crack produces a repair that lifts out in a sheet a year later.
- Sealing a leak and ignoring the water. If groundwater is pushing up under your slab, a sealed crack just redirects it. Fix grading, gutters, and drainage first.
- Rigid filler on a moving crack. Epoxy on a crack that expands seasonally will crack again, usually right beside the original.
- Painting over it. Floor paint and coatings hide cracks; they do not repair them, and the crack will telegraph through eventually.
- Covering the floor before testing it. Installing flooring over a slab with a moisture problem is how you end up pulling up buckled planks and moldy underlayment eighteen months later.
Putting Flooring Over a Repaired Slab
Repair first, test second, install third.
Run the plastic sheet test described earlier, or ask a flooring installer to do a calcium chloride or relative humidity probe test, which most manufacturers require before installation anyway. Flooring warranties are frequently voided by excess slab moisture, so this is not optional if you want the warranty to mean anything.
Give crack repairs their full cure time before covering them, which usually means a few days rather than a few hours. Read the label.
If moisture readings come back high, you need a moisture mitigation coating or a vapor barrier under the new floor, and you should reconsider materials. Tile and luxury vinyl tolerate a slightly damp slab better than solid hardwood or carpet, which will hold moisture and grow mold.
Preventing New Cracks and Keeping the Old Ones Sealed
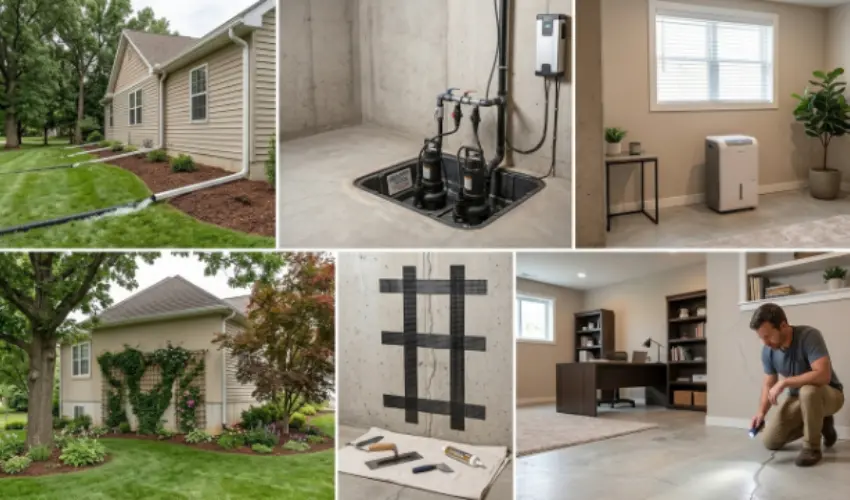
Almost all of this comes down to keeping water away from the soil around your foundation.
1. Grade and Downspouts First
This is the cheapest fix with the biggest effect. Soil should slope away from the house roughly six inches over the first ten feet. Downspouts should discharge at least four to six feet out, further if you can manage it. Clean the gutters twice a year. Overflowing gutters dump hundreds of gallons directly against your foundation.
2. Manage Groundwater
If your water table is high or your lot collects runoff, a working sump pump matters. Test it a couple of times a year by pouring a bucket of water into the pit, and consider a battery backup if a power outage during a storm would flood your basement.
3. Control Humidity Indoors
A dehumidifier holding the basement between 30 and 50 percent relative humidity prevents condensation, which is responsible for a surprising share of “damp basement” complaints that have nothing to do with cracks.
4. Watch Your Landscaping
Keep large trees a reasonable distance from the foundation. Their roots draw moisture out of the soil, and in clay soils that causes the ground to shrink and shift.
5. Check Your Basement Floor Twice a Year
In spring and fall, walk the basement with a flashlight. Check known cracks against your dated pencil marks. Look for new efflorescence, damp spots, or musty smells. Check the cove joint along the walls. Test the sump pump. Look at the grading outside while you are at it. Catching a change early is the whole point.
Final Words
Managing basement floor cracks comes down to simple observation and knowing when to act. Most cracks are just harmless concrete shrinkage, requiring nothing more than a quick DIY seal to keep out moisture and radon gas. But if you notice active leaks, offset edges, or ongoing movement, always address the underlying drainage or soil issue first.
Don’t forget to run an inexpensive radon test to protect your home’s air quality. Taking these final steps ensures your basement stays dry, safe, and worry-free for years to come.
Frequently Asked Questions
Yes. Most homes with concrete basement floors develop them, usually from shrinkage during curing. They are common and usually harmless.
Under 1/16 inch is cosmetic. Between 1/16 and 1/4 inch should be sealed. Over 1/4 inch, or any crack with one side higher than the other, deserves a professional look.
Shrinkage cracks generally stabilize once the concrete has fully cured. Cracks caused by settlement, water pressure, or soil movement can keep opening. Mark and measure yours over 60 to 90 days to find out which you have.
Caulk is not a repair, and standard patching compound smeared over an unprepared crack usually fails within a year. If you want it to last, prepare the crack properly and use a product designed for concrete crack repair.
That points to surface water rather than a high water table. Check gutters, downspout discharge, and the slope of the soil around your house before spending money on anything inside.
Repair the crack, test the slab for moisture, and use a crack isolation membrane under the tile. Tiling over an active crack without one means the tile will crack along the same line.
It does if the crack was the actual entry point and drainage around your home is sound. It does not if groundwater is pushing up under the slab, because that water will simply find another route.
They provide a path for it. Whether you have a radon problem depends on the soil under your home, and the only way to know is to test.
Disclosure rules vary by state, but a home inspector will find them regardless. A documented professional repair with a transferable warranty is far easier to explain at closing than a fresh smear of patching compound, which tends to look like something is being hidden.
A correctly prepared and filled crack in a stable slab should last for the life of the floor. Repairs fail because of poor prep or because the underlying water problem was never addressed, not because the materials wear out.


