
How to Repair Scratches on Luxury Vinyl Flooring
Luxury vinyl flooring scratches can often be repaired without replacing the entire plank or tile. Start by cleaning the damaged area to remove dust and grit. Light scuffs usually disappear with gentle buffing, while shallow scratches can be hidden using a vinyl floor repair kit or color-matched filler. For deeper scratches, apply a suitable filler, smooth the surface, and allow it to dry before polishing. Replace the plank only if the damage extends through the wear layer, exposes the core, or causes structural damage.
Acting quickly prevents dirt and moisture from worsening the scratch. With the right repair method, you can restore your luxury vinyl flooring appearance, extend its lifespan, and avoid the cost of full floor replacement.
Tools and Materials You Will Need
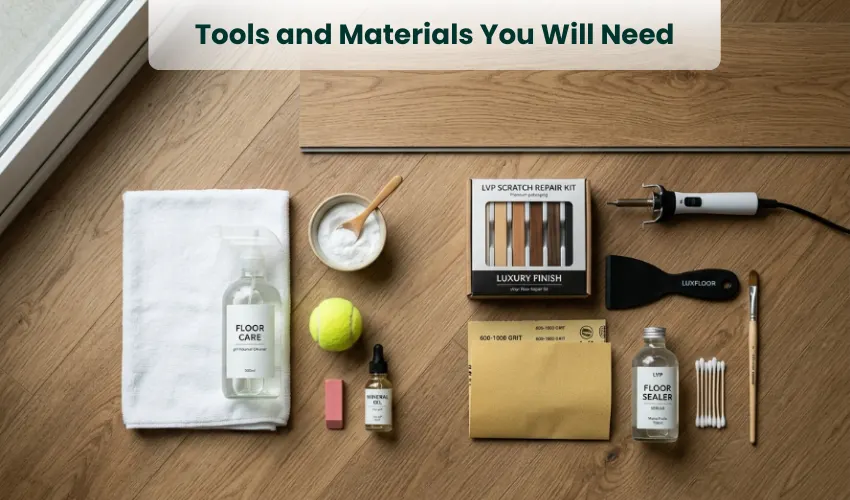
You don’t need to have all of these items on the list. Match the supplies to the scratch type that you have identified. The foundation is available at most hardware stores.
Scuffs and light scratches:
- Use Microfibre Cloths, soft and lint-free
- Warm water and a pH-neutral floor cleaner!
- The baking soda (for a mild paste)
- A tennis ball or a pencil eraser to treat any scuffed spots.
- A thin layer of olive oil, mineral oil, or vinyl floor polish
Fused-in deep scratches and gouges:
- A vinyl floor scratch repair kit (or a vinyl floor stick that does the wax burn-in that matches the colour of the vinyl floor)
- A putty knife or plastic applicator.
- Fine-grit sandpaper (600 to 1000) for leveling filler, used with care.
- Vinyl Floor Sealer or similar finish coat
- 2 Cotton swabs & a fine artist’s brush (for blending colors)
- If you intend to replace, a spare plank.
Repair Luxury Vinyl Flooring Based on Scratch Types
Always test any product in an unseen corner of the room, such as inside a closet, and work in good light! The following is the sequence of operations experts perform on client floors, from easiest to hardest.
1. How to Fix a Surface Scuff
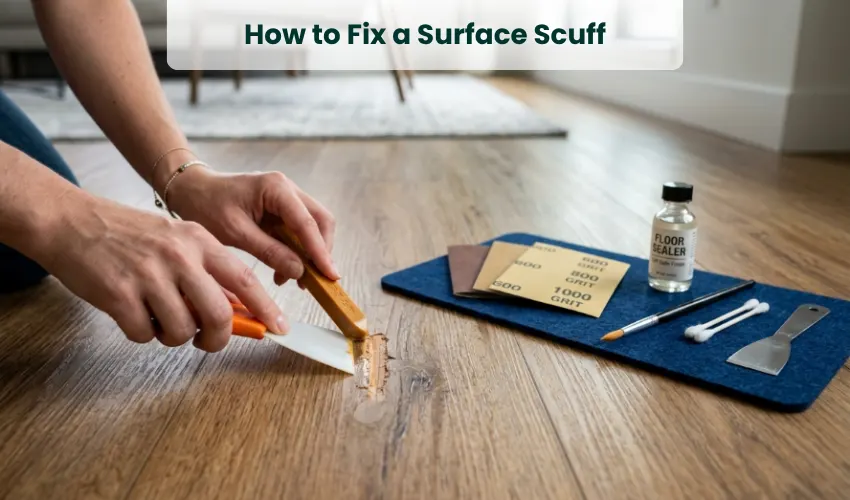
Follow the steps below to remove the surface scuff.
- Use a slightly dampened microfiber cloth and mild cleaner to remove the mark.
- Still there? Gently rub with a clean tennis ball or white pencil eraser. The rubber lifts rubber.
- To remove dark marks, create a paste of baking soda and water, rub in a circle, and wipe clean.
- Dry the area and look under oblique lighting.
Most scuffs will disappear by step 1 or 2. No sealing or polishing required as it is not cut into the floor.
2. How to Fix a Light Scratch
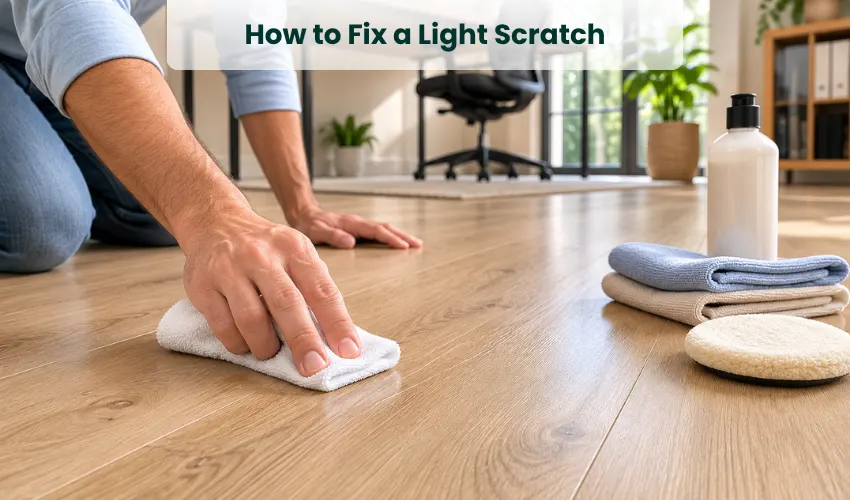
These are some easy steps to fix light scratches on vinyl floors.
- Scrub away the scratches and allow them to dry thoroughly.
- Apply a little olive oil, mineral oil, or vinyl polish to a soft cloth.
- Rub along the scratch, following its direction, using light pressure.
- Use a buff to coat the entire plank to make the sheen uniform, not just the scratched area.
- Ensure there is no excess oil on the floor; otherwise, it will become slippery or dust-catching.
The oil in the tiny groove prevents any light from reflecting, causing the scratch to fade. This is a cosmetic solution and will need to be reapplied every couple of weeks in high-traffic zones. To achieve a longer-lasting effect, use a kitchen oil or a proper vinyl floor polish.
Why it Works?
White is the color of a light scratch because its rough walls scatter light. The oil or polish restores the groove and rubs down those walls, and once more allows the light to flow through the clear wear layer. The scratch remains in place. It simply doesn’t appear anymore.
3. How to Fix a Deep Scratch
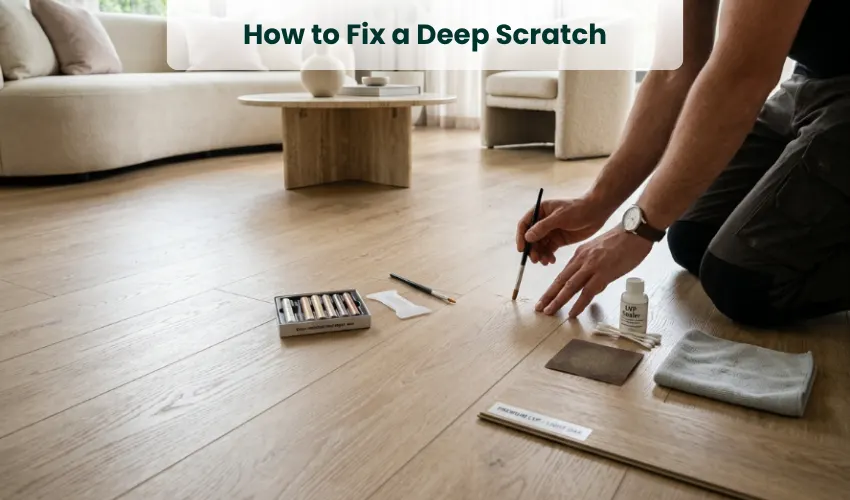
To fix deep scratches on vinyl floors, you can perform these steps:
- Wipe down the scratch and the plank. If there’s any grit stuck in there, it will destroy the blend.
- Select a repair compound or wax stick that is the same color as the planks. Warm and cool wood colors are very different when they’re dry.
- Using a plastic applicator, fill the groove just above the level of its opening.
- Scrape off excess flush from the surface with the edge of the applicator.
- When the color is lacking in good repair, apply a little (with a fine brush) of the same color to restore the grain line.
- Allow it to cure according to kit directions; seal with a thin application of vinyl sealer.
- Lightly buff the area to be repaired so it has the same sheen as the rest of the plank.
Deep scratching isn’t about removal – it’s about blending. Try to eliminate the “line” from an “at rest” perspective. It can still be seen on hands and knees, and that’s a fine outcome.
4. How to Fix a Gouge
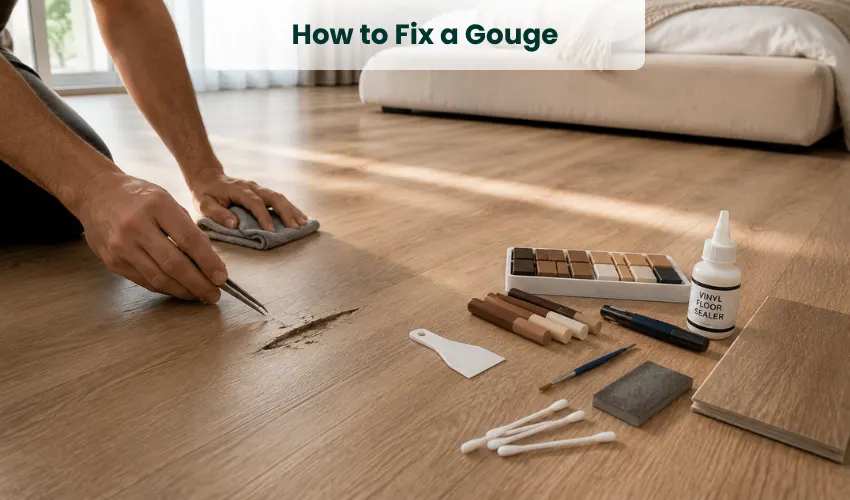
For fixing a gouge, we have listed some easy steps to perform:
- Wipe out and dry the gouge. Tweezers to pick off any loose vinyl flakes.
- Use a hard wax or vinyl repair compound that matches the color to fill in thin areas. A thin layer will cure better than one thick blob.
- Smoothen each layer, leveling it off, before building the next.
- Using fine touch-up markers or paint, rebuild the wood grain or stone pattern.
- To match, seal and cure.
Filling is usually not very attractive if the gouge is wider than a coin, or if the plank is chipped at the edge. It is time to think about changing the plank.
DIY vs Professional Repair
| Factor | DIY Repair | Professional Repair |
|---|---|---|
| Best for | Scuffs, light and deep scratches | Gouges, plank swaps, large areas |
| Typical cost | $10 to $40 for a kit | $75 to $300+ per visit |
| Time | 20 to 60 minutes | Scheduled visit |
| Color matching | Good with the right kit | Excellent, custom blended |
| Warranty risk | Check kit is approved | Keeps warranty intact |
| Result | Usually invisible standing up | Near seamless |
When to Call a Professional
- The scratch or gouge sits in the middle of an open room where it catches every eye.
- Your floor is under a wear-layer warranty, and DIY could void it.
- A plank needs replacing in a glue-down floor.
- You have several damaged planks and want a consistent match across all of them.
How to Identify Scratch Severity on Luxury Vinyl Flooring
Apply the fingernail test. Gently rub your nail over the mark, and see what happens. This single move gives a good idea of what you’re in for when it comes to repairs.
| Test Result | Scratch Type | What It Means | Repair Path |
|---|---|---|---|
| Nail glides, mark smudges | Surface scuff | Sits on top of the finish | Clean and wipe |
| Nail glides, thin silvery line | Light scratch | Wear layer only | Buff and polish |
| Nail catches slightly | Deep scratch | Reaches the printed design | Fill, color, seal |
| Nail drops into a groove or chip | Gouge | Into the core | Fill compound or replace |
Pro Tip: Clean the spot with a damp cloth and allow it to dry before assessing the depth. A thin layer of dust or floor polish could cause a shallow scuff to appear like a real scratch. Dirt in a matte finish is half of the ‘scratches’ that people fear.
Mistakes to Avoid While Repairing Scratches on Vinyl Floors
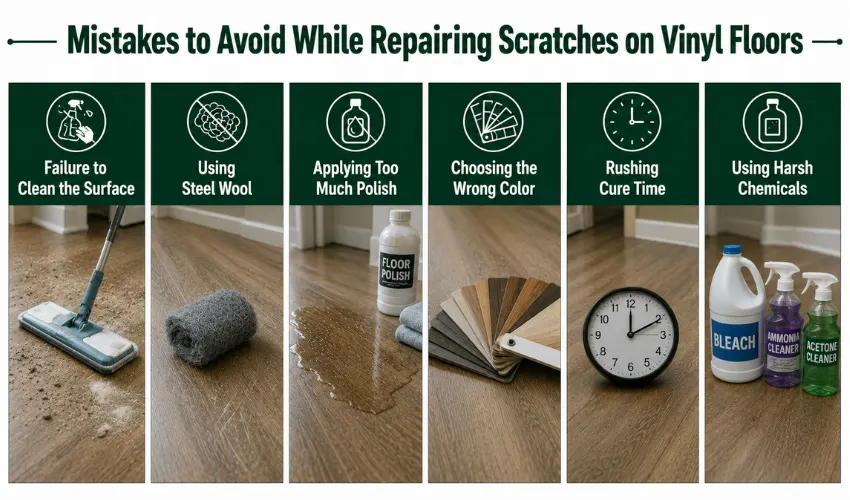
The majority of the floors seem to be worse after a repair on one of these. Follow this list prior to opening any product.
- Failure to clean out the step. The cleaner the surface is, the better the filler and polish will adhere.
- Scrubbing or steel wool. They have the capacity to scratch the wear layer much more than the original mark.
- Too heavy use of oil or polish. Too many turns make the floor slippery and cause it to collect dirt.
- Choosing a color from memory. Fill in the plank in daylight, not from the shelf.
- Shorter than normal cure time. Cure time rushed. It is smeared with wet filler then buffed away, destroying the blend.
- Cleaning with acetone, bleach, or ammonia. They result in a permanent blunting or cloudiness of the wear layer.
How To Repair LVT Scratches
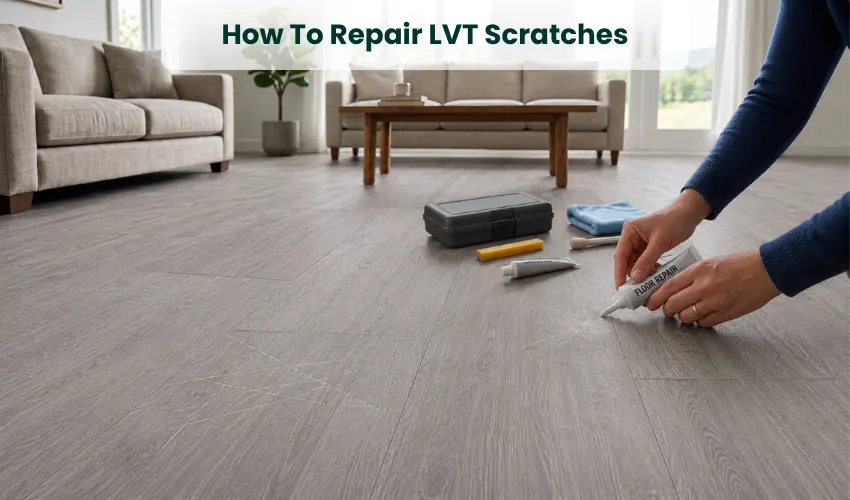
LVT scratch repair functions a bit differently than typical vinyl repair. In that LVT typically has a thicker, tougher wear layer, which means light scratches will buff out, while deep gouges will need a stiffer filler to level off. The layered build is identical; the fingernail test and the above still apply.
LVT (Luxury Vinyl Tile) is the stone- and ceramic-look version of luxury vinyl. LVP is the plank version, which is similar to wood. Both are used by people for the use of “luxury vinyl. Take the worn area and design print into account when repairing, not the piece itself; thus, a stone-look LVT and a wood-look LVP are repaired in the same manner.
Step 1: Identify the Type of Scratch
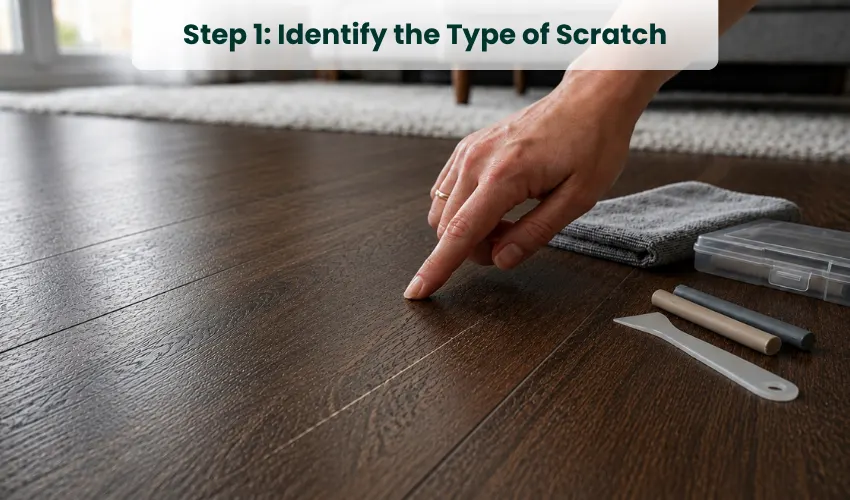
Prior to beginning, check the damaged area. Scratch the fingernail along the scratch. If your nail does not catch, then it is a surface scratch and can generally be buffed off. If your nail catches, the wear layer has been damaged, and the scratch will require filling and color restoration.
Step 2: Take care of the Damaged Area
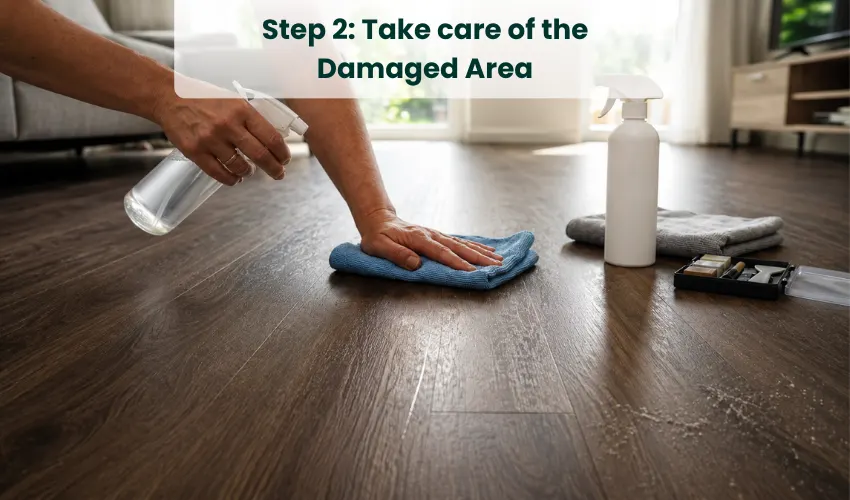
Use a pH-neutral vinyl floor cleaner and a microfiber cloth to dust, dirt and grease. Wait until the surface is completely dry before using any repair products to ensure that the products adhere well.
Step 3: Fill-in Light Surface Scratches
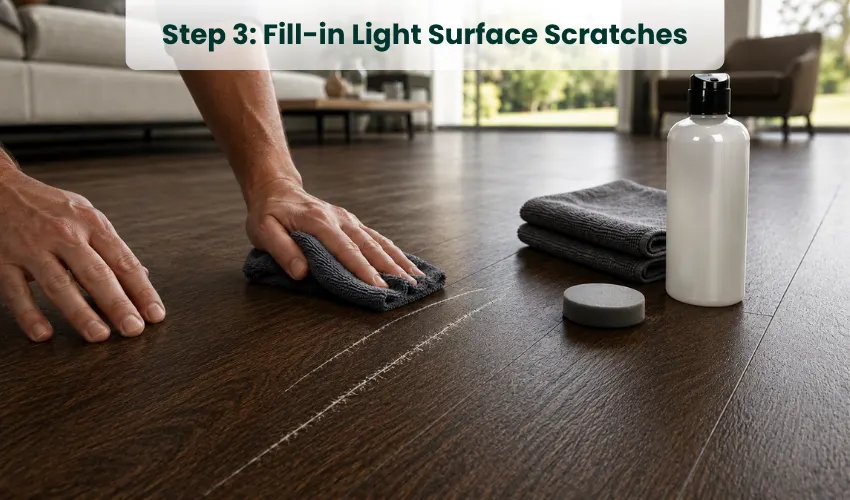
Scratches can be gotten rid of with a vinyl floor polish or scratch remover and soft cloth for shallow ones. Rub the area in small circular movements to make the scratch part of the rest of the finish. Light scratches may go away with just a single application thanks to the thicker protective layer of LVT.
Step 4: Fill Deep Scratches
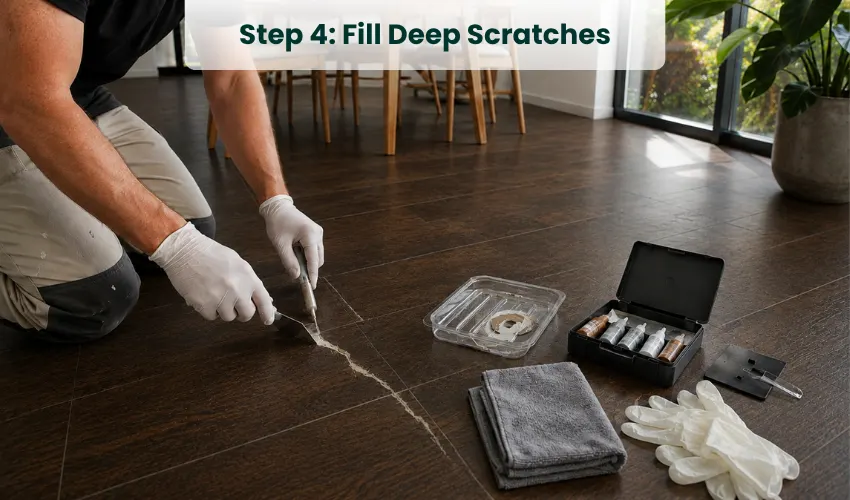
If the scratch has gone through the wear layer, use a firm, same-color vinyl repair compound. Pack the filler firmly into the scratch; remove excess material and level the filler off to be flush with the rest of the tile. Let the repair cure as per the manufacturer’s instructions.
Step 5: Recreate the Stone Pattern
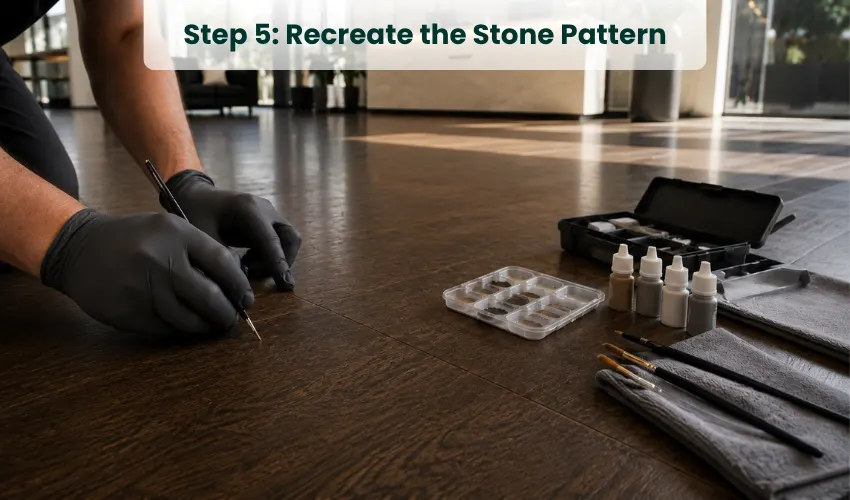
Stone-look LVT has natural speckles, mineral textures, and subtle veins. Once the filler is set, apply the same colors to the damaged area with a fine artist’s brush. Do not paint long strokes, small dabbing strokes will produce a much more natural stone look.
Step 6: Repair Gouges and Texture
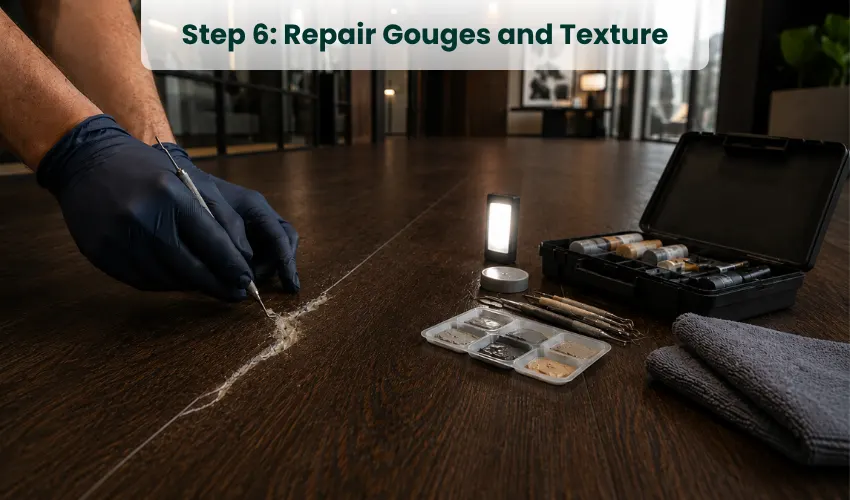
If the gouging is deep, repair with a solid repair compound. When hardened, duplicate any embossed texture or grout lines using a fine sculpting tool before the repair has completely cured. This will make it easier for the repair to blend in with the rest of your flooring.
Step 7: Reinstall Grout Lines (if applicable)
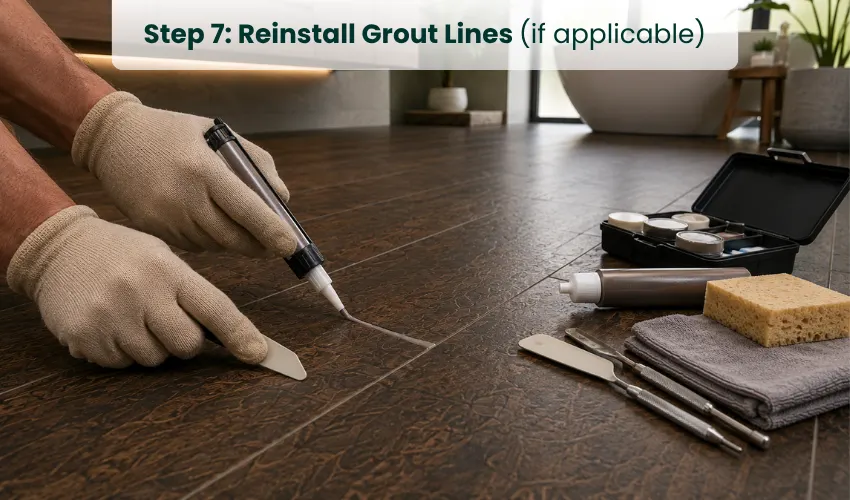
In the case of LVT flooring with grouted joints, damage to the grout lines must be repaired with a matching vinyl grout product, not a vinyl filler. This leaves the floor looking and feeling natural, and keeps any joists from showing up in the middle of the floor.
Best Repair Techniques for LVT
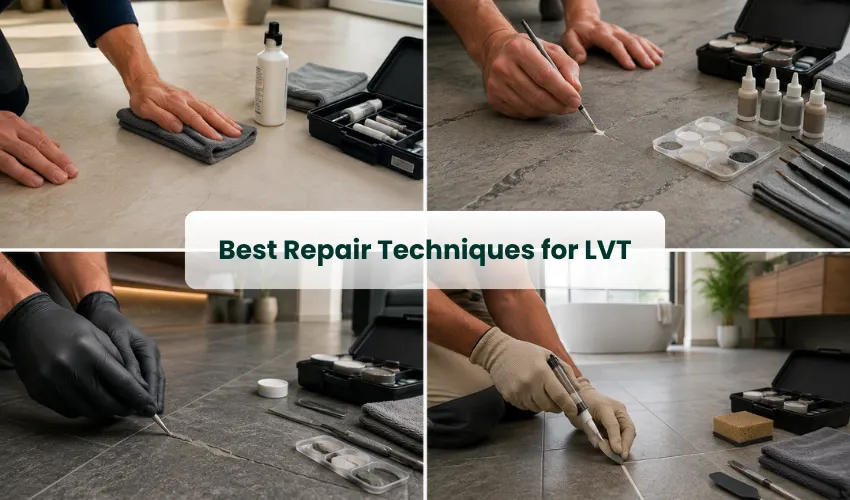
- Light scratches: Buff using vinyl polish. They are generally covered up after the first pass with a thicker finish for LVT.
- Deep scratches: Refill and recreate the stone pattern using a fine brush. Speckled and veined stone prints do not need to be stroked; they only need to be dabbed.
- For gouges, use a firm color-matched compound and re-create the grout line or texture using a fine tool.
- If there is any damage to the grout line in grouted LVT, use the vinyl grout, not the plank filler, to repair it.
Recommended Products for LVT
| Damage | Best Product Type | Why It Suits LVT |
|---|---|---|
| Light scratch | Vinyl polish or finish restorer | Fills fine lines in a thick wear layer |
| Deep scratch | Repair kit with stone-tone color pens | Rebuilds speckled stone print |
| Gouge | Firm hard-wax fill stick | Holds shape in a rigid tile core |
| Grout line | Vinyl grout filler | Matches the recessed joint, not the tile |
How to Protect Vinyl Flooring from Scratches
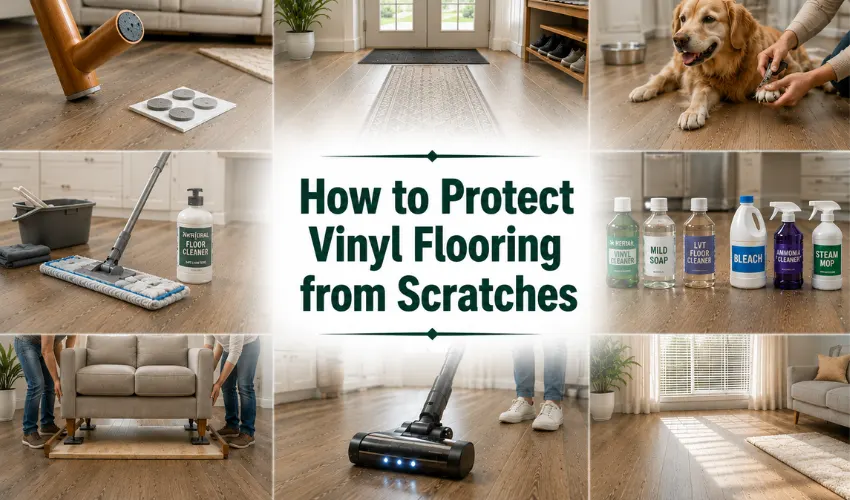
The first (best) scratch repair is the one that’s not needed at all. The three elements for protecting vinyl flooring are Grit, friction, and pressure. Pad furniture, catch dirt at the entrance, cut pet nails, and clean properly. These and most floors will remain scratch-free for years.
1. Furniture Pads
The single biggest step you can take is to have felt pads under each of your chairs, tables, and sofa legs. They make a metal or wood foot into a soft glide. You should review them periodically, as old felt will get gritted up and begin to gouge the floor it’s supposed to be protecting.
- Have felt pads for chairs and light furniture.
- Place rubber or non-marking cups under heavy objects that don’t move often.
- Change pads when they become flat or filled with grit.
2. Area Rugs and Entry Mats
The majority of damaging grit walks come in your shoes. A washable mat is located at each entrance to stop it from hitting the floor. Instead of vinyl, runners are worn down in hallways and rugs are worn in high-traffic paths. Look for vinyl-safe rug backing, as some rubber and latex will stain or yellow the rug over time.
3. Pet Nails
Lots of scratches on vinyl are usually from cats and dogs turning corners quickly or scratching while playing, which can occur with long nails or ones that have not been trimmed. Keep nails trimmed. Cover the bowl of drinking water and bowls with a mat. A quick paw clean after muddy walks will eliminate the most damaging grit.
4. Proper Cleaning Methods
Slowly clean up scratches on floors. Dry, dirty grit you drag around with a mop is like fine sandpaper each time you go through the region. Wash properly, and the grinding is eliminated.
- Sweep or dust-mop every day in areas where there is significant use to pick up the grit.
- Use a damp mop (not a soaking-wet mop) using a pH-neutral cleaner.
- Clean up spills made immediately to prevent a gritty film.
- Only use wax, polish, buildup, and harsh chemicals if recommended by the manufacturer.
5. Vacuum Recommendations
Only one that is vacuumed with a beater brush off is floor safe. Grit can be thrown onto the work by a spinning brush roll, and this can damage the surface. Always use the hard floor or bare floor setting.
- Select a vacuum that has a hard floor setting or a hard floor roller.
- Turn off the beater bar/brush roll for vinyl.
- Inspect wheels to see if there is any grit that may be dragging lines on planks.
- A robot vacuum on a bare-floor setting is a safe day-to-day helper
6. Suitable Floor Cleaners
| Use This | Avoid This | Reason |
|---|---|---|
| pH-neutral vinyl cleaner | Bleach and ammonia | Harsh chemicals dull the wear layer. |
| Warm water and mild soap | Abrasive scouring powders | Grit scratches the finish. |
| Maker-approved LVT cleaner | Wax and oil-soap polish | Buildup traps dirt and causes haze. |
| Microfiber flat mop | Steam mop | Heat and moisture can loosen glue and edges. |
Warning
A steam mop is like a deep clean, but hot water can soften vinyl, melt the glue that holds the plank in place, and cause the edges of the planks to pop up. The majority of luxury vinyl warranties clearly state that steam cleaning is not covered. Use a damp microfiber mop.
7. Moving Heavy Furniture
Avoid dragging a fridge, sofa, or bookcase across vinyl. The most common cause of deep gouges is dragging. Use assistance to lift, or slide onto furniture sliders or a plywood path first. If moving appliances on wheels, use hardboard for the wheels to roll on, not the print.
8. High-Traffic Areas
Entryways, kitchens, and hallways are the most abused. Protect them on purpose. Place runners and mats on the most frequent lines. If possible, set up a shoes-off habit close to the door; the top grit scratcher is the street grit! Refinish these areas annually in these areas using a vinyl polish to maintain the wear layer.
9. UV Protection
The print will not scratch vinyl, but strong, direct UV exposure will fade it and sometimes causes planks to warp around large windows on the south side of the house. Older, brittle vinyl is more likely to scratch. Install blinds, sheer curtains, or a UV-filtering window film in sunny rooms. Regularly turn rugs to ensure even aging of the floor.
Can Deep Scratches Be Completely Removed?
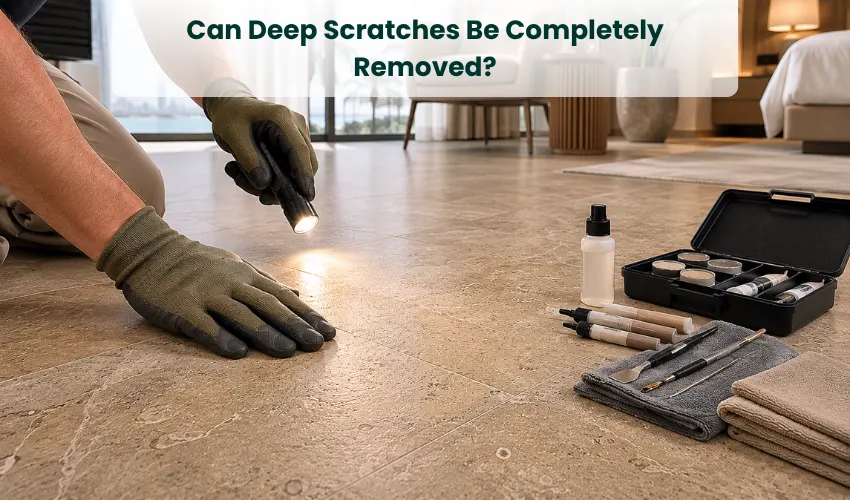
Not fully. Fill, color, and then seal deep scratches to make them undetectable to the naked eye, but don’t expect the original wear to grow back. If a line is a good repair, it will disappear in normal lighting. If you take a good look at the ground, you might still spot a glimmer. For the majority of spaces, this is sufficient. Replacement gives the ultimate seamless finish when a deep scratch is in a spotlight or when the plank is torn.
Best Vinyl Floor Scratch Repair Kits
You can’t go wrong with any of the following kits; it depends on your damage. Don’t look for a specific brand; purchase according to the task. The following table compares the common kit types.
| Kit Type | Fixes | Strength | Watch Out For |
|---|---|---|---|
| Color-pen + filler kit | Deep scratches | Versatile, many tones | Practice the blend first |
| Hard-wax burn-in kit | Gouges, chips | Fills and hardens well | Needs careful leveling |
| Liquid scratch remover | Light scratches | Fast, whole-room use | Cosmetic, reapply often |
| Touch-up marker set | Grain and color lines | Fine detail control | Match tone carefully |
Buying Tip
Take a picture of your floor or an extra plank with you when you purchase. Vinyl is available in warm and cool wood colors and dozens of stone colors. There is a kit with the same tone family, and it will always outperform a higher-priced kit in a different tone family.
When Should You Replace a Vinyl Plank?
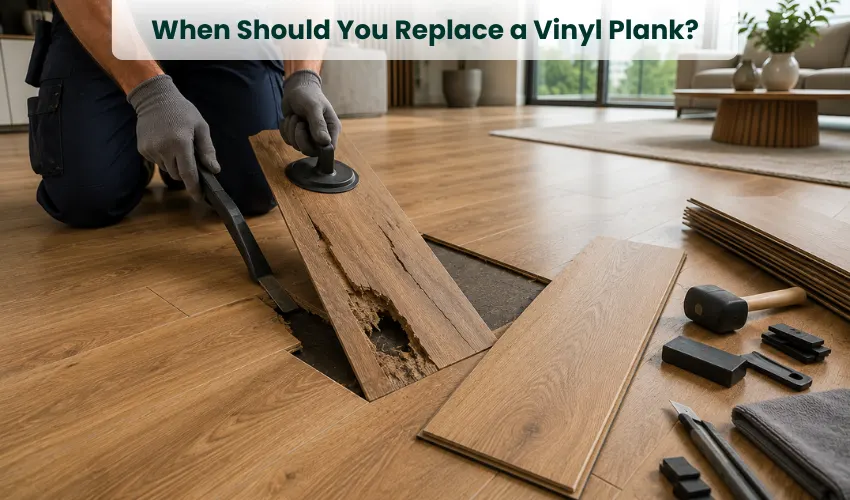
If damage is not cosmetic, replace the plank; don’t repair it. A hole in a plank will attract more attention.
- A gouge that is larger than a coin or that reveals the center of a tree.
- A line of cracks or a split in the plank.
- Curling, bubbling, or lifting edges close to damage.
- Water damage that has penetrated to the subfloor through the scratch.
Click-lock floating floors are the most effortless to do this with. Planks can be lifted off and placed on the damaged plank and then swapped, and everything is clicked home. Glue-down planks are more difficult and more likely to require the professional’s time. Always retain some planks from the original install as dye lots vary, and a perfect match later is unlikely.
How Long Do Scratch Repairs Last?
This will depend on the fix. Cosmetic polish does not last. Filled and sealed repairs are essentially permanent, except if the area suffers another serious pounding.
| Repair Type | Typical Lifespan | Notes |
|---|---|---|
| Oil or polish on a light scratch | Weeks | Reapply as sheen dulls. |
| Vinyl polish over a whole room | 1 to 3 months | Part of routine care. |
| Filled and sealed deep scratch | Long term | Lasts if not re-damaged. |
| Plank replacement | Permanent | As durable as the original. |
Can You Use Magic Erasers?
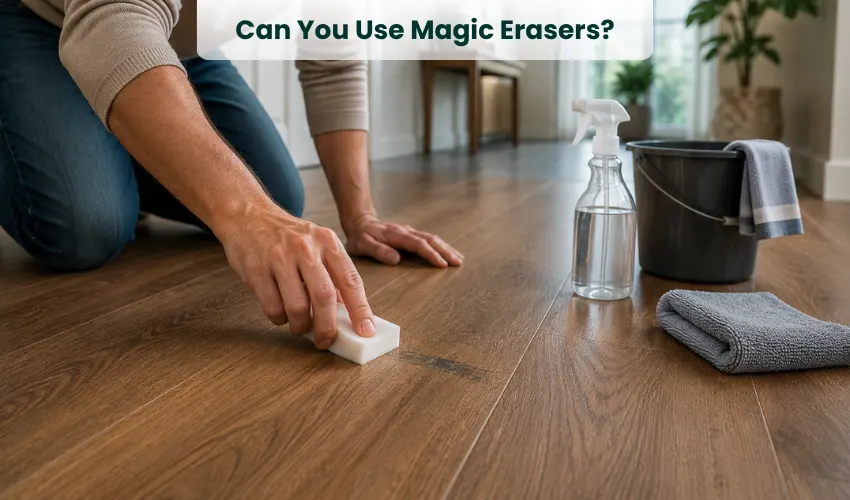
Yes, but with care, for scuffs. Black scuff marks and dirt are well lifted off with a melamine foam eraser. It does so by abrasion but in an extremely fine manner; however, if scrubbed too hard or frequently, it can spoil a shiny finish. Apply light pressure; only scuff, buff. Do not use one to “remove” one of the actual scratches, as it will not fill the scratch and can leave a hazy finish behind.
Can Wax Fix Vinyl Floor Scratches?
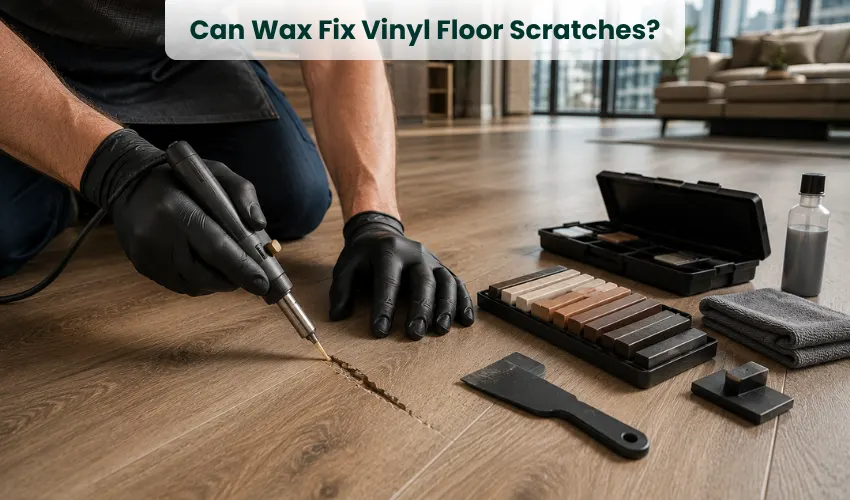
Deep scratches and gouges are well filled with color-matched hard wax. Regular floor waxes will not and can cause problems. It’s two very different products with the same name.
Hard wax burn-in sticks are designed to cover imperfections in vinyl and laminate. These melt, get stuck in the groove, and solidify. Ideal for deep scratches and gouges.
Liquid or paste floor wax is not a floor-filler. It accumulates, yellows, and collects dirt on most luxury vinyls, and many manufacturers recommend against it.
As long as it’s a hard filler wax (and the correct color for your floor), and then sealed, it can repair scratches.
Final Thoughts
Scratches on luxury vinyl flooring feel worse than they are. Once you learn to read a scratch, the fix almost always follows. Run the fingernail test, name the damage, then match your method to its depth. Scuffs wipe away. Light scratches buff out. Deep scratches fill and seal. Only torn or cracked planks need replacing.
Prevention is where the real win lives. Pad your furniture, trap grit at the door, keep pet nails short, clean with a damp microfiber mop and a pH-neutral cleaner, and never drag heavy items across the floor. With quality flooring solutions from Floor Land, following these simple care steps can help ensure repairs become rare events rather than a regular chore.
When damage runs deep, sits in plain sight, or your warranty is on the line, calling a professional is the smart, not the lazy, choice. Repair what you can, protect what you have, and your luxury vinyl will keep looking sharp for years.
Frequently Asked Questions
Does luxury vinyl scratch easily?
The wear layer makes luxury vinyl scratch-resistant, unlike laminate and most hardwood. It is not scratch-proof, however. Grit tracked in by furniture, pets, or even over time can still leave marks.
Which is the quickest method to repair the vinyl light scratch?
Massage a few drops of olive oil or vinyl polish onto the scratch, then buff the entire plank. The oil enters the groove and prevents light from reflecting. It’s a stylish solution, so redo it whenever it fades.
Does WD-40 take care of scratches on vinyl flooring?
WD-40’s ability to temporarily fill a light scratch is like oil. Afterward, clean off all traces; otherwise the floor is slippery and catches dust. Use a vinyl polish or a good repair kit for lasting effects.
Is it possible to repair a scratch without replacing the plank?
Almost always, yes. Repair in place includes cleaning, filling, and sealing of scuffs, light scratches, and most deep scratches. Only planks with tears, cracks and/or severe gouging should be replaced.
What do I do if the repair color isn’t the same as my floor color?
Make sure to compare the filler or touch-up pen with your plank in daylight (or with an extra plank). Vinyl is available in warm and cool versions; a tone family match is more important than the brand matching. Restore fine lines or marks to the grain.
Can we use a magic eraser on vinyl?
Yes, to scuffs, use light pressure. Melamine foam is slightly abrasive, and heavy scrubbing can dull a glossy surface. It will not hide a true scratch as it does not fill the groove.
Do steam mops harm luxury vinyl?
Yes. Vinyl can get soft, the adhesive can become loose, and the edges of the planks will swell when exposed to high heat, and most warranties do not cover steam cleaning. Instead, use a damp microfiber mop with a pH-neutral cleaner.
Are felt pads scratch resistant?
These are really useful. Felt pads transform hard furniture feet into soft glides and help to prevent most scratches from chairs and tables. Use them regularly; if grit gets stuck in them, they can become a scratcher.
What is the cost of vinyl scratch repair by a professional?
You can typically expect to pay $75 to $300, or more, per visit, depending on the extent of the damage and your location. A DIY kit runs $10 to $40. The pros are worth it for the gouges, plank swaps, and warranty-protected floors.
What can I do to prevent my dog from scratching the vinyl floor?
Trim nails, use play mats and bowls, and clean muddy paws at the door. Vinyl is seldom marked by walking. It’s the long nails and the little bit of trapped grit on quick turns that do.
Is it possible to completely remove deep scratches?
After filling, coloring, and sealing, typically yes, from a standing view. A slight residue can be seen up close at ground level. If you want a perfect look in a spotlight, then the only way to go is to change the plank.
How many times a year should I polish my vinyl floor?
Vinyl polish is applied to high-traffic areas every 1-3 months to maintain a smooth wear layer and conceal small scratches. It is used much less in low-traffic rooms. Always use a polish that’s specifically designed for luxury vinyl.


