
How to Clean Floor Tile Grout?

Dirt, grease, soap film, and moisture slowly build up in porous grout lines, dulling even well-maintained tiles. To clean floor tile grout, use a soft grout brush and scrub it with a pH-neutral tile cleaner or a baking soda paste. Rinse and dry thoroughly. This removes everyday dirt without harming most grout lines.
If you want to know how to clean grout on tile floor, the right way is to know what you are dealing with: light discoloration, grease, mold, or deeply embedded stains. Grout is more porous than tile and therefore more prone to absorbing dirt. Routine maintenance is essential. In this guide by Floor Land, you will learn the best cleaning techniques, products to use, mistakes to avoid, and helpful tips to keep your tile grout clean, bright, and in great shape for years to come.
Why Grout Gets Dirty in The First Place
Most residential grout is made from cement. Under a microscope, cured cement grout looks like a sponge, a web of tiny pores that attract water, oils, and pigments through capillary attraction. Once that soil gets into those pores, surface mopping can’t touch it.
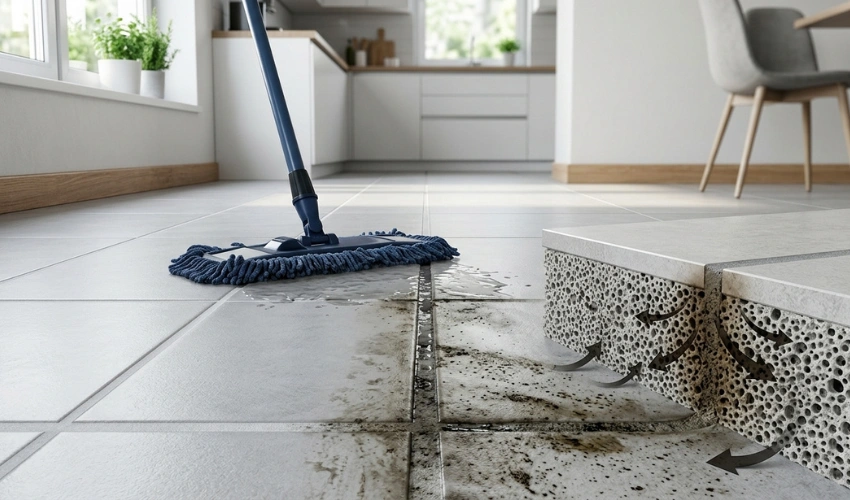
What’s worse is that when you mop, you’re moving dissolved dirt across the floor and into the grout joints, which are a bit below the tile. That is why the grout regularly gets darker after years of mopping. Grout and a concrete floor are the same material in different shapes, so the same rule governs both: alkaline cleaners are safe, acids are not. The technique differs, but the chemistry behind cleaning concrete floors is identical.
Required Tools & Materials
1. Preparation
Vacuum or sweep up first. Once wet, loose grit turns into abrasive mud, and dragging it around will scratch glazed tile.
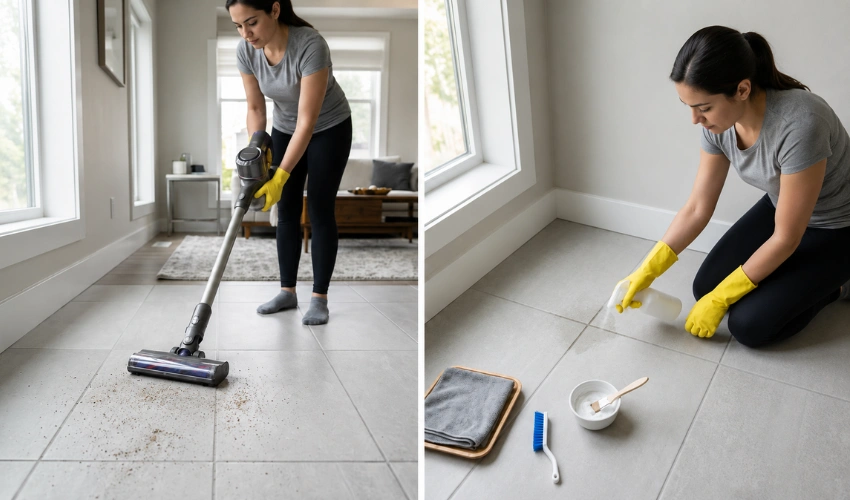
Then try your selected cleaner on an inconspicuous area of grout, wait 10 minutes, rinse, and look for a color change as it dries. Testing feels like a delay, but colored grout can lighten unevenly, and there is no undo for that.
2. Cleaning Procedure
Read the best grout cleaning process to keep space looking pristine.
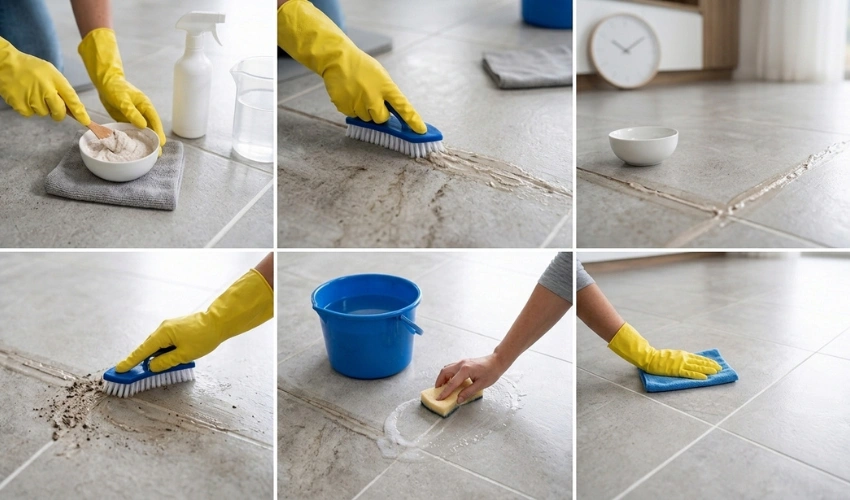
1. Make a Baking Soda Paste
Make a thick paste with three parts baking soda and one part warm water; it should stick when applied. For stubborn stains or discoloration in grout, use hydrogen peroxide instead of water for extra cleaning power. Baking soda is a mild abrasive, so it helps lift dirt. It is also mildly alkaline, helping it break down grease and oils trapped in the porous grout.
2. Apply Paste to the Grout
Press the paste firmly into the grout lines with a gloved finger or a grout brush. Be sure all joints are fully exposed so the cleaner can reach dirt embedded just below the surface, not just the top layer.
3. Allow the Paste to Sit for 10 minutes.
Leave the paste on the grout for approximately 10 minutes and then scrub. The dwell time allows the cleaning solution to soak into the pores of the grout and break up the dirt, which means you need to scrub less.
4. Scrub the Grout Lines
With a grout brush or soft-bristle toothbrush, scrub the grout line using short, controlled strokes. You are brushing in the direction of the joint, keeping the bristles in the grout, so cleaning is more effective, and the unnecessary wear on the edge of the tile is kept at a minimum.
5. Wash Thoroughly With Clean Water
Wash away the loosened dirt and the residue of the baking soda by rinsing the area with clean, warm water. Rinse the water often, because dirty water can deposit dirt back into your grout and make your cleaning less effective.
6. Dry the Surface
Wipe the floor with a microfiber cloth or dry mop immediately after rinsing. It also stops dirt from settling in, discourages mold and mildew growth, and helps keep grout lines cleaner for longer.
3. After Cleaning
Give the grout 24 hours to cure completely, then test it by dripping a few drops of water onto a joint to see if it still immediately darkens. If it absorbs within a minute or two, the grout is unsealed, or the sealer has worn off, and resealing is your next job.
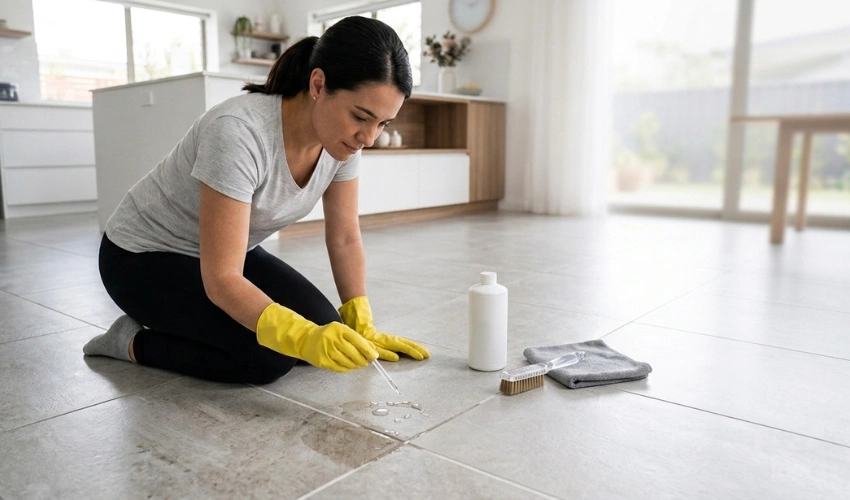
A penetrating grout sealer fills the pores that hold dirt. It’s the difference between cleaning this thoroughly once a year and once every five years.
How to Clean Floor Tile Grout Without Scrubbing?
The two no-scrub methods that actually work are steam cleaning and oxygen bleach soaks. Steam softens soil through heat and vapor pressure. Oxygen bleach chemically removes stains over a long dwell time. Both work well on moderate soil but still require a bit of scrubbing on heavy stains. There is no way to remove deep-set staining without effort.
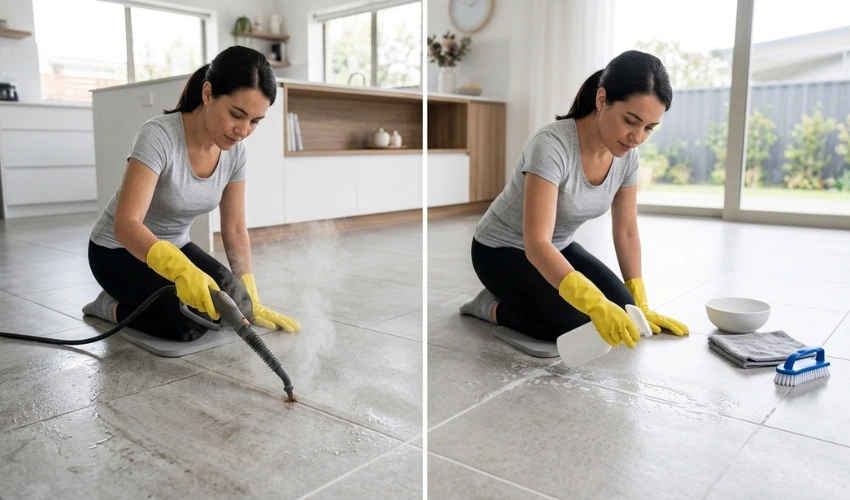
Honesty is important here, because “no-scrub” is one of the most over-promised claims in cleaning.
1. Steam Cleaning
Steam Cleaning lifts soil out of the pores by softening it with vapor at well over 100°C, and a microfiber cloth wipes it up.
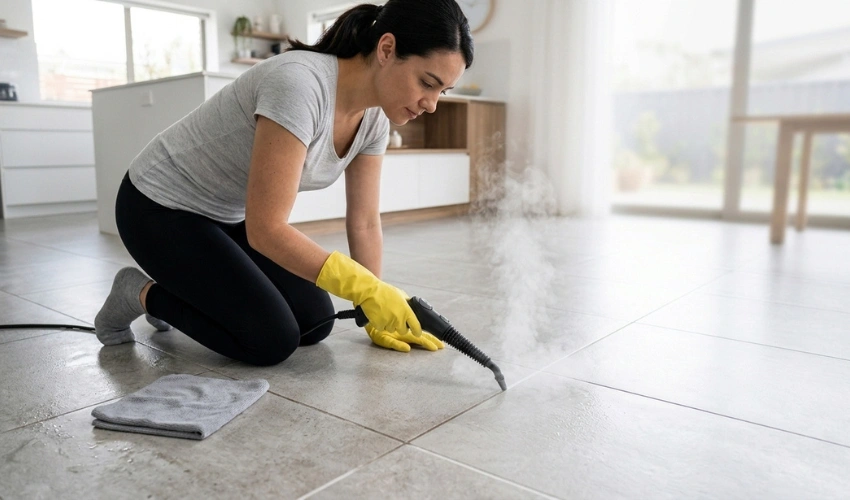
It doesn’t use any chemicals, so it is a good choice around children and pets, and with reasonable care is safe on sealed natural stone. A couple of aggressive steam passes over and over can degrade some sealers over time.
2. With Oxygen Bleach
You can deep clean tile grout with oxygen bleach (sodium percarbonate, sold in powder form). Dissolve in warm water. Flood grout lines and keep wet for 15 – 30 minutes while released hydrogen peroxide oxidizes stains.
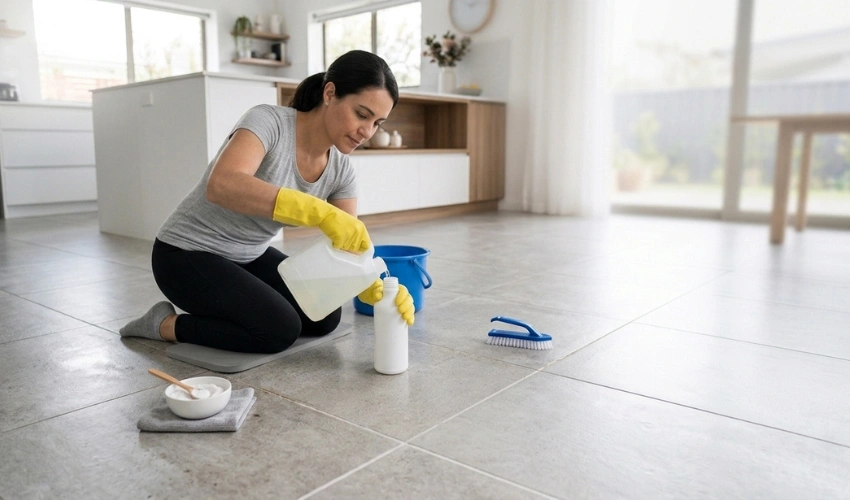
A light pass with a brush or even a stiff broom afterward finishes the job. That’s a lot less work than paste-and-scrub on a big floor.
3. Enzyme Cleaners
Enzyme cleaners work to digest organic soils such as oil and food residue. They work slowly and work on organic stains and odors, but do nothing for mineral deposits or dye stains, so treat them as a niche tool rather than a first choice.
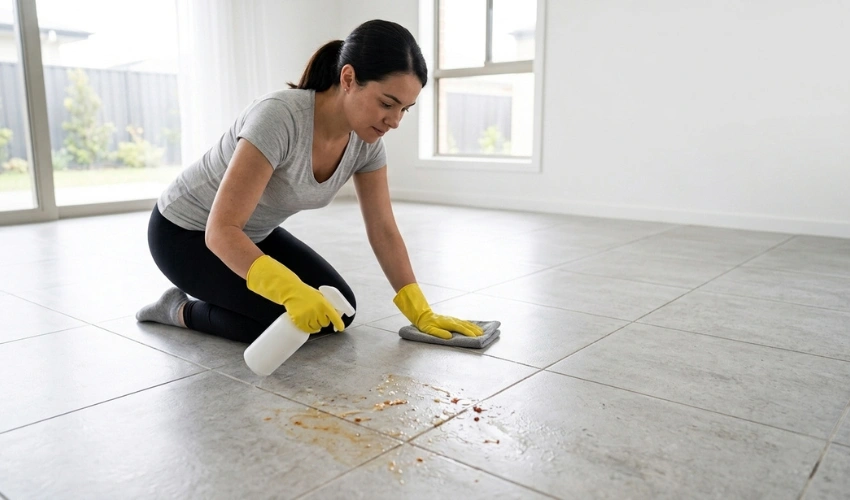
When no-scrub is realistic: moderate, evenly distributed dirt on a floor that is at least occasionally cleaned. When that is not: years-old stains, dye penetration, and rust tints. Those need targeted chemistry, real agitation, or professional restoration. Any product that says otherwise is overselling you.
How to Clean Grout Lines Room by Room
Grout lines in all the rooms fail differently. Bathrooms get mold and soap scum buildup, kitchens grease, and entryways grind in abrasive dirt. Match cleaner to room. Use disinfectants in wet areas. Use degreasers in kitchens. Use frequent dry sweeping and alkaline cleaning in entrances.
1. Floors of Bathroom and Shower
Shower grout stays wet, warm, and fed with soap and skin oils, all things mold and mildew like. To clean the shower tile grout, use a dedicated mildew remover, or a carefully diluted chlorine bleach solution, on white cement grout only for visible black or pink growth.
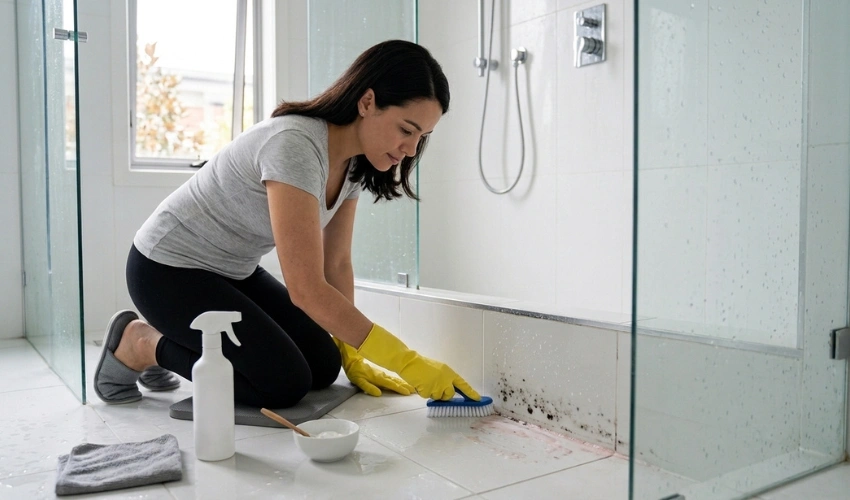
Let it sit for about ten minutes, scrub lightly, and rinse well. Chlorine should not be used on colored grout (or any natural stone) and should be replaced with a hydrogen peroxide paste. Chlorine removes the pigment from colored grout and can damage stone. Make sure to keep the room ventilated and wear gloves
2. For Kitchen
Kitchen grout is usually stained by grease and food, so alkaline chemistry is your friend here. A baking soda paste takes care of light film. Sticky brown buildup near the stove is taken care of by a commercial alkaline grout cleaner.
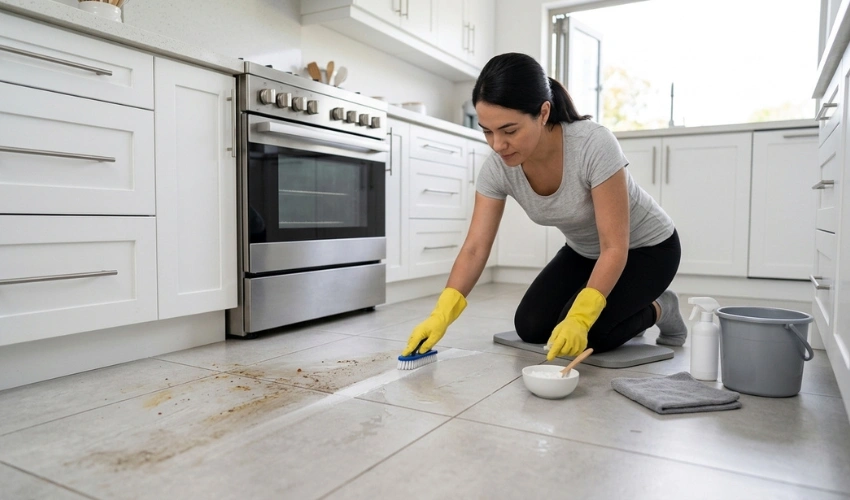
Wipe spills immediately. Unsealed cement grout can be permanently stained by substances such as tomato sauce, turmeric, coffee, and oil in just a few hours.
3. Entrances & Corridors
Staining is not as much of a problem as ground-in grit on traffic areas. The fix is boring but effective: doormats at each entrance, frequent vacuuming, and a standard baking soda clean when the lines darken.
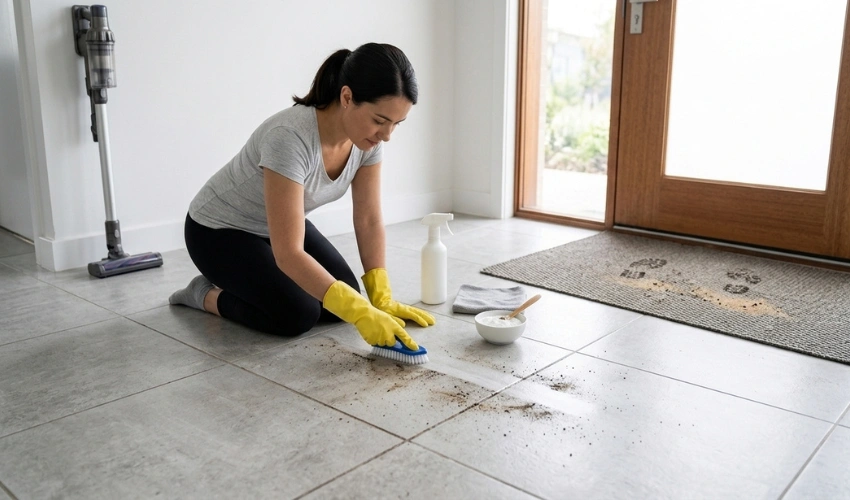
Grit is also what wears sealer off the fastest, so entry grout usually needs resealing sooner than the rest of the house.
4. Grout with Heavy Stains
If the grout is uniformly dark from years of neglect, work in stages: Begin by soaking the entire floor with an oxygen bleach, which will lift a surprising amount with little scrubbing. Follow up with a spot treatment on the worst joints.
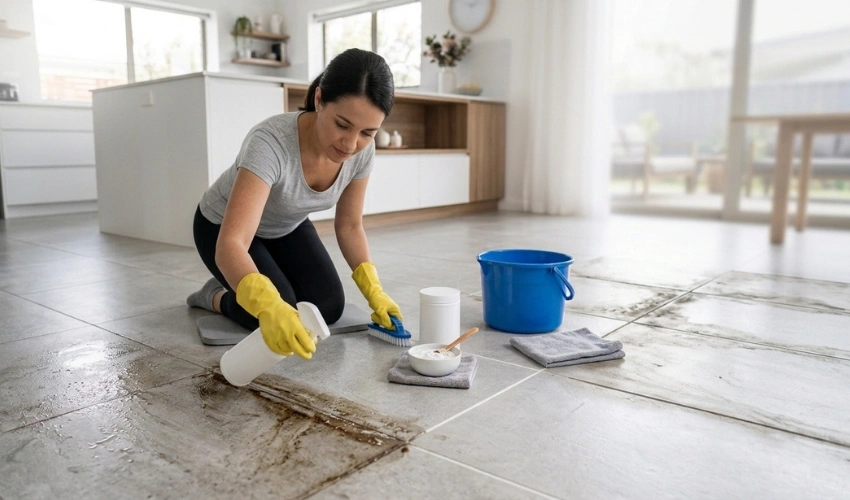
If the color still doesn’t change, the stain has gone deeper than any cleaner can reach, and your realistic options are grout colorant/color sealer or regrouting, both covered below.
Best Grout Cleaner
For routine soil, the safest is a paste of baking soda or a pH-neutral tile cleaner. Oxygen bleach soaks work well for deep stains in white cement grout. Keep pH neutral on natural stone. No one product is best for every floor.
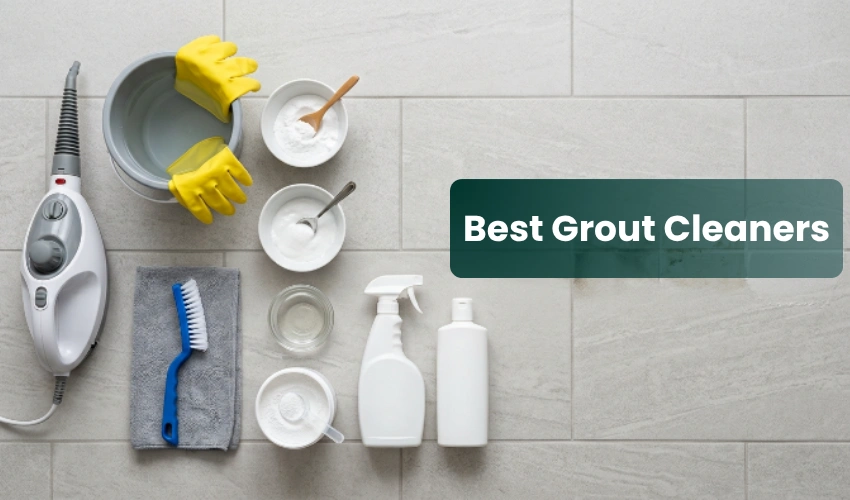
If someone tells you that one bottle solves every grout problem, they’re selling that bottle. Here’s a no-bull look at the most worthwhile options.
| Cleaner | Best For | Safe on Natural Stone | Scrubbing Required |
|---|---|---|---|
| Baking Soda Paste | Everyday soil and light grout stains. | Yes | Moderate |
| Baking Soda + Hydrogen Peroxide | Discolored white or light-colored grout. | Usually (Spot Test) | Moderate |
| Oxygen Bleach (Sodium Percarbonate) Soak | Heavy discoloration across large tiled floors. | Spot Test First | Light |
| pH-Neutral Tile Cleaner | Routine cleaning on all stone surfaces. | Yes | Light |
| Diluted White Vinegar | Hard water deposits and soap scum on ceramic or porcelain tiles. | No | Light–Moderate |
| Alkaline Commercial Grout Cleaner | Greasy kitchen grout and stubborn grime. | Check Label | Moderate |
| Steam Cleaner | Chemical-free deep cleaning of grout and tile. | Yes (With Care) | Minimal |
Know Your Stain Before You Select a Cleaner
Discoloration is a different chemistry; using the wrong product can set a stain instead of removing it:
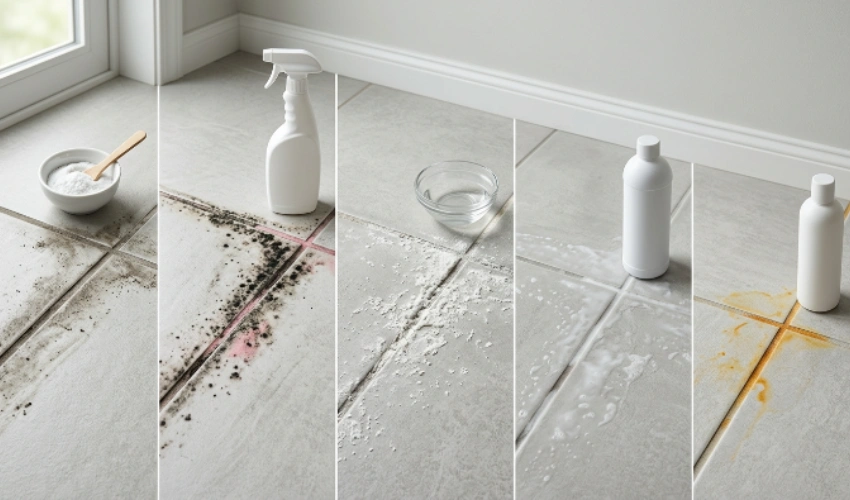
- General grey or brown soil is tracked-in dirt and body oils. Alkaline cleaners and mild abrasives are most effective.
- The black or pink growth you see in wet areas is mold or mildew. It needs a disinfectant.
- White crusty haze is normally efflorescence (mineral salts that have migrated out of the grout) or hard water deposits. These are mineral problems. Soap scrubbing does almost nothing. They need mild acid. Mild acid is only safe on certain surfaces.
- Cloudy film in showers is soap scum, soap combined with hard water minerals. You can treat it with the commercial cleaners.
- An orange or yellow tint near showers is often caused by iron in the water or dye transfer from products. This is one of the harder stains to reverse.
Common Mistakes During Grout Cleaning
Most grout damage comes from the cleaning, not the dirt. The frequent offenders:
| Mistake | Why It Causes Damage | Do This Instead |
|---|---|---|
| Using Chlorine Bleach Routinely | Repeated bleach use weakens cement grout and fades colored grout over time. | Reserve diluted bleach for mold removal on white grout only. |
| Vinegar on Marble or Travertine | Acid permanently etches calcium-based stone, leaving dull and damaged spots. | Use a pH-neutral cleaner designed for natural stone. |
| Wire Brushes or Abrasive Pads | They scratch glazed tiles and erode grout joints. | Clean with a stiff nylon grout brush instead. |
| Flooding the Floor with Water | Excess water carries dissolved dirt back into the joints and encourages mold beneath the surface. | Damp-clean, rinse lightly, and dry the floor thoroughly. |
| Mixing Bleach with Vinegar or Ammonia | This chemical reaction produces dangerous chlorine gas. | Never mix cleaning products and always rinse surfaces before switching cleaners. |
| Skipping the Spot Test | Colored grout can lighten or discolor permanently with some cleaners. | Always test every new cleaner on a hidden area first. |
| Never Resealing the Grout | Unsealed grout absorbs dirt and moisture, causing stains to return much faster. | Apply a penetrating grout sealer after every deep cleaning. |
Epoxy grout is different. Basically plastic, almost non-porous, stains rarely. If your grout has stayed clean for years without any work, this is probably epoxy, and most of the heavy-duty advice in this article won’t be necessary for you.
When Professional Grout Cleaning Is Worth It
If the color of the grout doesn’t change with DIY cleaning, the grout is cracked or crumbling, or you want color sealing or regrouting, call a professional. Professionals use truck-mounted hot water extraction and commercial-grade chemistry that penetrates deeper than household tools can, and can restore or replace grout that cleaning alone cannot.
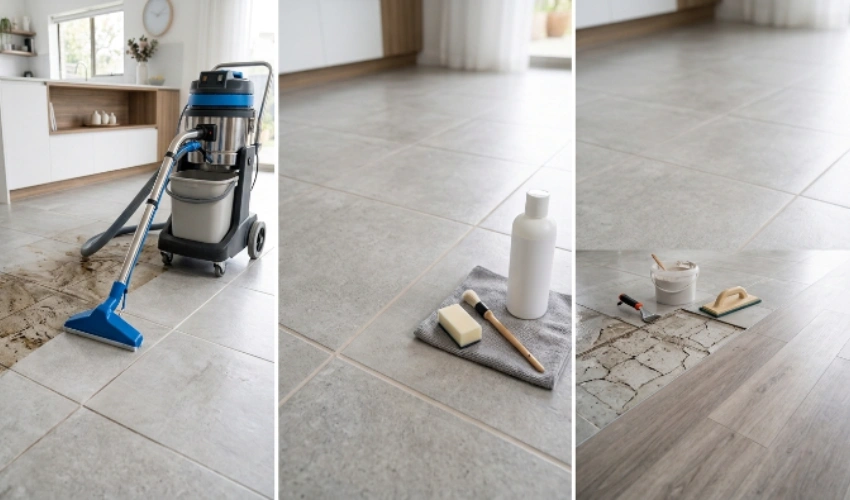
Restoration Cleaning. A professional cleaning process uses heated cleaning solution, agitation, and vacuum recovery to remove dissolved soil from the joints, rather than spreading it around. For large or badly neglected floors, the result is usually better than anything a DIY method can achieve.
Color Sealing. If grout is somewhat clean but permanently discolored, a professional color sealer will apply a uniform, stain-resistant pigmented coating over the joints. It provides a more even appearance without any re-coloring and usually outlasts many bleaching attempts.
Regrouting. Cracked, crumbling, or missing grout is a waterproofing problem, not a cleaning problem. If joints fail, water can get in, loosening tiles and damaging the substrate below. Regrouting removes the top layer of old grout and replaces it. It is also the only real fix for staining that goes all the way through the joint. Many homeowners replace the whole surface with LVT flooring instead. These click-lock floors have no grout lines at all, so there’s nothing to scrub, seal, or stain
Frequently Asked Questions
Diluted white vinegar is fine to use occasionally on sealed cement grout with ceramic or porcelain tile for hard water deposits and soap scum. Never use it on marble, travertine, limestone, or unsealed grout. Acid etches stone and slowly eats away cement.
No. Baking soda is one of the mildest effective options. It is a mild abrasive and mildly alkaline. Rinse it well so no white residue remains in the joints.
There is no best. Routine soil: Paste of baking soda or pH-neutral cleaner; Deep stains on light cement grout: Soak with oxygen bleach; Greasy kitchens: Alkaline degreaser; Anything on natural stone: pH-neutral only.
No, on sound, well-maintained grout. Yes, on cracked or crumbly grout. Heat, moisture, and pressure can cause failure to expand. Sealer life can also be reduced by frequent aggressive steaming.
In dry areas, black grout is usually dirt and oils. Most commonly, it is mildew or mold that feeds on soap residue and moisture in wet areas. The fix is different, so figure out which one you have before you pick a cleaner.
Most use hot water extraction. Commercial alkaline or specialty cleaners with dwell time, mechanical agitation, followed by high-temp rinse and vacuum recovery. Many also finish with sealing or color-sealing.
Cement-based grout usually requires a penetrating sealer every one to two years, more often in showers and entryways. Use the water drop test between applications and follow the stated interval by your sealer manufacturer. Epoxy grout is not required to be sealed.
Sometimes. If the yellow is due to surface staining from oils, smoke, or products, an oxygen bleach or a peroxide paste will restore much of the original color. If the dye or rust has gone too deep, or the grout has aged, the honest answer is color sealing or regrouting.
Aggressive cleaning, especially with acids, strong alkalis, and repeated steam, will wear sealer down. After any deep clean and re-seal run the water-drop test if water absorbs quickly.
Yes, mostly. White grout shows everyday soil, so designers often spec mid-tone and darker grout for floors, which hide it much better. It still needs to be sealed and cleaned; it just tolerates neglect for longer.
Final Words
Cleaning floor tile grout is primarily about sequence: identify the grout and tile, diagnose the stain, start with the mildest cleaner that applies, give it dwell time, and seal afterwards. Baking soda and oxygen bleach will cover most homes. Steam blankets the scrub-phobes. The professionals cover the floors that are not just cleanable but need restoration. Do the sealing step that most skip, and the next deep clean will be a fraction of the work this one was.


