How to Clean Shower Tiles and Grout
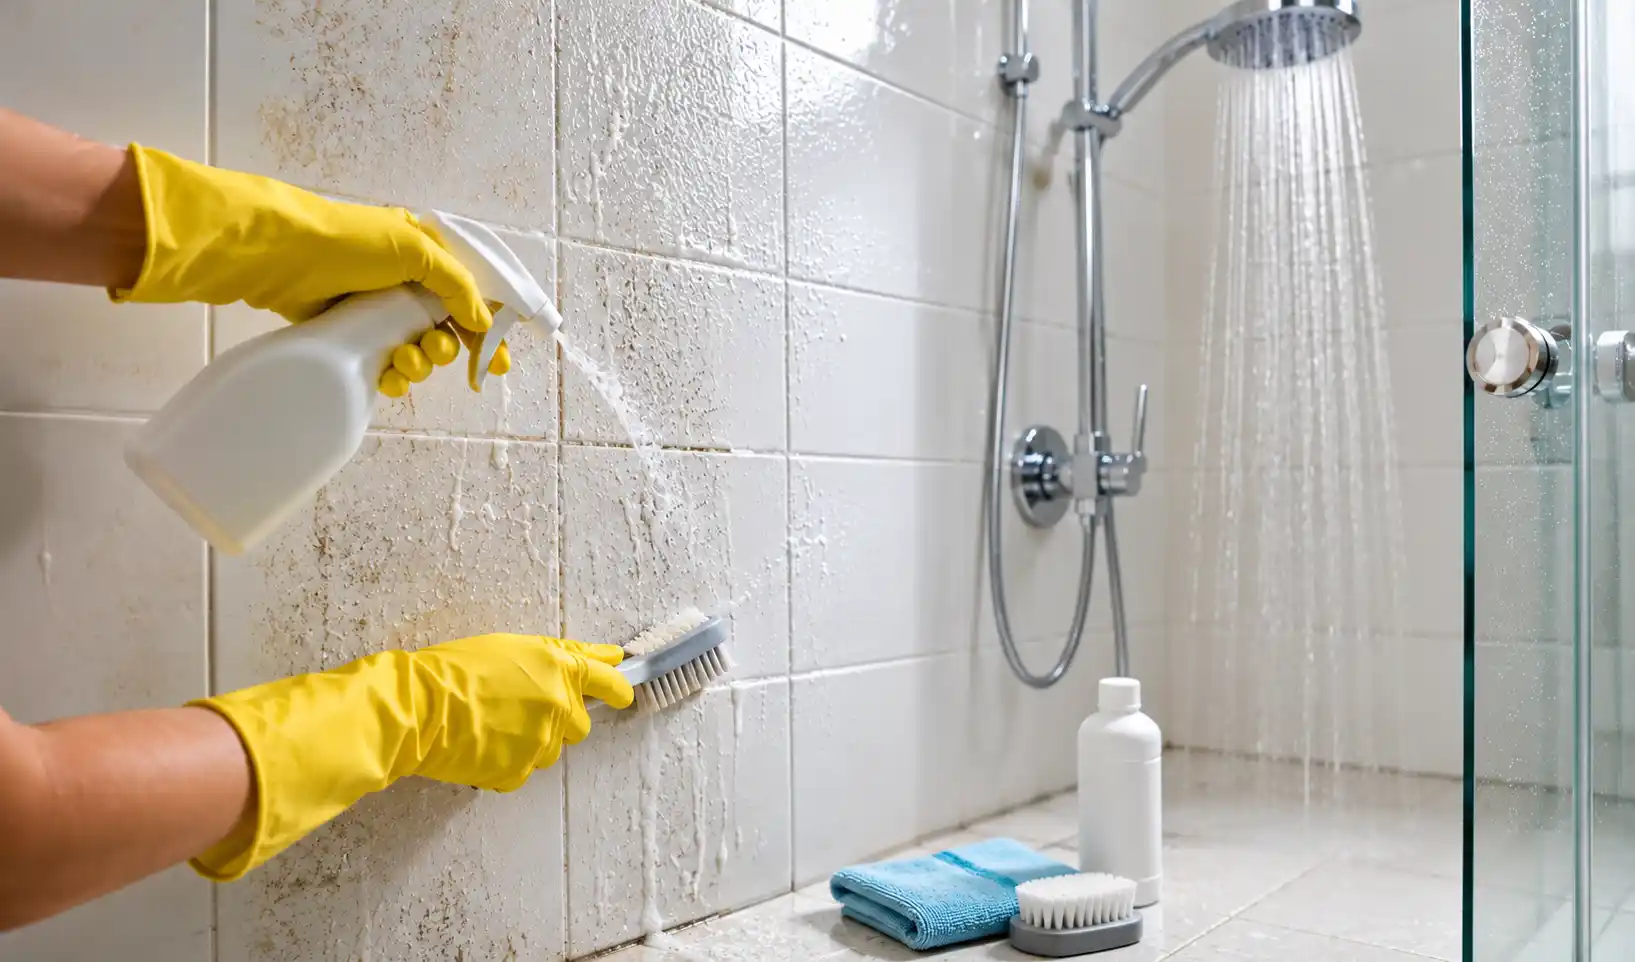
Stained shower tiles can ruin the overall look of your bathroom. To clean these dirty tiles and grout, treat soap scum, mineral deposits, mold, and everyday grime before they become difficult to remove. Ceramic and porcelain tiles in the bathroom can easily be cleaned with a pH-neutral cleaner mixed with warm water and dish soap. For the grout, you can use baking soda paste and gently scrub it with a brush.
This complete guide by Floor Land explains the techniques to clean the shower tiles with the best cleaners. At the end, you will learn the practical tips to keep your shower fresh, clean, and free from mold and mildew growth.
Tools & Materials Required
There is no need to have a cupboard full of tools and essentials for cleaning tile, shower, and grout.
| Tool | Purpose |
|---|---|
| Exhaust Fan or Open Window | Improves ventilation while cleaning. |
| Spray Bottle | Applies cleaning solution evenly. |
| Non-Scratch Sponge | Cleans tiles without scratching. |
| Grout Brush or Old Toothbrush | Scrubs dirt from grout lines. |
| Microfiber Cloth | Dries and polishes tile surfaces. |
| Squeegee | Removes water from tiles and glass. |
| Rubber Gloves | Protect your hands from cleaners. |
| Tile Cleaner | Removes dirt, grease, and stains safely. |
| Steam Cleaner (Optional) | Loosens stubborn dirt with steam. |
| Oxygen Bleach (Optional) | Removes deep grout stains. |
| Hydrogen Peroxide (Optional) | Treats mold and grout discoloration. |
| Grout Pen (Optional) | Refreshes the color of stained grout. |
9 Proven Ways to Clean Shower Tiles and Grout
If you want to revive the look of your dirty shower, follow these easy and effective ways.
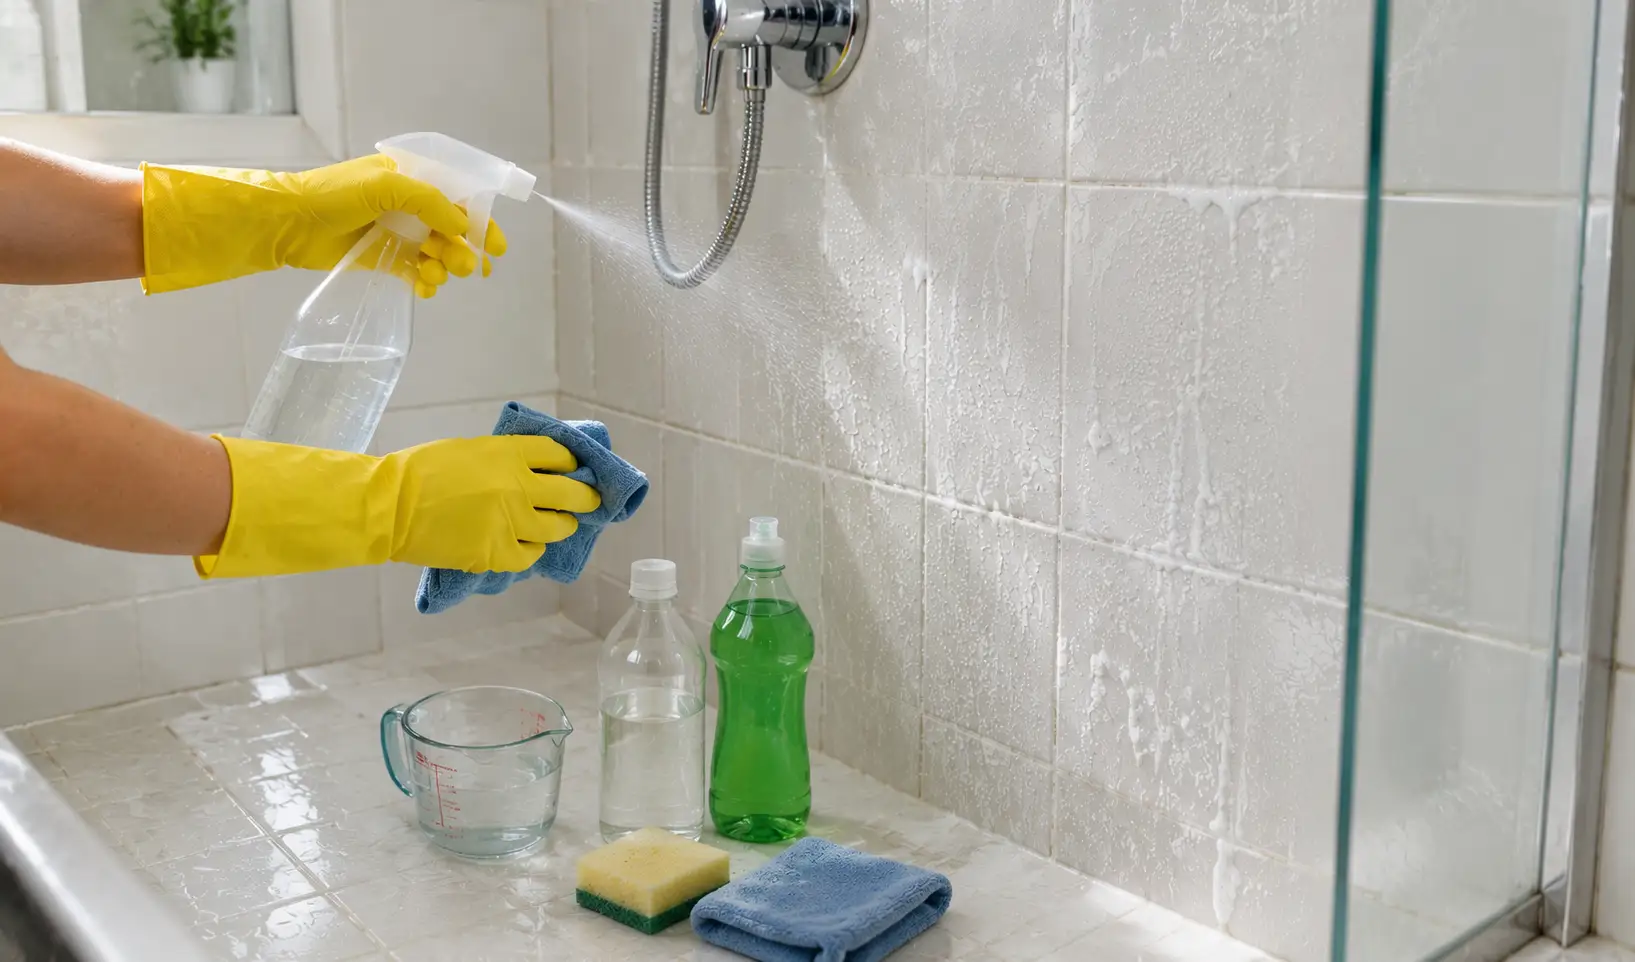
Technique 1: Clean Shower Tiles With Vinegar
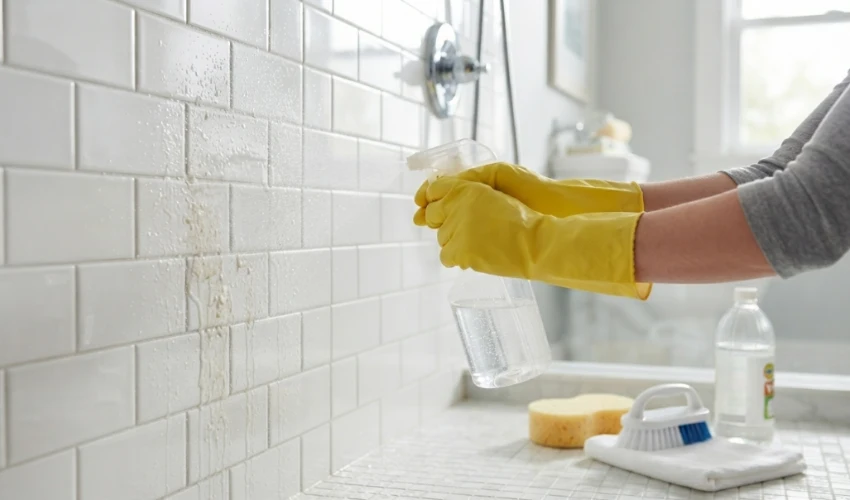
One of the most effective natural ingredients for cleaning the shower tiles is vinegar. Its acidic nature helps remove hard water stains, soap scum, and mold mildew. Diluted vinegar does not damage porcelain or ceramic shower tiles.
- Take a spray bottle. Half-fill it with warm water.
- Mix equal parts vinegar into the spray bottle and shake it very well.
- Now spray this solution on the shower tiles. Make sure not to forget the grout lines.
- Now leave this solution untouched for 10 to 15 minutes.
- For cleaning the tiles, use the sponge and start scrubbing.
- Use a stiff-bristled brush to scrub the shower tiles.
- After scrubbing, rinse the surface. Use warm water for the best results.
- Lastly, dry the tiles with a microfiber cloth. This step helps to prevent water spots on the surface.
Dealing with tougher stains and soap scum? Try undiluted vinegar on them. Leave it for 20 to 25 minutes and then start scrubbing.
Important Note: If your shower tiles are made from natural stones like marble, limestone, or travertine, avoid using vinegar over them.
Technique No 2: Clean the Shower Tiles with Baking Soda
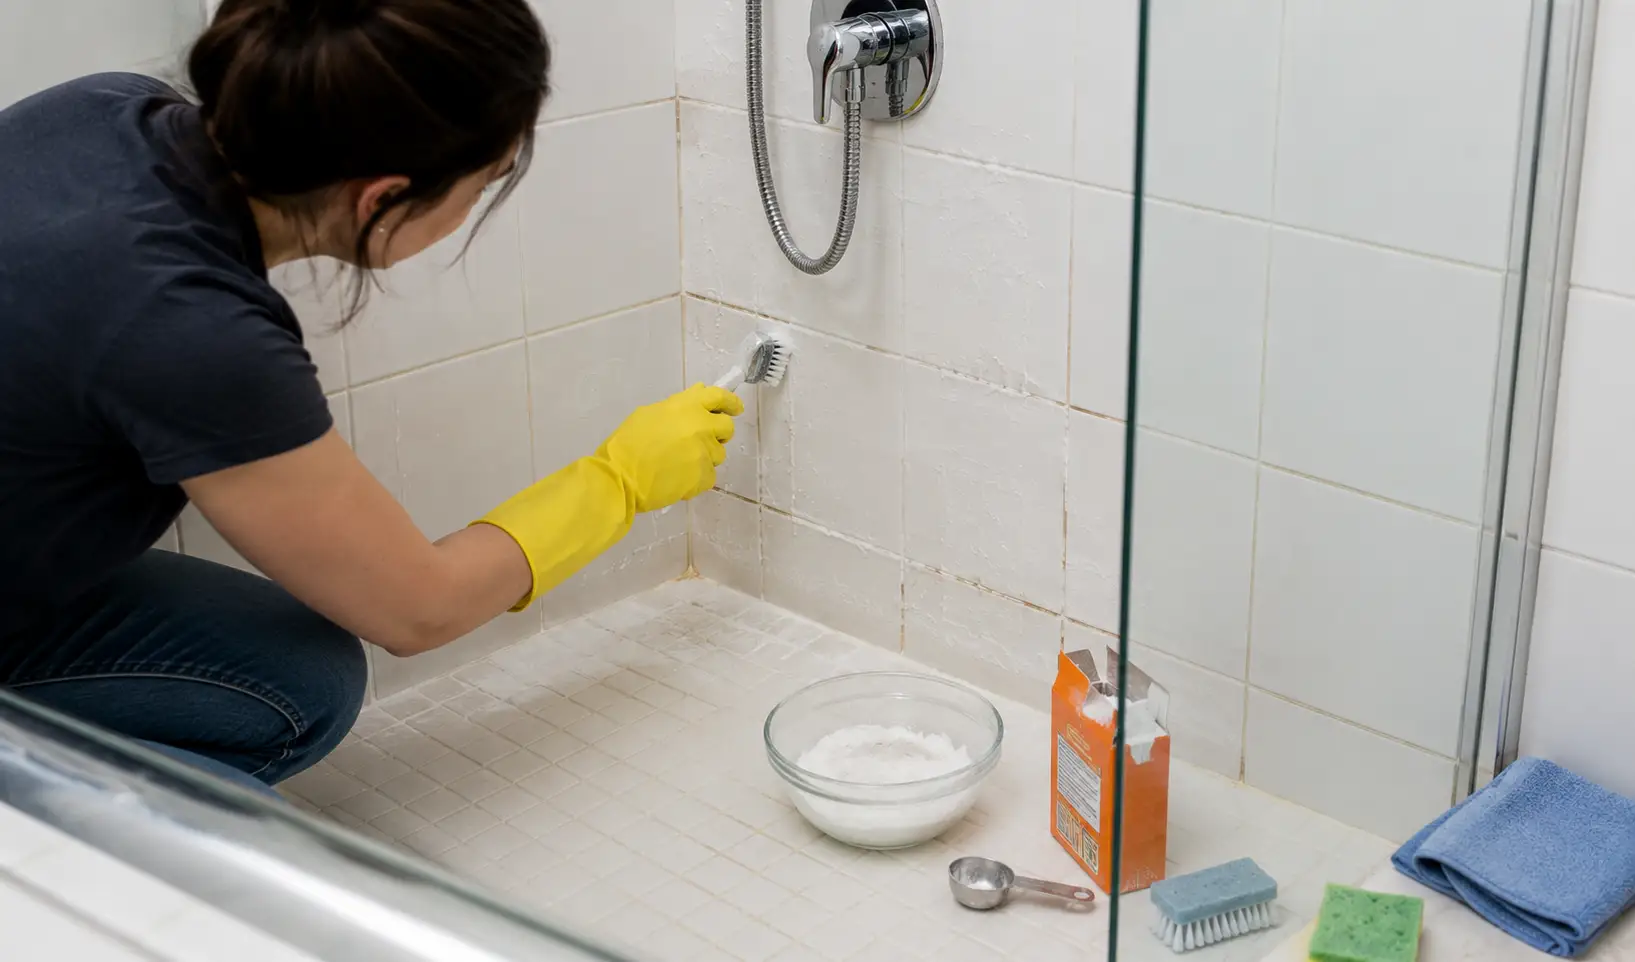
Another of the best natural cleaners for cleaning shower tiles is baking soda. It acts as a gentle abrasive for removing dirt and grime from bathroom tiles. You can also use it for dealing with the odor caused by mold and mildew growth.
- Take baking soda in a bowl and add water to it. The goal is to make a thicker paste to apply over the stains.
- Now use a small brush to apply the paste over the shower tiles and grout lines.
- Leave this paste untouched for 10 to 15 minutes. You can also wait a bit longer to let the buildup loosen.
- Now scrub both the tiles and the grout lines firmly with a brush.
- Take a sponge and dampen it. Use it for cleaning the tiles and grout.
- Lastly, rinse the area thoroughly with warm water.
Must use baking soda for cleaning the grout. Its fine texture penetrates the pores and removes deeply embedded dirt. This is impossible with surface sprays, which are mostly used for cleaning shower tiles.
Technique 3: Clean Shower Tiles with Vinegar & Baking Soda
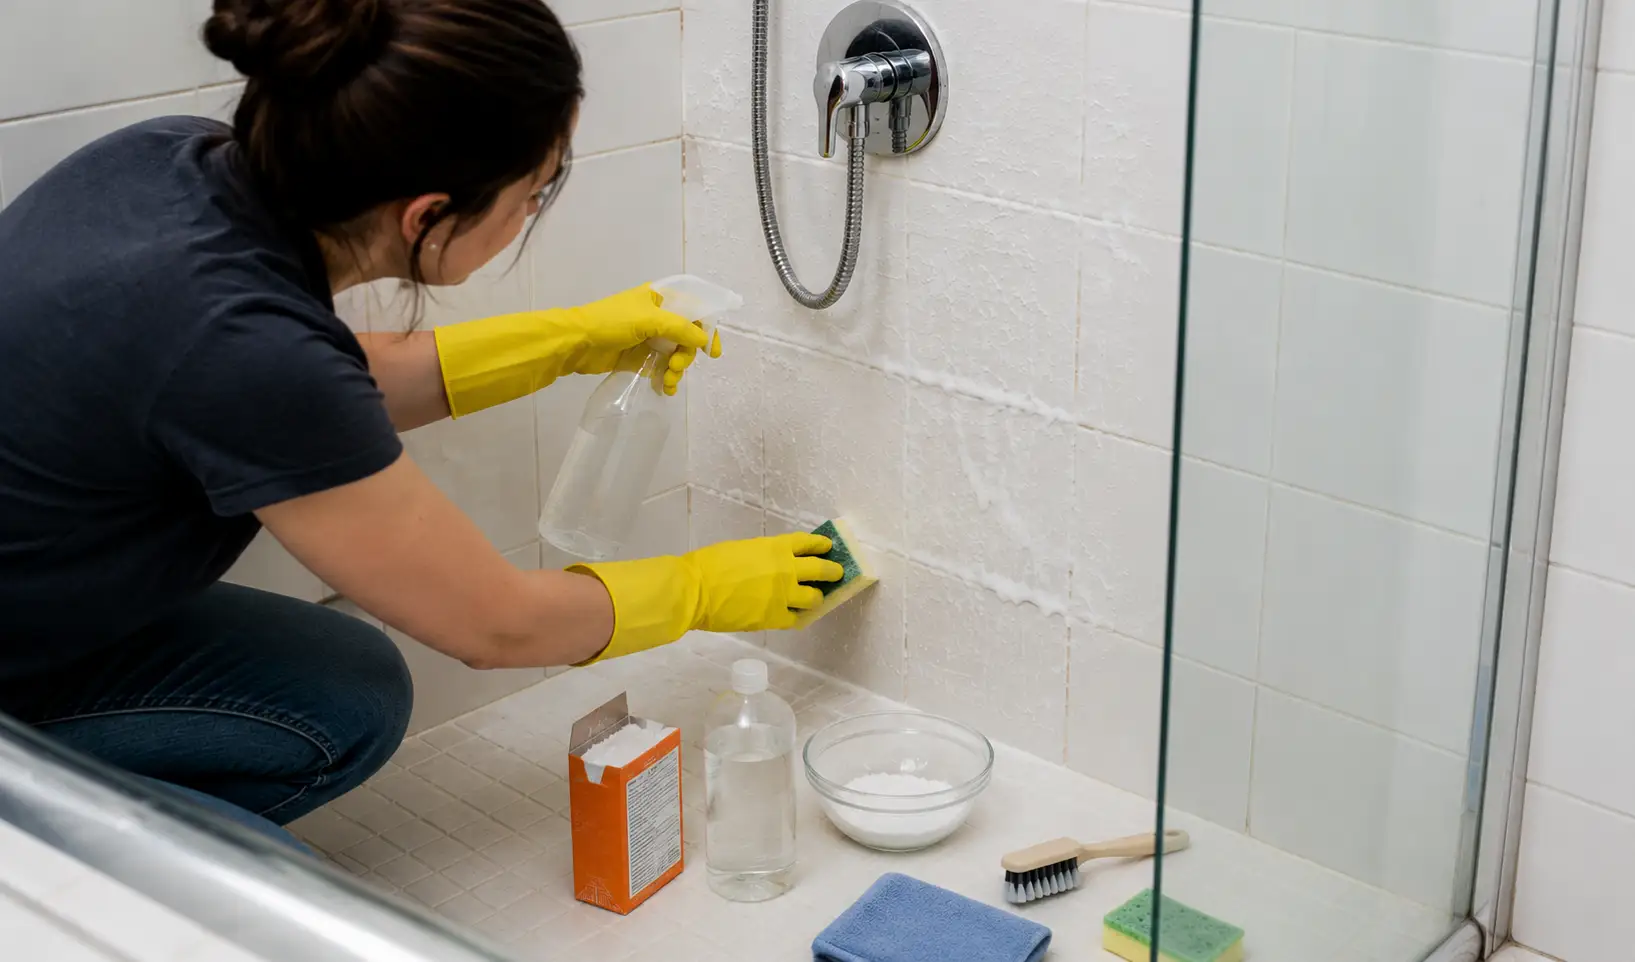
This combination is best for dealing with stubborn soap scum, hard-water stains, and mold growth. When you mix vinegar and baking soda, it will create a fizzing reaction.
- First, sprinkle enough baking soda over the tiles and grout lines.
- Now take a spray bottle and fill it with vinegar. You can use undiluted vinegar for this.
- Spray the vinegar directly over the sprinkled baking soda.
- Let this mixture fizz for 10-12 minutes
- Now use a sponge for the tiles and scrub it firmly. For the grout lines, you can use a stiff-bristled brush.
- If you notice stains left in any area, repeat this process again.
- The last step is to rinse all the surfaces using warm water. Dry the tiles with microfiber cloths.
Use this method as an alternative to harsh chemicals. Ceramic and porcelain tiles will not get damaged by this process.
Technique 4: Clean Shower Tiles Without Scrubbing
Looking for a way to clean the shower tiles without scrubbing? Follow the steps mentioned for no-scrub cleaning. For this process, you need to work with a strong cleaning solution. The good news is you can make this solution at home.
- Take a cup of white vinegar and heat it in the microwave for 50 to 60 seconds.
- Pour this into a plastic spray bottle. Mix in ¼ cup dishwashing soap. Gently swirl the bottle to form a homogeneous mixture.
- Start spraying this mixture over the stained tiles and grout surfaces.
- Leave this solution for 1 hour and allow it to work.
- Use warm water to rinse the cleaner, and you will observe the grime and buildup slide right off. If some residue still remains, you can use a damp cloth.
If you are wondering why this solution works best, here is the explanation. Generally, dish soap helps remove oil and grease from the tiles. Meanwhile, vinegar can easily dissolve minerals, soap scum, and stains. For the very stubborn stains, you can leave this mixture for 1.5 to 2 hours.
Technique 5: How to Clean Shower Tile Grout?

Cleaning the grout is also as important as cleaning the shower tiles. It is usually porous and easily absorbs dirt and soap.
- First of all, collect all the ingredients required for this deep cleaning process. You will need the oxygen bleach powder, warm water, rubber gloves, and a grout brush.
- Take a bowl and add 2 cups of warm water to it. Now add one scoop of oxygen bleach. Mix until it dissolves completely.
- Now use a brush or a sponge to apply this liquid to the grout lines.
- Let the grout lines soak for 20 to 30 minutes for complete cleaning.
- After half an hour, use a stiff-bristled grout brush to scrub each grout line firmly.
- Clean the surface with warm water.
Are some stains still left? Repeat this process to completely clean the grout lines.
Make sure to wear gloves every time you use this process. Oxygen bleach can irritate sensitive skin.
Dealing with black mold? You can easily tackle this situation by applying hydrogen peroxide. Alternatively, you can also use bleach gel while cleaning floor tile grout. Let this mixture sit for 20 to 30 minutes. After that period, scrub the grout with a stiff-bristled brush.
Technique 6: How to Clean Shower Tiles From Stubborn Buildup
There are different types of stains present over the shower tiles and grout. Some are easy to remove, while others require a more targeted approach. So, you must use the right solution for treating the stains.
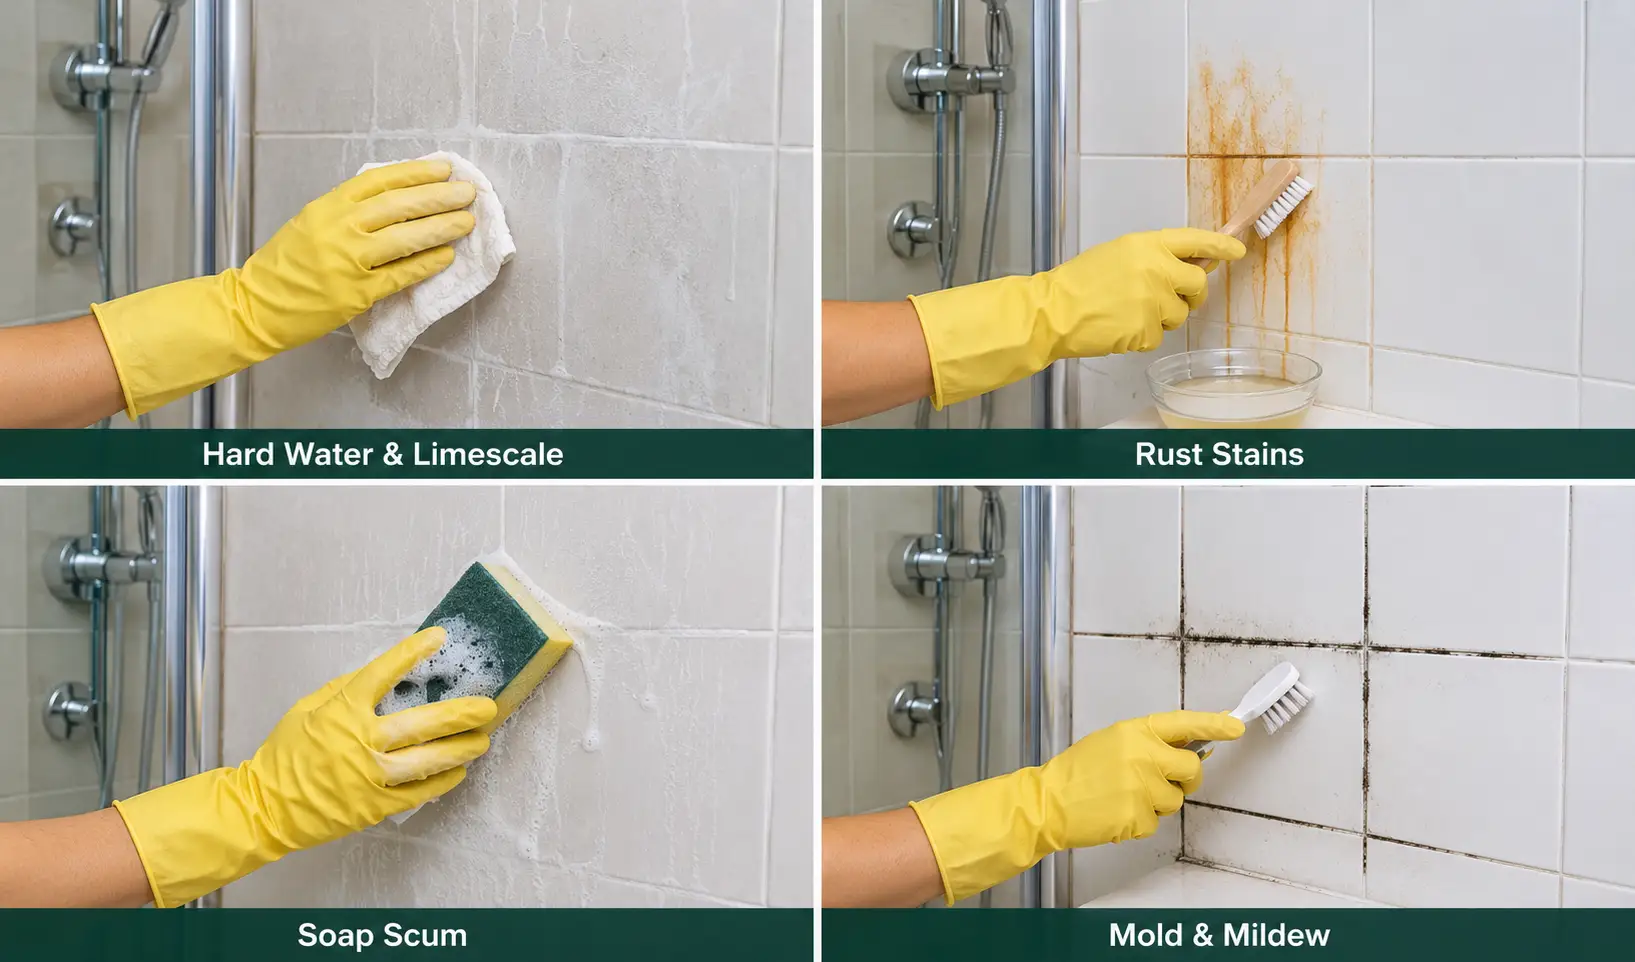
1. Hard Water & Limescale Stains
These stains usually leave a white or yellow crusty deposit on the tiles. To treat this issue, you can use white vinegar. Soak a clean cloth in vinegar and press it directly over the affected area. Keep the cloth over the stains for at least 30 minutes. Now remove the cloth and scrub the stain using a stiff brush. Rinse the area with clean water.
If your tiles have thick limescale buildup, you must use a commercial cleaner. Use the same technique as mentioned above for the commercial limescale cleaner.
2. Rust Stains
Rust stains are also common in bathrooms. They mostly happen due to metal fixtures, hard water with high iron content, or shaving kits. To deal with such stains, apply lemon juice to the affected area. After that, sprinkle a generous amount of salt over it. Let this mixture set for half an hour. Use a scrubber or brush to scrub the stained area firmly. Lastly, wash the area thoroughly with water. Most experts recommend using a commercial rust remover to clean severe rust stains.
3. Soap Scum
Soap scum is one of the common stains that ruin the look of the whole washroom. It appears like a cloudy film over the tiles. To clean such stains, make a mixture of equal parts dish soap and vinegar. Apply this solution directly over the stains and let it sit for 20 minutes. Use non-scratch scouring pads to gently scrub the areas. Now, rinse the affected area with water.
4. Mold & Mildew Stains
Mold and mildew growth usually appears as black patches in the grout lines. In such a situation, spray the undiluted hydrogen peroxide over the mold. Let it sit for 15 minutes, then start scrubbing. Rinse the area with hot water, then apply mold-resistant grout sealers to prevent further growth.
Technique 7: Clean the Shower Tiles (Without Chemicals)
Some commercial cleaners release strong fumes. For the safe cleaning of the shower tiles, you can use a natural cleaner. Below is a list of effective natural cleaners you can use to keep your bathroom clean.
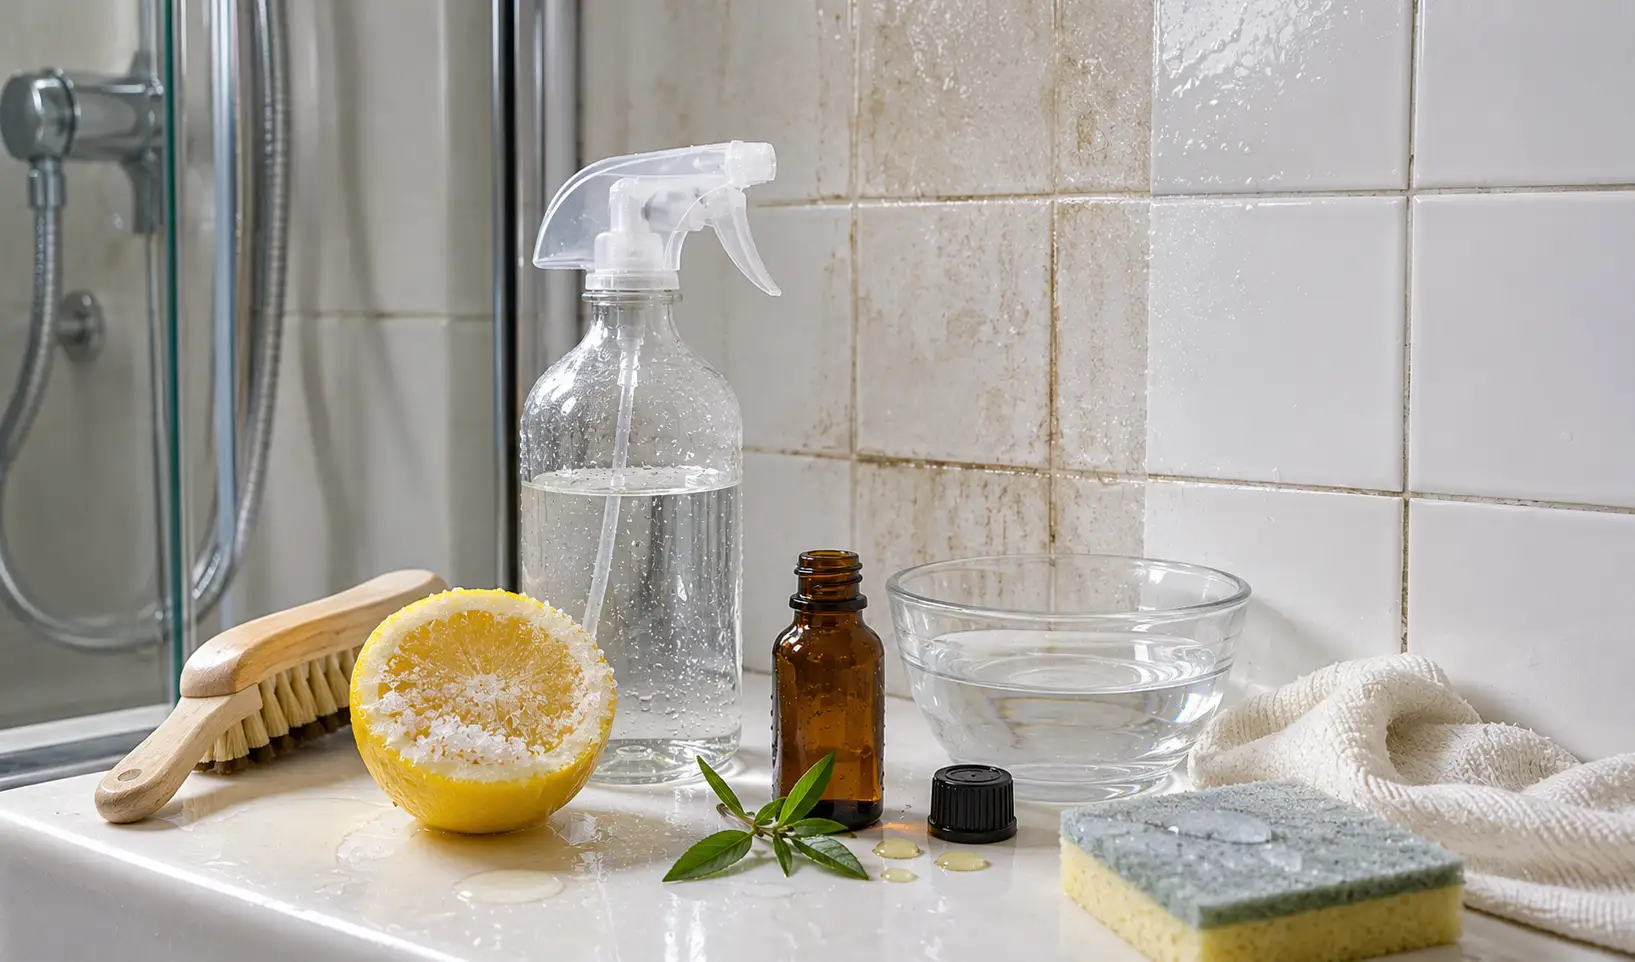
1. Lemon Juice & Salt
The combination of lemon juice and salt can be the best natural cleaner for removing stains on shower tiles. Cut the lemon in half and dip it into the table salt. Now scrub the lemon over the tiles and grout. Leave it for 10 to 15 minutes and then gently scrub and rinse the area.
Lemon juice easily dissolves the mineral deposit and hard water stains. Meanwhile, salt will provide gentle abrasion.
2. Hydrogen Peroxide
Hydrogen peroxide also helps treat stained tiles and grout. Always use 3% hydrogen peroxide for this purpose. Spray it directly to the stained area and let it sit for 30 minutes. Gently scrub the stained area and rinse it. You can also use hydrogen peroxide to whiten grout and address spores.
3. Tea Tree Oil
Tea tree oil can also be the best way to deal with the stained shower tiles and grout lines. Take 1 cup of water and add about 15-16 drops of this oil. Spray this solution over the tiles and grout and leave it for some time. This oil helps control mold growth and is loaded with anti-bacterial properties.
Technique 8: Clean Walk-in Tiled Shower
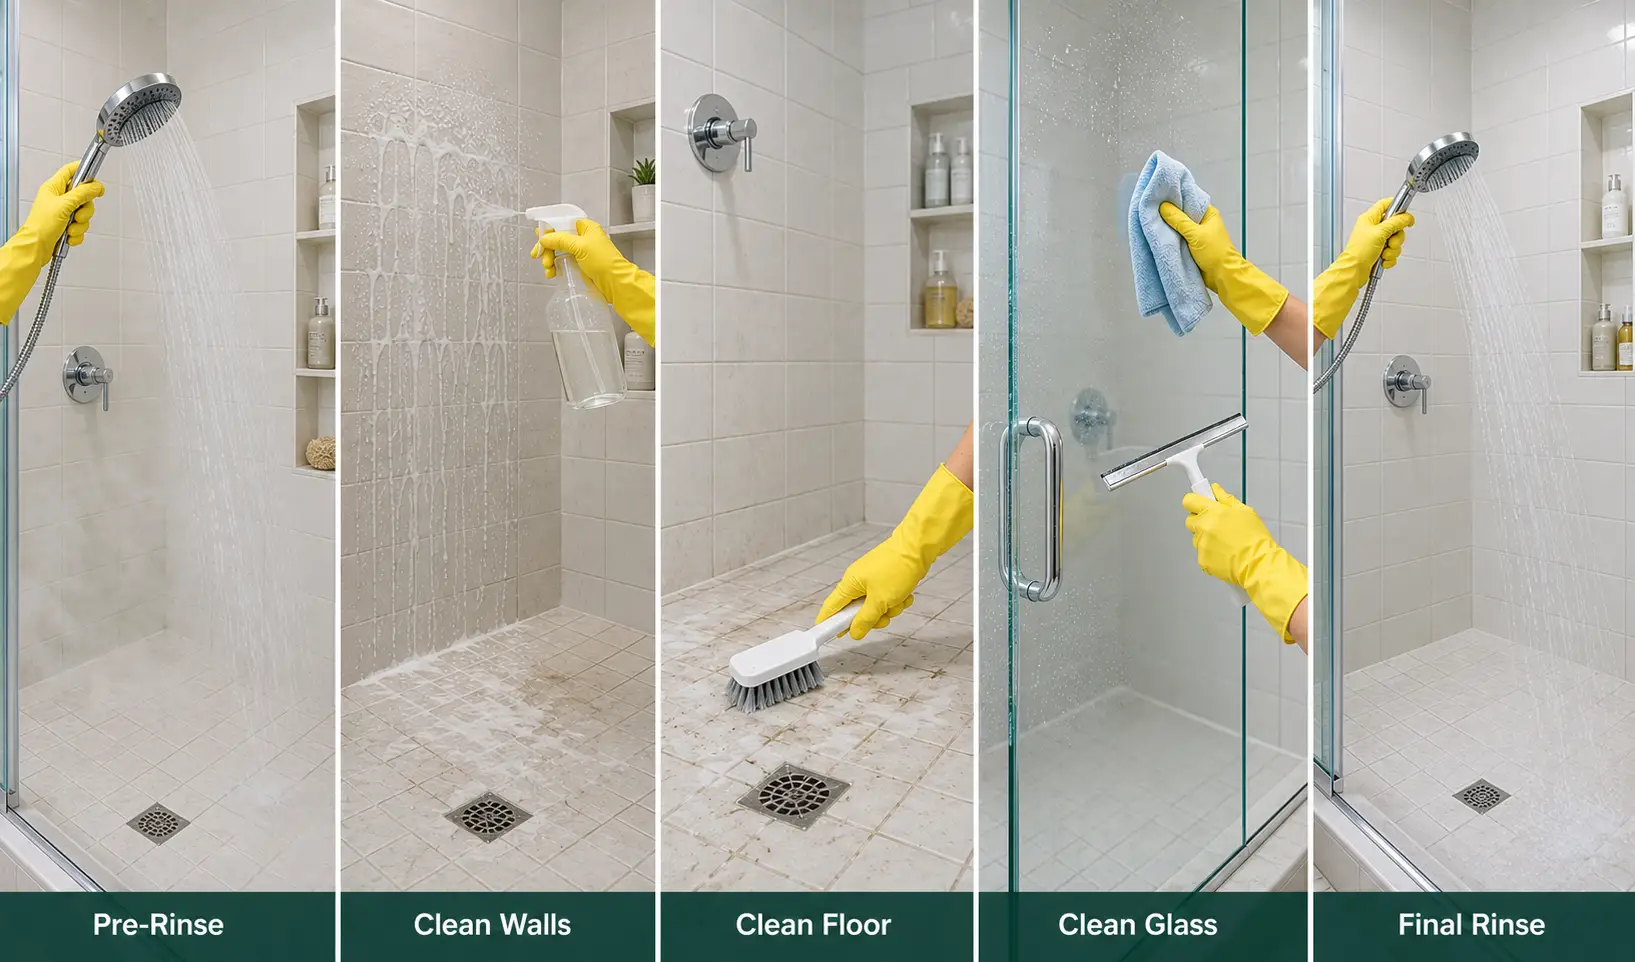
A walk-in tiled shower features complex tile patterns and tends to accumulate soap scum. These showers get dirty more quickly than traditional showers. To clean the shower tiles in walk-in showers, follow the steps mentioned below:
1. Pre-Rinse the Shower with Hot-Water
Start this process by keeping the hot water on for 5 minutes. This approach will help loosen the surface build-up and open the grout. So, the cleaning will become easy and quick.
2. Apply Right Cleaner to the Walls First
Now, start applying the cleaner (whether it is baking soda, vinegar, or the commercial spray) from the top of the wall to the bottom. Let it sit for some time and then start scrubbing. Always scrub in small sections for the best results.
3. Apply Cleaner to the Floor Tiles
Shower floor tiles accumulate more buildup than wall tiles. The reason is that water mostly pools there. Apply your chosen cleaner over the floor tiles and leave it for 20 to 30 minutes. Use a grout-cleaning brush to clean the tiles and grout.
4. Clean Shower Door or Curtains
For the complete clean look, do not leave your shower door or curtain dirty. For the door cleaning, you can apply cleaner over it and leave it for a few minutes. Then wipe it down with a damp cloth. For the walk-in shower curtains, you can give them a gentle machine wash if fabric allows.
5. Rinse From Top to Bottom
The last step is to thoroughly rinse the bathroom from top to bottom. This pulls the loosened grime or buildup towards the drain. To prevent water stains, use a squeegee for the glass and microfiber cloths for the tiles.
Technique 9: Use an Enzyme-Based Cleaner for Organic Grime
Organic matter like body oil, soap residue, and mold growth can ruin the overall look of a bathroom. To deal with this situation, you can use an enzyme-based cleaner for routine deep cleaning in the shower.
- Turn on the hot water for a few minutes to loosen the buildup.
- Now, generously apply the enzyme-based cleaner to the tiles and grout lines.
- Check the manufacturer’s dwell time, or leave it for at least 10 to 15 minutes.
- Scrub the tiles and grout lines with a soft-bristled brush.
- Before rinsing, make sure that every stained area is perfectly covered.
- Now thoroughly rinse the area with water to remove the loosened grime.
- Dry the tiles with a clean and soft microfiber cloth to prevent further water spots.
Best For: Soap scum, body oils, organic grime, mold and mildew stains
Top 6 Commercial Cleaners for Shower Tiles and Grout
Natural cleaners can handle light, fresh stains on tiles and grout. Heavy buildup and stubborn stains require commercial cleaners for deep cleaning.
1. Tilex Mold & Mildew Remover
To deal with the mold and mildew in the bathroom, you can use the Tilex cleaner. Spray it directly over the affected areas. Leave it for some time. There is no need to scrub for light mold growth. Rinse the area with clean water.
This remover works well by penetrating grout lines, caulk lines, and tile surfaces to deliver visible results in just one use.
Ideal for: Use it if you observe active mold and mildew growth in grout or caulk.
2. Zep Grout Cleaner & Brightener
Use Zep cleaner to dissolve deep, stubborn stains. It contains acidic compounds that help clean the grout. Directly apply it to the dirty grout lines and leave it for 15 minutes. Gently scrub the area with a brush and then rinse it. This commercial cleaner gives old, dirty grout a perfect whiteness.
3. OxiClean Versatile Stain Remover
This cleaner uses oxygen-based chemistry to lift and treat stains in the grout. To use it effectively, mix this cleaner with hot water. Apply this mixture over the grout and let it sit for some time. This cleaner also works best for colored grout without causing discoloration or fading.
Ideal for: Treating organic stains from the grout
4. CLR Bath & Kitchen Cleaner
Use this cleaner to treat the calcium, lime, and rust in the shower. This cleaner works perfectly over almost all types of tiles, including glass, porcelain, and ceramic. Do not use it over natural stone, colored grout, or certain metals.
Best for: Hard water stains, limescale, and rust marks on tiles.
5. Method Daily Shower Spray
Method Daily Shower Spray is a plant-based cleaner. Use it on the tiles after each shower. There is no need to rinse it. The main purpose of this spray is to prevent soap scum or other buildup from bonding to the surface. The best thing about this cleaner is that it contains no fumes or toxins.
Ideal Use: This cleaner prevents soap scum buildup in between the grout and deep lines.
6. Soft Scrub
Many commercial cleaners are liquid, but Soft Scrub comes in gel form. It perfectly sticks to the tile surface without dripping. It penetrates deeply into stains and cleans dirty grout. An effective way to use this cleaner is to apply it to the stain for 10 minutes, then scrub gently. After that, rinse the area with warm, clean water.
Best For: Use it for cleaning the shower walls and stubborn soap scum
Mistakes to Avoid When Cleaning Shower Tiles and Grout
Avoiding these will protect your tile and save you work:
- Using vinegar or lemon on natural stone. Acid permanently etches and dulls stone. This is the most damaging and most common mistake.
- Scrubbing grout too hard. Aggressive scrubbing wears down the grout surface, making it more porous and causing it to stain more quickly afterward.
- Skipping the dwell time. Cleaners need minutes to break down buildup. Spraying and immediately scrubbing wastes both product and effort.
- Mixing bleach with other cleaners. Bleach plus vinegar or ammonia produces toxic gas. One cleaner at a time, always.
- Using steel wool or abrasive pads on glaze and glass. They cause micro-scratches that trap dirt.
- Leaving the shower wet. Walking away from a wet shower invites mold and water spots. Dry it.
- Cleaning with no ventilation. Fumes and spores both build up in a closed bathroom.
Why Shower Tiles and Grout Get Dirty So Fast
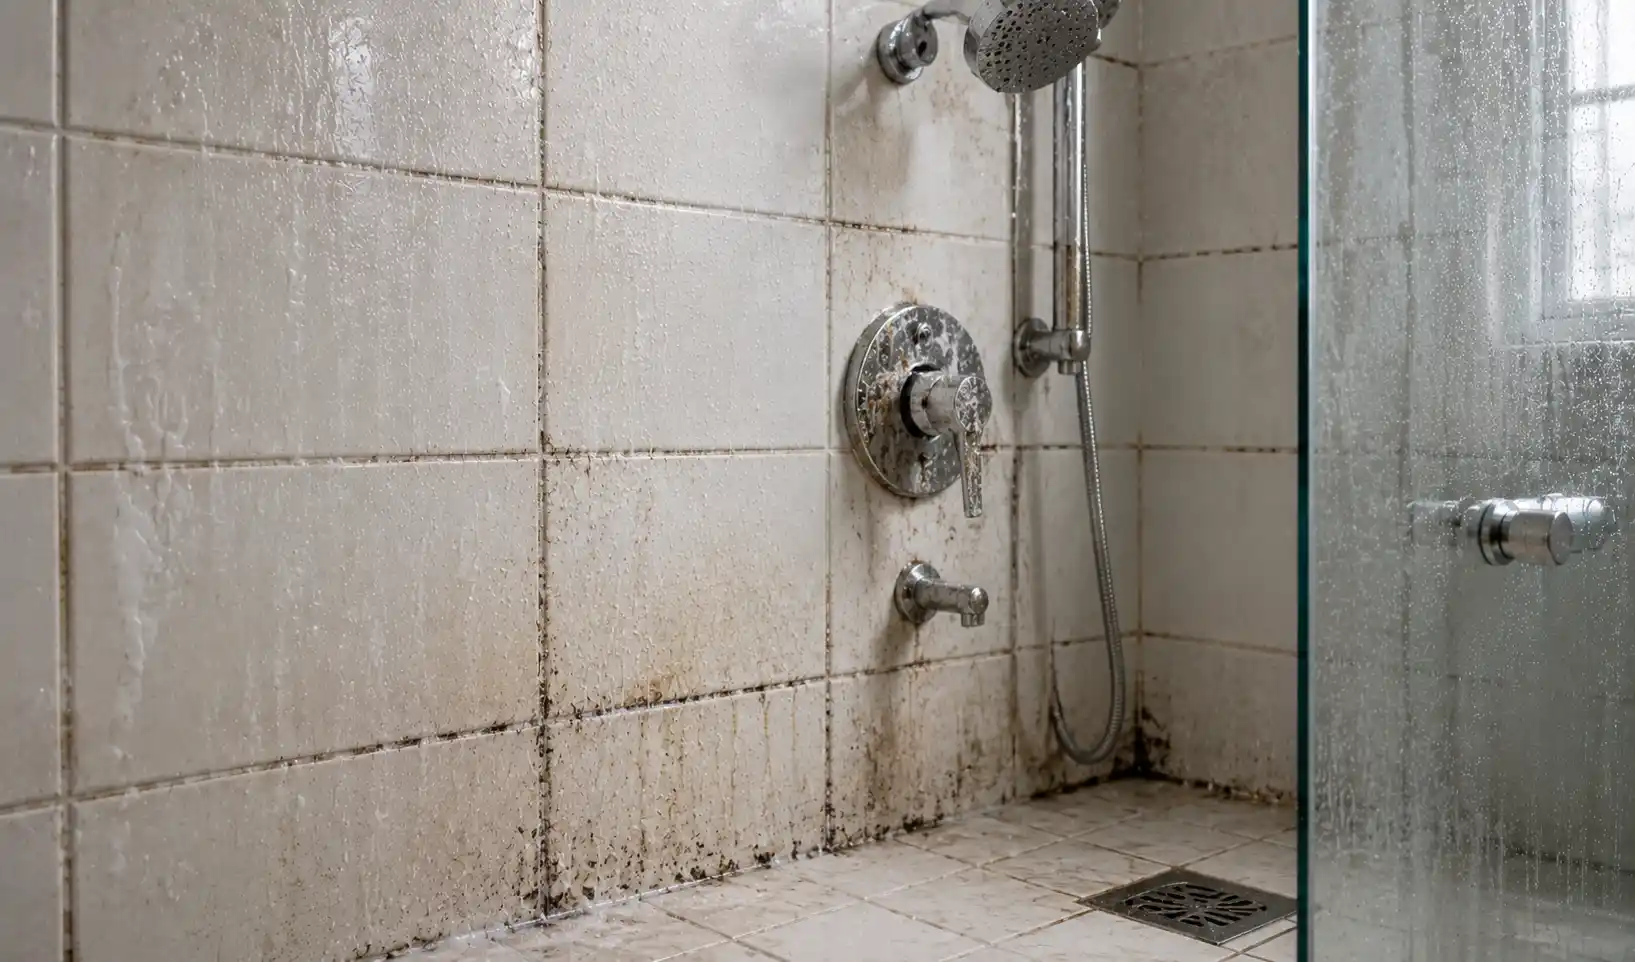
Showers are the perfect storm for buildup: constant moisture, warmth, and a steady supply of soap, oils, and minerals. Four things are usually to blame.
- Soap scum. When soap reacts with minerals in your water, it leaves a chalky, sticky film that clings to tile and glass.
- Hard-water deposits. Calcium and magnesium in tap water dry into cloudy white or rust-colored stains, especially around fixtures.
- Body oils and skin cells. These feed bacteria and contribute to that grimy haze on lower tiles.
- Mold and mildew. Warm, damp, poorly ventilated showers are an ideal breeding ground, particularly in grout.
Grout is the real problem area, and it’s worth understanding why. Most shower grout is cement-based, which makes it porous. It absorbs water, soap residue, and grime like a sponge. Once that material soaks in, surface cleaning alone won’t reach it, which is why grout discolors faster than the tile around it. If you are renovating your bathroom and want a low-maintenance, waterproof alternative to tile, SPC flooring is the best option. It resists moisture without the grout upkeep.
How to Keep Shower Tiles and Grout Clean Longer
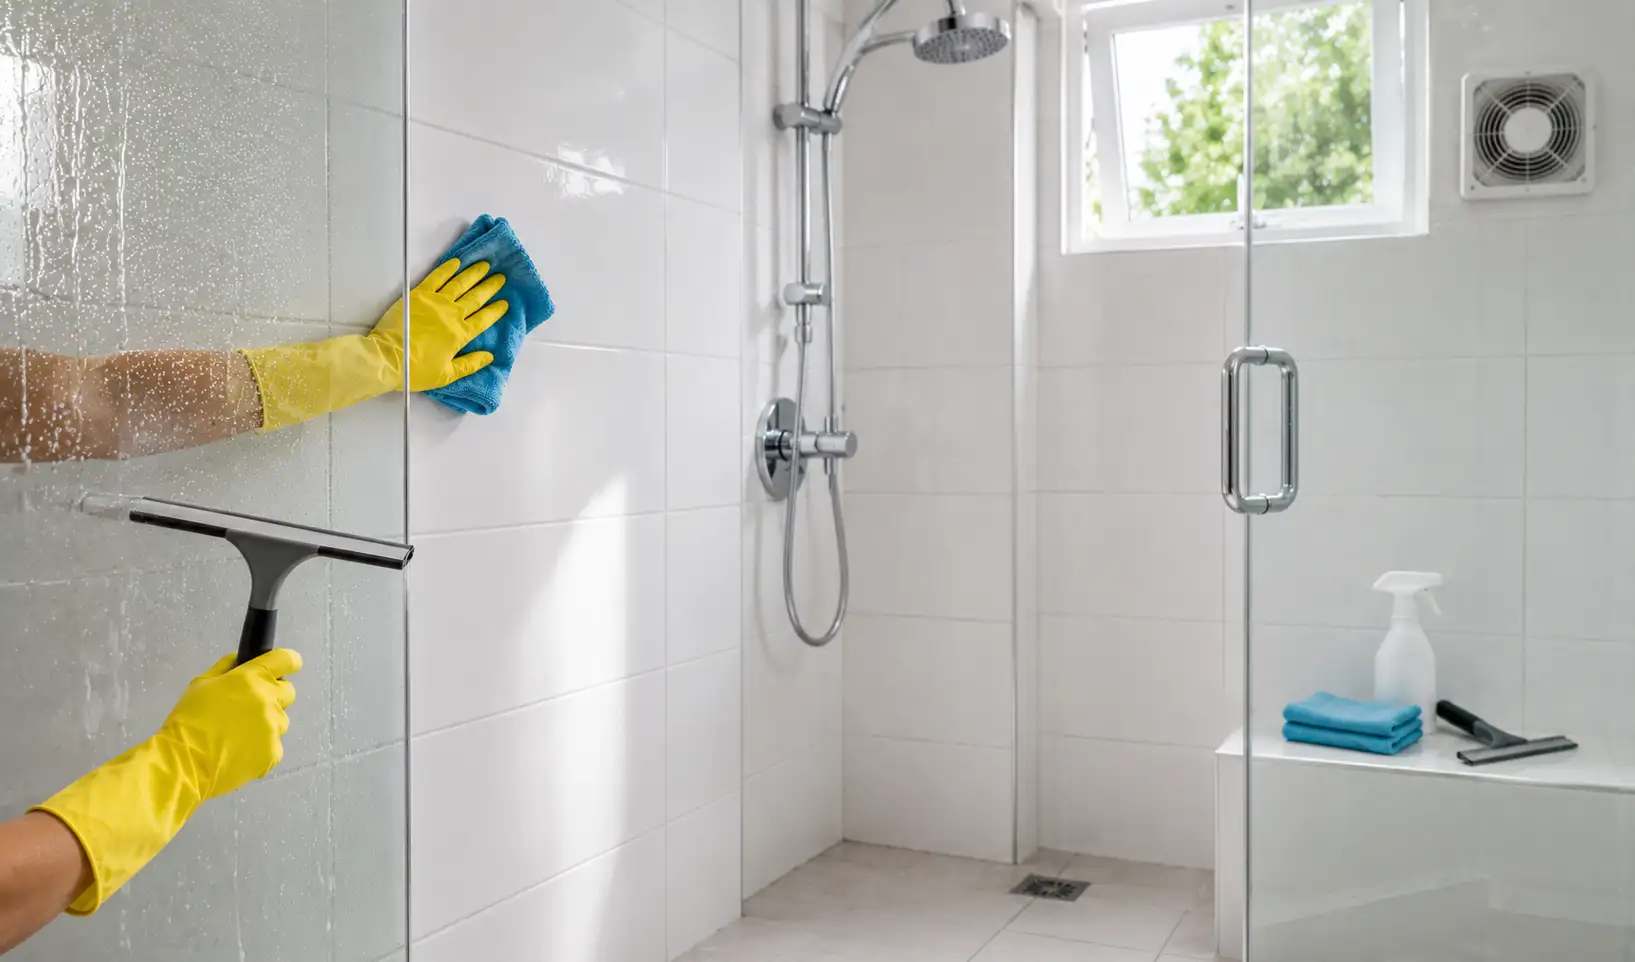
Squeegee or wipe down tiles after every shower, run the fan during and after bathing, use a daily shower spray, do a weekly wipe-down, and seal your grout once or twice a year. Prevention takes seconds and eliminates the need for harsh deep cleans.
The most effective cleaning strategy is the one that keeps the shower from getting dirty in the first place.
After every shower (30 seconds):
- Squeegee the tiles and glass.
- Leave the door or curtain open and the fan running to let the space dry out.
Weekly (a few minutes):
- Mist tiles and grout with a daily or all-purpose spray and wipe down.
- Hit any spots starting to discolor before they set.
Monthly:
- Do the full step-by-step clean above, with extra attention to grout.
How Often Should You Clean Shower Tiles and Grout?
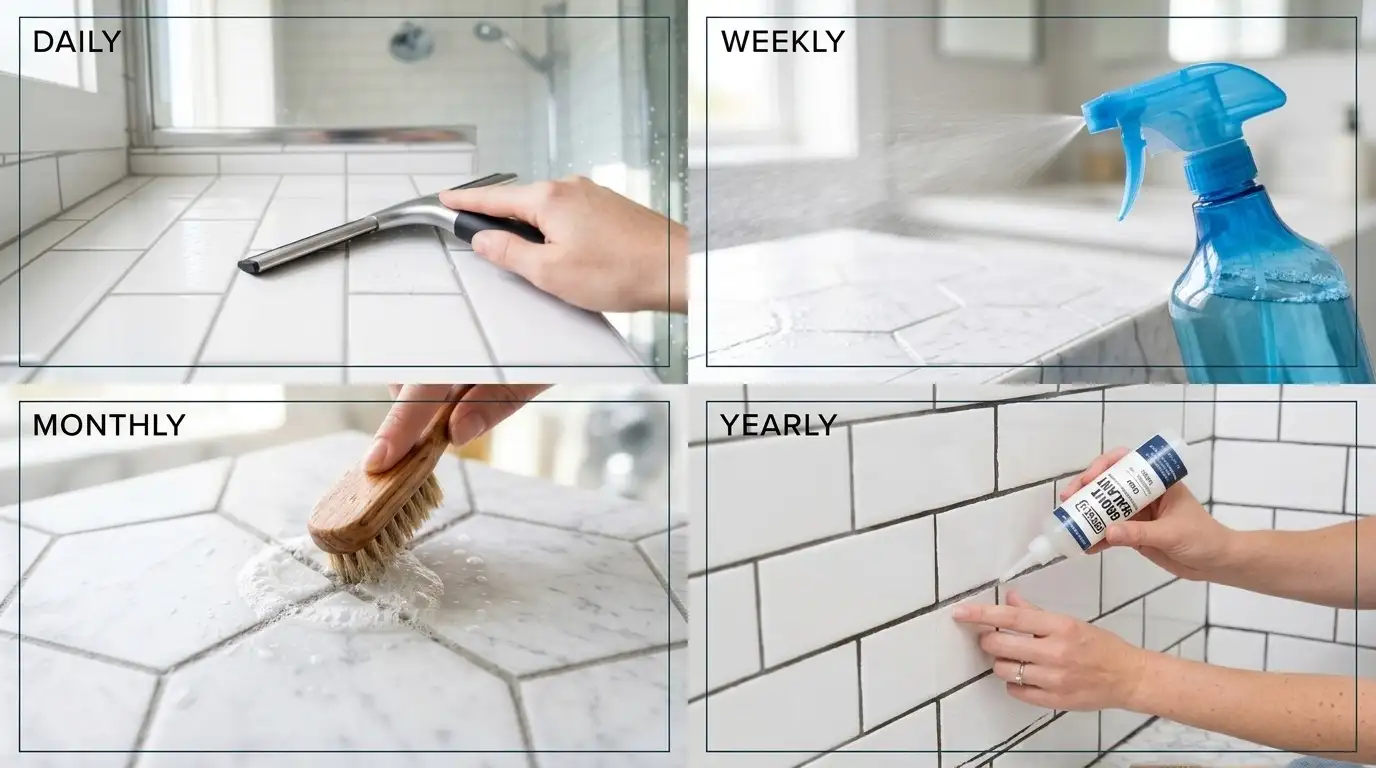
Short answer: Wipe or squeegee daily, do a light spray-clean weekly, deep-clean the tiles and grout monthly, and reseal cement grout every 6–12 months.
A simple schedule to follow:
- Daily: Squeegee/wipe and ventilate after showering.
- Weekly: Quick spray-and-wipe of tiles and grout.
- Monthly: Full deep clean, including grout scrubbing.
- Every 6–12 months: Reseal cement-based grout (more often for heavily used showers).
Adjust for your household. A busy family bathroom needs more frequent attention than a guest shower used twice a month. The goal is consistency; small, regular effort beats occasional marathon scrubbing every time.
Final Thoughts
Clean shower tiles and grout come down to three principles: match the cleaner to your tile, let it dwell instead of scrubbing harder, and keep the surface dry afterward. Identify your tile type before reaching for vinegar, give grout extra attention because it is porous, and treat mold as a moisture problem rather than just a stain.
The real win, though, is maintenance. A 30-second squeegee after each shower, a weekly spray, and resealing your grout once or twice a year will spare you almost every harsh deep-clean you’d otherwise face. Showers don’t get filthy overnight, and with a little consistency, yours never has to.
Frequently Asked Questions
What is the best homemade cleaner for shower tiles and grout?
For glazed ceramic, porcelain, and glass, a 1:1 vinegar-and-water spray plus a baking soda paste for grout works extremely well. For natural stone, skip the vinegar and use a baking soda-hydrogen peroxide paste or a pH-neutral cleaner.
Can I use bleach on shower grout?
Yes, but use it sparingly and diluted. Bleach removes mold stains effectively but can erode grout over time and discolor colored grout. Oxygen bleach is a gentler, color-safe alternative. Never mix bleach with vinegar or ammonia.
Why does my grout turn yellow or dark?
Grout is porous, so it absorbs soap scum, body oils, hard-water minerals, and mold. Without sealing and regular cleaning, that buildup discolors the grout from within. A deep clean plus resealing usually restores it.
How do I permanently remove black mold from grout?
Clean it with a bleach or hydrogen peroxide solution, then, crucially, fix the moisture problem feeding it: improve ventilation, dry the shower after use, and reseal the grout. If mold keeps returning or covers a large area, the grout may need replacing, or a pro may need to check behind the tile.
Can you clean shower tiles without scrubbing?
Mostly, yes. Spray a cleaner with good dwell time (or use a daily no-rinse spray), let it break down buildup, and rinse. A steam cleaner also loosens grime with minimal scrubbing. You’ll still need light brushing for set-in grout stains.
Is vinegar safe on all shower tiles?
No. Vinegar is safe on glazed ceramic, porcelain, and glass, but its acidity etches and dulls natural stone like marble, travertine, and limestone. Always identify your tile first.
What’s the pink stuff in my shower?
It’s usually Serratia marcescens, an airborne bacterium that feeds on soap and shampoo residue, not mold. Scrub it off with a bleach or peroxide solution and keep the area dry to prevent it from returning.
Should I seal my shower grout after cleaning?
Yes, if it’s cement-based. Sealing after a deep clean (once the grout is fully dry) protects it from absorbing water and stains, and makes future cleaning far easier. Epoxy grout doesn’t need sealing.
Does a steam cleaner work on shower tiles?
Yes, steam loosens soap scum, grime, and mildew with little to no chemicals, and high heat helps sanitize grout. It’s a great option for sensitive surfaces, though you’ll still wipe away the loosened residue afterward.
Why does my shower get dirty again so quickly?
Usually because it stays wet. Soap scum, mold, and water spots all need moisture. Squeegeeing and ventilating after every shower remove moisture and are the single most effective way to keep a shower clean longer.
