
How to Clean Hardwood Floors: 8 Methods for Every Finish

The best way to clean hardwood floors is to remove loose dirt first, then damp-mop with a microfiber mop and a hardwood floor cleaner suitable for the floor’s finish. Use as little water as possible and never leave standing water on the surface. Regular cleaning removes grit that can scratch the finish and prevents buildup that can make the floor look dull.
For routine cleaning, sweep, dust mop, or vacuum the floor with a hard-floor setting or soft brush attachment. For deeper cleaning, lightly dampen a microfiber mop with the recommended cleaning solution and work in small sections. Avoid steam mops, abrasive scrubbers, excessive water, and harsh household cleaners unless the flooring manufacturer specifically approves them. The correct method can vary depending on the hardwood finish, so this guide by Floor Land explains what to use, what to avoid, how to remove common stains, and how often to clean hardwood floors.
Find Out What Finish You Have (Most Crucial Step)
Skipping this step is the single most common reason hardwood floors get damaged during cleaning. Two floors can look identical and need opposite treatment. Spend two minutes here before you fill a bucket.
The Water Drop Test
- Pick a low-traffic spot, such as a closet floor or the corner behind a door.
- Place three or four drops of water on the wood.
- Wait five minutes, then look closely.
If the water sits in tight beads and wipes away leaving nothing behind, the floor has a surface seal, almost always polyurethane. If the water soaks in, darkens the wood, or leaves a faint ring, the floor is either waxed, oil-finished, or bare. Wipe it dry right away either way.
The Scratch and Smudge Test
In the same hidden spot, run a fingernail or the edge of a coin gently across the surface. A waxed floor leaves a small curl of soft residue, and the spot smudges when you rub it with your thumb. A sealed floor stays hard and shows nothing. You can confirm wax by rubbing a hidden patch with a cloth dampened in mineral spirits. A grey or cloudy film on the cloth means wax.
| Finish type | How to spot it | Safe cleaning approach |
| Polyurethane or urethane (sealed) | Water beads on the surface, floor feels hard and smooth, often slightly glossy or satin | Damp microfiber mop with pH-neutral hardwood cleaner. Avoid oil soaps, wax, and steam. |
| Wax finished (common pre-1970s) | Soft sheen, smudges under a thumb, mineral spirits leave a grey film on the cloth | Dry methods and solvent-based cleaners only. Water dulls and spots wax. Re-wax and buff instead of wet mopping. |
| Penetrating oil or hardwax oil | Matte look, very natural feel; water slowly darkens the wood | Manufacturer oil soap made for the system. Re-oil high-traffic zones instead of stripping. |
| Engineered wood | Thin real-wood top layer over plywood core, visible at a doorway threshold or vent cut | Least moisture of all. Spray-and-wipe only. Standing water swells the core and causes edge lift. |
| Unfinished or bare | Water soaks straight in and darkens; wood feels dry and porous | Dry cleaning only until sealed. Any liquid will stain. |
The Short List of Tools That You Will Require for The Cleaning Process
Hardwood cleaning is one of the few household jobs where buying less gets better results. You need four things and can skip nearly everything else.
- A microfiber dust mop or flat mop with washable pads. Microfiber traps fine grit through static rather than pushing it around the way a corn broom does. Keep at least three pads so you can swap to a clean one mid-job.
- A vacuum with a hard-floor setting or a bare-floor attachment. Switch off the beater bar. A spinning brush roll on wood works like fine sandpaper.
- A pH-neutral hardwood cleaner. Look for a pH between 6 and 8 and the words residue-free. Bona, Method Squirt and Mop, and manufacturer-branded cleaners all qualify.
- Two microfiber cloths. One damp for spot work, one dry for chasing moisture off the surface.
Optional but useful: felt furniture pads, a soft-bristle broom for entryways, a spray bottle for controlling how much liquid reaches the floor, and a plastic putty knife for scraping without gouging.
8 Effective Ways to Clean Hardwood Floors
Below is a list of the most effective ways to clean your wooden flooring. Choose the method you think is best.
Method 1: The Dry Pass (Daily Maintenance)
Nothing damages hardwood faster than walking on it while it is dirty. Grit acts as an abrasive under shoe soles and grinds a matte path into the finish along the routes people walk. Removing that grit is more valuable than any mopping routine.
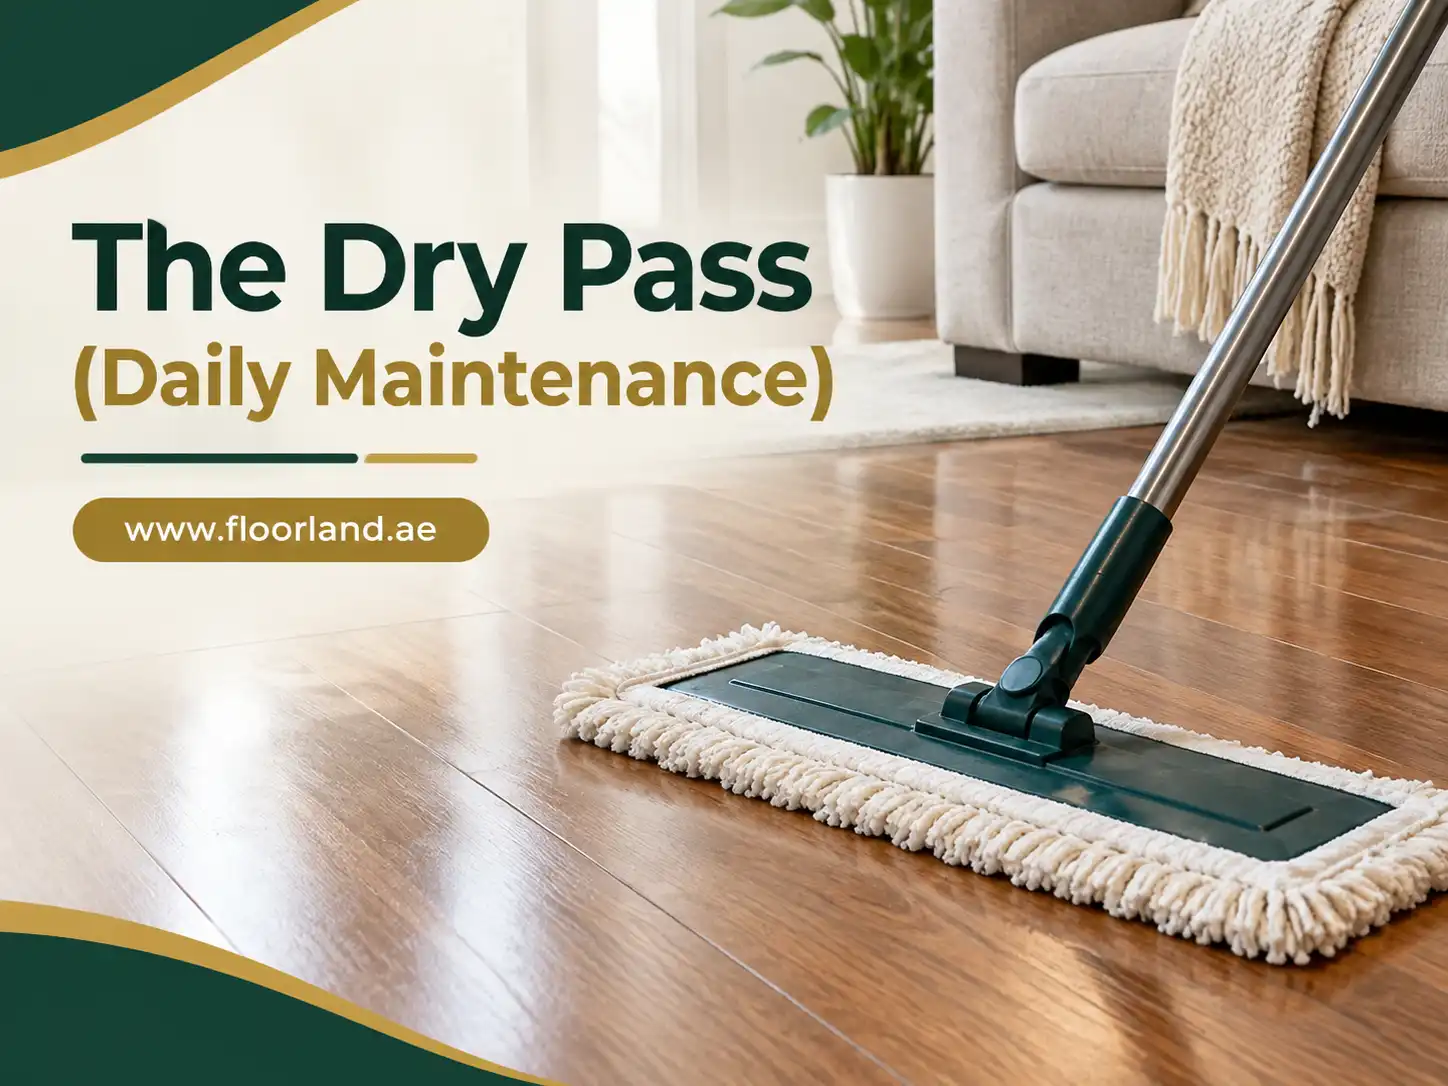
How To Do It
- Start at the far corner of the room and work toward the exit so you never walk back across the cleaned floor.
- Push the dust mop in long straight passes that follow the direction of the boards. Dirt collects in the seams between boards, and moving along them lifts it out instead of packing it in.
- Do not lift the mop head at the end of a pass. Turn it in place so the trapped dirt stays on the pad.
- Finish corners and baseboard edges with a vacuum crevice tool.
- Shake the pad out over a bin, then machine wash it without fabric softener. Softener coats the fibres and kills the static grab.
If you only have time for one cleaning task per week in a busy house, make it this one. Entryways and the three meters inside a back door collect more abrasive material than the rest of the house combined.
Method 2: Damp Microfiber Mopping With a pH-Neutral Cleaner
Best For: sealed polyurethane and engineered floors. This is the industry default and the safest wet method.
The word “damp” does a lot of work here. A properly wrung microfiber pad carries just enough moisture to dissolve the film of body oil, food residue, and airborne grease that dry mopping leaves behind. Anything wetter is working against you.
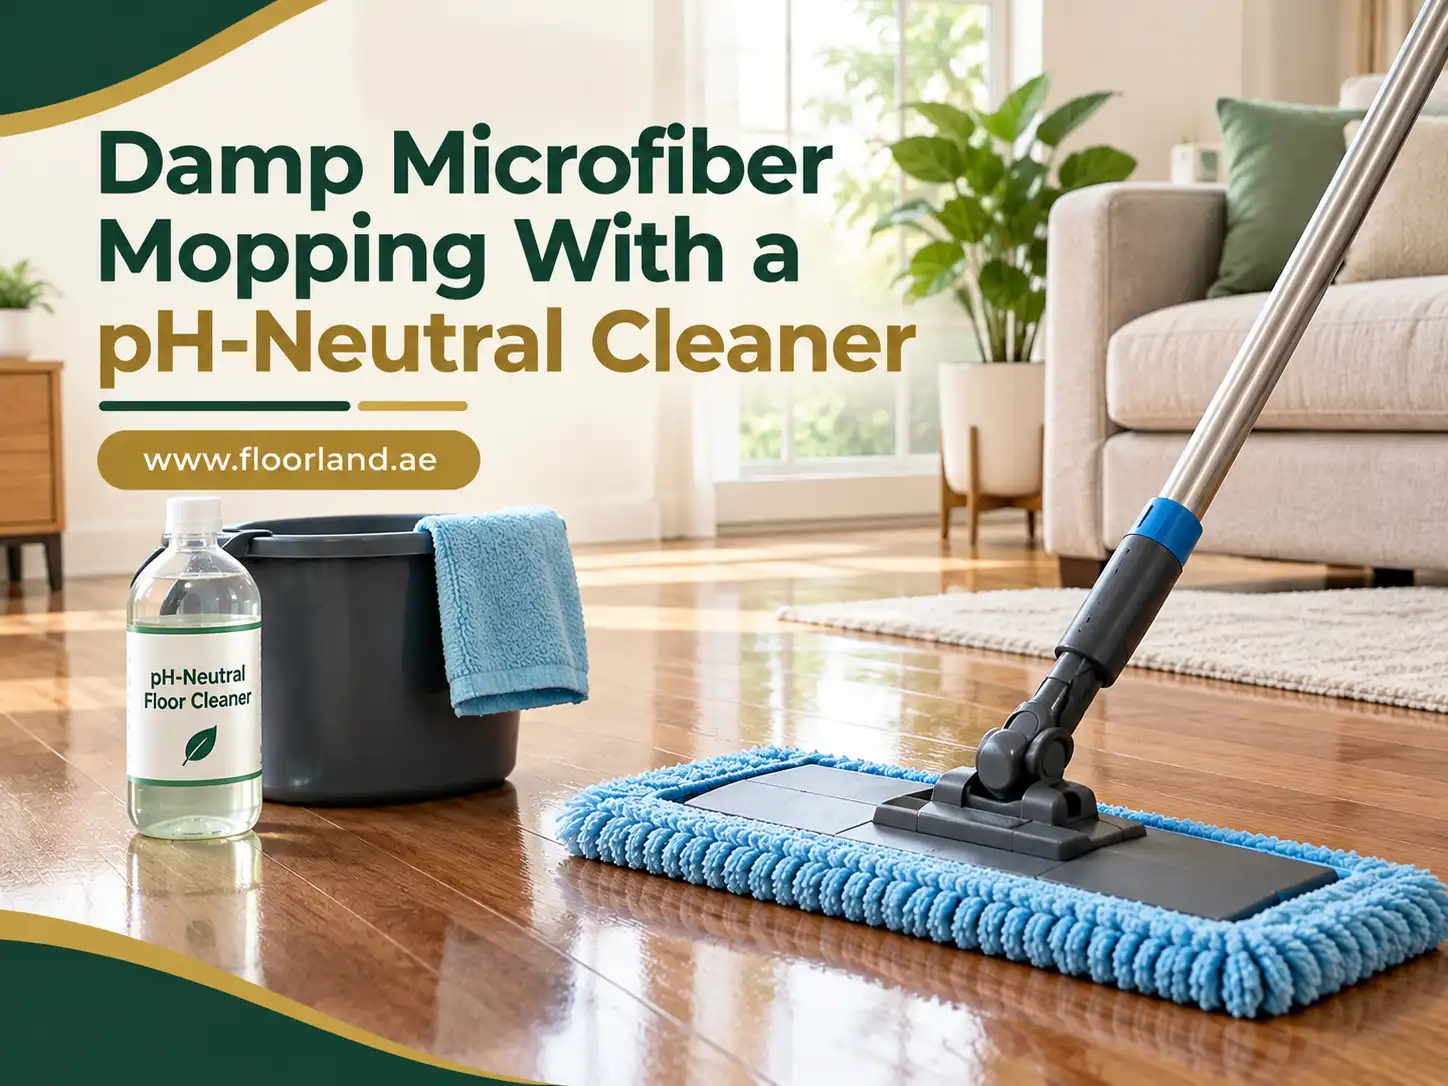
How To Do It
- Dry clean the floor first. Mopping over grit drags it across the finish.
- Mist the cleaner directly onto a one-square-meter patch of floor, not onto the whole room. Using a spray bottle instead of a bucket gives you far better control over volume.
- Mop that patch with the grain, then move on. The liquid should disappear in under two minutes. If it is pooling or still shiny after that, you are using too much.
- Flip or swap the pad as soon as it looks soiled. A dirty pad redeposits the same grime you just lifted.
- Walk the room once more with a dry microfiber cloth or pad on any spot that looks wet, especially seams and board ends.
Why Bucket mopping falls short
A traditional string mop and bucket hold far more water than wood can tolerate, and the water turns grey within minutes. From that point, you are spreading diluted dirt. If you prefer a bucket, use a flat mop with a wringer plate and squeeze until no drips fall when you lift the pad.
Method 3: Dish Soap and Warm Water (Budget Option)
A few drops of clear, dye-free dish soap in a bucket of warm water will lift grease from a sealed floor. The catch is residue. Dish soap is designed to cling and foam, and anything left behind attracts dust and creates a dull film that builds up over months. This method is best for sealed floors when you have run out of dedicated cleaners. Not for wax, oil, or bare wood.

How To Do It Safely
- Mix a quarter teaspoon of clear dish soap into four liters of warm water. Resist the urge to add more. More soap means more film.
- Wring a microfiber pad until it is barely damp and mop a small section.
- Follow immediately with a second pad dampened in plain water to rinse.
- Dry the section with a clean cloth before moving on.
Skip any soap containing bleach, added moisturizers, citrus oils, or dye. Those additives leave streaks.
Method 4: The Diluted Vinegar Solution (Use With Caution)
Vinegar is the most popular hardwood tip on the internet and the most frequently criticized by flooring professionals. Both positions have merit, so here is the honest version.
White vinegar is acidic, with a pH around 2.5. On an intact polyurethane seal, a heavily diluted solution used occasionally causes little harm and cuts through greasy residue well. Used weekly, or mixed too strong, that acid slowly etches the finish and leaves floors looking flat and hazy. On wax or oil finishes, it strips protection immediately. Manufacturers routinely list vinegar among the products that void a finish warranty.
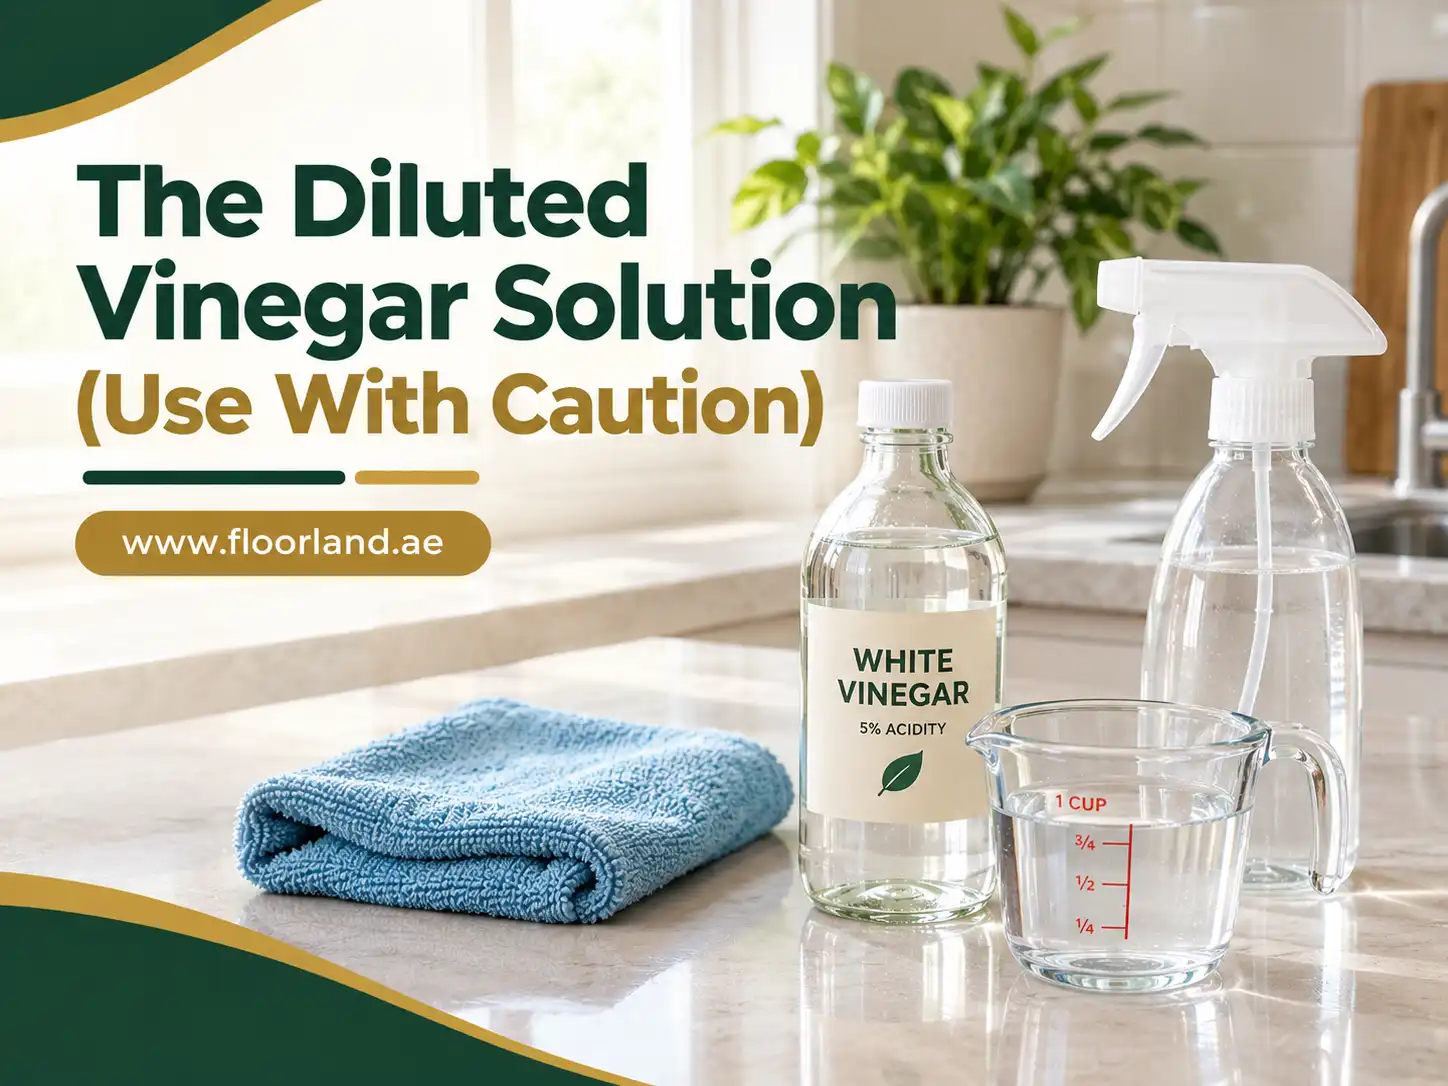
If You Use It Anyway
- Mix a half cup of white vinegar into four liters of warm water. That is the maximum strength worth using.
- Test on a hidden section and wait an hour before judging the result.
- Wring the pad hard and mop with the grain.
- Rinse with a plain-water pad, then dry immediately.
- Limit this to a few times per year at most, and stop entirely if the sheen starts to look uneven.
Better Alternative: If you want to avoid harsh chemicals, a pH-neutral, plant-based hardwood cleaner does the same thing without the acid. The cost difference works out to a few cents per cleaning.
Best For: occasional use on well-sealed polyurethane floors. Never on wax, oil, or unfinished wood.
Method 5: The Black Tea Method (Traditional Finish Reviver)
You can use this cleaning method on dark or medium-toned sealed floors that look tired. This is a cosmetic trick, not a deep clean.
This one comes from old housekeeping practice and still works. Tannins in strong black tea leave a very thin warm-toned film that makes small scratches and dull patches less visible on darker wood. It will not remove dirt on its own, so treat it as a finishing pass after normal cleaning.
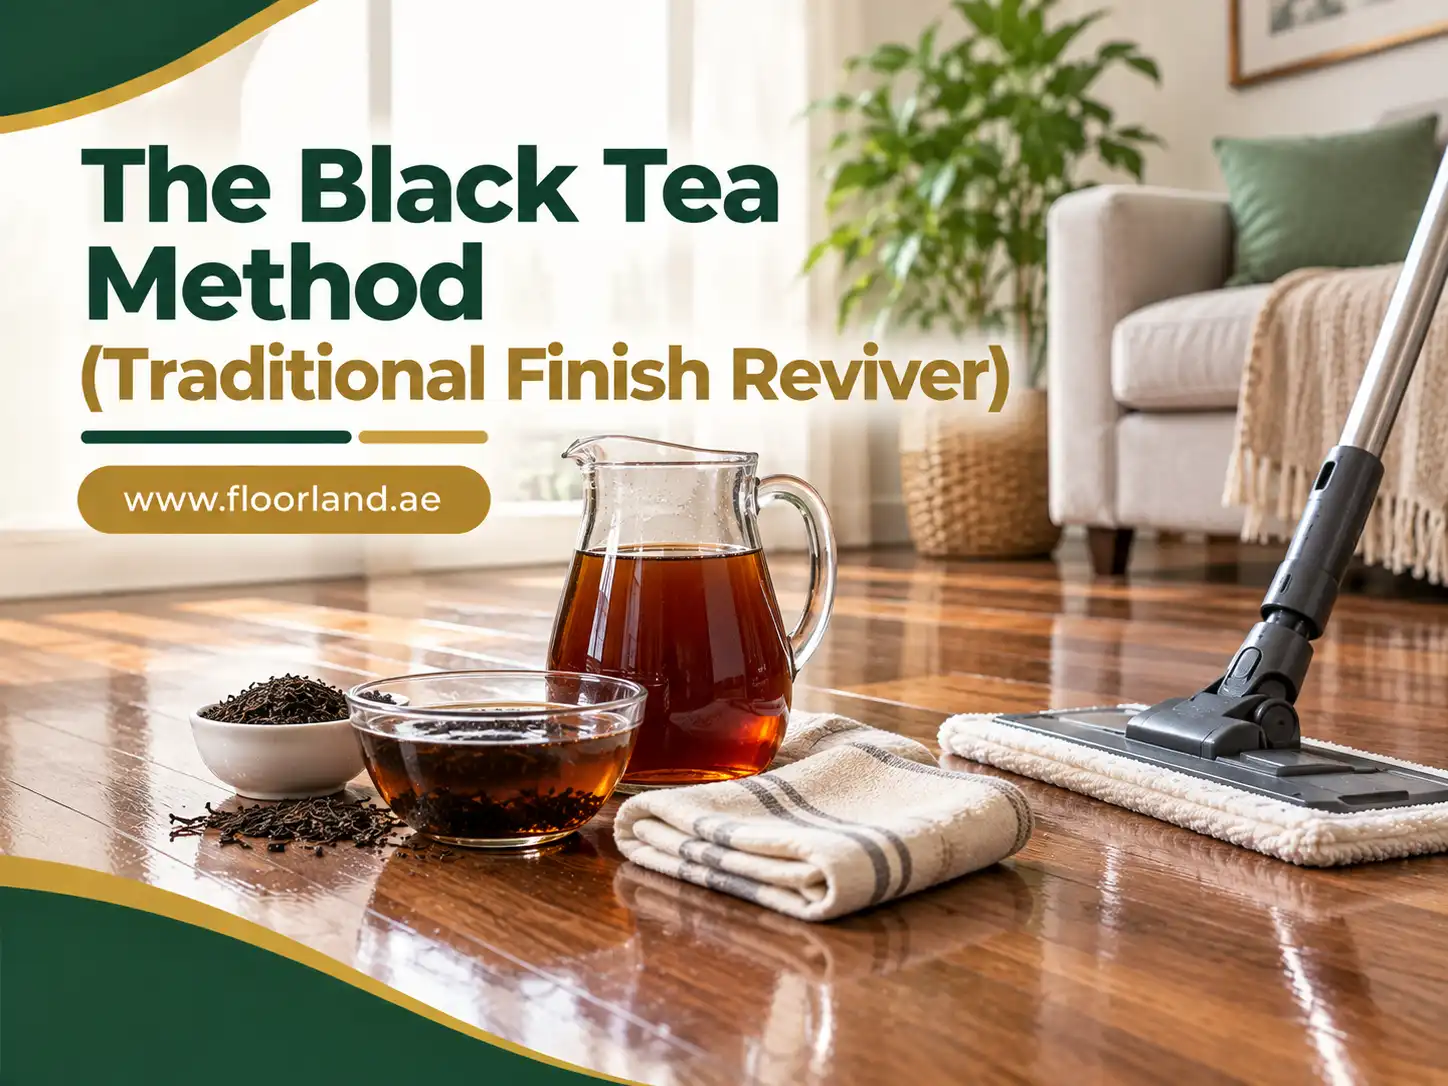
How To Do It
- Steep four black tea bags in one liter of boiling water for ten minutes, then let it cool to lukewarm.
- Test on a hidden patch. On very pale floors such as white oak or maple, tea can shift the tone slightly, which is why this suits darker wood better.
- Dip a microfiber pad, wring it thoroughly, and wipe with the grain.
- Buff dry with a clean cloth while the floor is still slightly damp.
Expect the improvement to last a few weeks. It is a presentation trick worth knowing before guests arrive or before a house viewing.
Method 6: Solvent Cleaning and Re-Waxing for Wax-Finished Floors
Wax floors are maintained, not washed. Water leaves white spots, and detergent strips the protective layer, so the routine is dry cleaning plus periodic solvent work and buffing.
Routine Care
- Dust mop several times a week. Grit is even more damaging on wax than on polyurethane.
- Wipe spills instantly with a dry cloth. Wax spots quickly.
- Buff scuffed areas with a soft cloth or a buffing machine to redistribute existing wax before adding more.
Deep Clean and Re-Wax, Roughly Once or Twice a Year
- Ventilate the room and clear it completely.
- Apply a wax-stripping solvent or mineral spirits to a cloth and work one small section at a time to lift the old darkened wax.
- Wipe residue away with clean clothes, changing them often.
- Apply a thin coat of paste or liquid wax made for wood floors. Thin coats beat thick ones every time.
- Let it haze, then buff to a shine by hand or with a machine.
Safety: solvents are flammable and produce strong vapors. Open windows, avoid open flames and pilot lights, and keep pets and children out of the room until the smell has cleared.
Method 7: Spray Mops and Hard-Floor Washing Machines
Best for: large sealed-floor areas and households that clean often. Convenience with a moisture caveat.
Two categories get grouped together here, and they behave differently.

Refillable spray mops
These put a controlled mist in front of a microfiber pad, which is close to ideal for wood. The main advantage over a bucket is that you physically cannot over-wet the floor. Refillable models let you use your own pH-neutral solution rather than buying cartridges.
Wet-dry hard floor vacuums
Machines in this category vacuum and wash in one pass, then suck the dirty liquid back into a separate tank. On sealed hardwood, look for a model with a hardwood or delicate setting that reduces water output, and empty the dirty tank as soon as you finish. Check the manual before the first use, because some models are approved only for tile and vinyl.
What to watch for on any machine
- Wet streaks left behind after a pass mean the water setting is too high.
- Never park a wet machine on the floor while you take a break.
- Avoid these entirely on unsealed, waxed, or oiled floors and on engineered floors with visible seam gaps.
Method 8: The Seasonal Deep Clean
Best for: sealed floors twice a year, or before and after heavy-traffic seasons.
Normal cleaning handles the surface. A deep clean goes after the residue that has built up in the grain, along the baseboards, and in the seams, and it is what brings back the sheen people assume is gone for good.

How To Do It
- Clear the room entirely, including rugs and small furniture.
- Vacuum thoroughly with a crevice tool along every baseboard and in every seam. This is where most of the missed dirt lives.
- Wipe the baseboards and door casings with a damp cloth. Dust falls from them onto the clean floor otherwise.
- Apply a hardwood deep-cleaning solution in sections with a flat mop, working with the grain.
- Treat individual stains now, while the room is empty and you can see them clearly.
- Dry the floor fully, then inspect at a low angle with a light. Dull grey patches usually mean finish wear rather than dirt, which tells you a recoat is coming.
- Replace felt pads on furniture legs before moving anything back in.
Which Hardwood Cleaning Method Should You Use?
| Method | Best for | How often | Risk level | Cost |
| Dry pass | All floor types | Daily to weekly | None | Very low |
| Damp microfiber + neutral cleaner | Sealed and engineered | Weekly | Low | Low |
| Dish soap and water | Sealed only | Occasional | Medium (residue) | Very low |
| Diluted vinegar | Sealed only | A few times a year | Medium to high | Very low |
| Black tea | Dark sealed floors | Occasional | Low | Very low |
| Solvent clean and re-wax | Wax finishes only | Once or twice a year | Medium (fumes) | Medium |
| Spray mop or floor washer | Sealed, large areas | Weekly | Low to medium | Medium to high |
| Seasonal deep clean | Sealed and engineered | Twice a year | Low | Low |
What About Steam Mops for Cleaning Hardwood Flooring?
Steam mops get their own section because the answer is more specific than yes or no.
A steam mop combines the two things wood tolerates least: heat and moisture. Steam is forced under pressure into the finish and, over repeated use, into the seams between boards. On sealed floors, the usual result is a gradual cloudiness in the finish. On engineered floors, moisture reaching the plywood core can cause the top layer to lift at the edges, which cannot be repaired without replacing boards.
The more practical argument is the warranty. Many hardwood manufacturers name steam cleaning as a cause of voided coverage, and installers see enough steam-damaged floors to warn against it as a default. If your floor is old, fully sealed, and out of warranty, and you use the lowest setting with a fast-moving pass, you will probably get away with it. As a weekly routine on a floor you care about, the risk outweighs the convenience.
How to Remove Common Stains and Marks from Hardwood Floors?
Work from the gentlest option upward and always test in a hidden spot first. On sealed floors, most spills have not reached the wood, so the job is removing something sitting on top of the finish.
-
Pet Urine
For fresh pet urine, blot the area with paper towels rather than wiping it across the floor. Apply an enzymatic cleaner suitable for hardwood and leave it for the recommended dwell time before blotting it dry. For old black stains, the urine may have penetrated into the bare wood and reacted with its tannins. A 3% hydrogen peroxide compress can sometimes lighten the stain, but deep discoloration may require sanding and refinishing.
-
White Cloudy Water Rings
A white or cloudy ring usually indicates moisture trapped within the floor finish rather than serious damage to the wood. Try gently warming the area with a hairdryer on low heat while keeping it moving a few inches above the surface. For wax-finished floors, very fine 0000 steel wool and a small amount of compatible wax may help remove the mark.
-
Dark Water Stains
Dark brown or black water stains are more serious than white rings because moisture has likely penetrated through the finish and into the wood. Regular cleaning will not remove this type of discoloration. Depending on the depth, the affected area may need spot sanding and refinishing.
-
Grease and Cooking Oil
On sealed hardwood, wipe fresh grease with a slightly damp cloth containing a small amount of dish soap, then remove any residue with a clean, damp cloth. For waxed or oil-finished floors, sprinkle cornstarch or baking soda over the affected area and leave it for about an hour to absorb the oil before brushing it away.
-
Heel Marks and Scuffs
Most black heel marks and rubber scuffs sit on top of the finish rather than damaging the wood itself. A clean pencil eraser or tennis ball can often remove them with gentle rubbing. Avoid using abrasive pads that could dull or scratch the finish.
-
Chewing Gum and Candle Wax
First, harden chewing gum or candle wax by placing an ice pack in a plastic bag over the residue. Once it becomes firm, carefully lift it with a plastic scraper or putty knife. Avoid metal tools because they can scratch or gouge the hardwood finish.
-
Ink and Permanent Marker
Apply a small amount of rubbing alcohol to a clean cloth rather than directly onto the floor. Dab the stain from the outside toward the center to prevent spreading. Follow with a lightly damp cloth and dry the area immediately. Test the alcohol on an inconspicuous spot first, particularly on older or delicate finishes.
-
Crayon Marks
For crayon marks on a sealed hardwood floor, use a soft cloth with a small amount of non-gel toothpaste. Rub gently, then wipe the residue away with a clean, damp cloth. Do not scrub aggressively, as excessive abrasion can affect the finish.
-
Red Wine, Coffee and Juice
Blot spilled drinks immediately to prevent liquid from sitting on the floor. Once the excess has been removed, clean the area with a small amount of pH-neutral hardwood floor cleaner. Dried sugary residue can become sticky and attract additional dirt, so avoid leaving these spills untreated.
-
Sticky Residue and Tape Adhesive
Start with a warm, damp cloth to soften the adhesive, then lift the residue gradually without scraping aggressively. Strong adhesive removers can react with certain hardwood finishes, so use them only when necessary and test the product in a hidden area first.
A Realistic Cleaning Schedule for the Hardwood Floor
Adjust upward for pets, children, or a house where shoes stay on, and downward for a low-traffic room.
| Task | Frequency | Notes |
| Dust mop or sweep | Daily in busy areas, weekly elsewhere | Entryways, kitchens, and hallways collect the most abrasive grit. |
| Vacuum with bare-floor setting | Weekly | Reaches seams and corners, and a dust mop skips. The beater bar must be off. |
| Damp mop with neutral cleaner | Weekly to every two weeks | Kitchens may need it more often because of airborne cooking grease. |
| Spot clean spills | Immediately | Every hour a spill sits raises the chance it reaches the wood. |
| Deep clean | Twice a year | Best done at the start and end of the wettest or dirtiest season in your area. |
| Re-wax (wax finishes only) | Once or twice a year | Buff between waxings rather than adding more layers. |
| Screen and recoat (sealed floors) | Every 3 to 5 years | A light abrasion plus a fresh finish coat. Far cheaper than sanding. |
| Full sand and refinish | Every 10 to 20 years | Only when wear reaches the bare wood or damage is widespread. |
9 Mistakes That Quietly Ruin Hardwood Floors
Simple mistakes can damage hardwood floors. Some affect the finish, while others allow moisture and dirt to damage the wood. Avoid these nine common mistakes to protect your floor and extend its lifespan.
- Using too much water. Wood absorbs moisture, swells, and then shrinks as it dries, opening gaps between boards and leading to cupping. Damp beats wet every time.
- Vacuuming with the beater bar running. A spinning brush roll scuffs the finish with every pass. Switch to bare-floor mode or use a canister with a felt-edged floor head.
- Using oil soap on polyurethane. Oil soaps are formulated for wax. On a sealed floor, they build a film that dulls the sheen and, worse, prevents a future recoat from bonding properly.
- Reaching for all-purpose or ammonia cleaners. Ammonia, bleach, and high-alkaline cleaners break down polyurethane. So do abrasive powders and scouring pads.
- Letting spills wait. A wiped spill is nothing. A dried spill is a stain, and a soaked spill is a refinishing job.
- Using rubber-backed or vinyl-backed rugs. They trap moisture and can discolor the finish underneath. Choose a breathable felt or natural rubber rug pad.
- Ignoring furniture pads. Felt pads cost very little and prevent the deep scratches that force a full refinish. Replace them once a year because they collect grit and become abrasive themselves.
- Letting indoor humidity swing. Wood moves with the seasons. Keeping relative humidity between 35 and 55 percent prevents most gapping and cupping problems.
- Dragging furniture instead of lifting it. Use furniture sliders or get help. A single drag across a room can leave a mark no cleaning method will remove.
How to Keep Floors Cleaner for Longer?
Prevention does more for a hardwood floor’s look than any product on a shelf.
- Place a coarse mat outside each exterior door and an absorbent mat inside. Most tracked-in grit is caught in the first few steps.
- Ask for shoes off, particularly for anything with a hard heel or a deep tread.
- Trim pet nails regularly. Scratch patterns from dogs are one of the most common reasons floors are refinished early.
- Use runners in hallways and in front of the sink, where floors take the heaviest wear and the most water.
- Close blinds during peak sun. Ultraviolet light fades and ambers hardwood unevenly, which shows up as a pale patch when you move a rug.
- Rotate rugs and furniture once or twice a year so the floor ages evenly.
When Cleaning Is No Longer Enough
At some point, a floor isn’t dirty; it is worn, and more cleaning will not change how it looks. Knowing the difference saves money and effort.
Signs the Finish is Worn
- Traffic paths look grey or flat even right after mopping
- Water no longer beads in those paths but still beads under furniture
- Small scratches show the bare wood color underneath
Screen and Recoat
If the wear is in the finish only and has not reached the wood, a screen and recoat is the fix. A professional lightly abrades the existing finish and applies a fresh coat. It takes about a day, costs far less than sanding, and can be repeated several times over a floor’s life.
Full Sand and Refinish
When bare wood is exposed, stains have gone deep, or boards are cupped, the floor needs sanding back and refinishing. Solid hardwood can usually take several full refinishes over its lifetime. Engineered wood depends on the thickness of its top layer, and thin veneers may only tolerate one light sanding or none at all.
Final Word
Hardwood floors do not need an elaborate routine. They need the right method for the finish they carry, very little water, and consistent removal of the grit that does the real damage. Identify your finish, pick the two or three methods from this guide that suit it, and keep a dust mop somewhere you will actually reach for it.
If you are unsure about your finish or you are dealing with a floor that looks worn rather than dirty, a flooring professional can assess it in a short visit and tell you whether a recoat will solve the problem before you spend money on products that will not.
Frequently Asked Questions
A pH-neutral hardwood floor cleaner applied with a microfiber flat mop is the safest and most effective option for sealed floors. It removes grease and residue without leaving a film and without the acidity that dulls finishes over time.
Not a dripping one. A microfiber pad wrung out until no water drips is fine on sealed floors. Traditional string mops hold far too much water, and standing liquid can swell boards and lift the finish.
Heavily diluted vinegar used occasionally on a well-sealed floor is usually tolerated, but it is acidic and repeatedly uses dull polyurethane. It should never touch wax, oil or unfinished wood, and many manufacturers list it as a warranty exclusion.
Once a week for most homes, or every two weeks in low-traffic rooms. Kitchens and entryways often need more. Daily dry cleaning matters more than frequent mopping.
It is not recommended. Heat and forced moisture can cloud the finish and reach the seams, and many manufacturers void warranty coverage over steam cleaning.
Usually residue. Too much soap, an oil-based cleaner on a sealed floor, or hard-water minerals leave a film. Clean once with a residue-removing hardwood cleaner and use less product afterward. If the dullness is confined to walking paths, it is finished wear rather than residue.
Use less liquid, swap to a clean pad when the current one looks soiled, work in small sections with the grain, and buff any damp areas dry with a microfiber cloth before they air dry.
The methods are the same, but the moisture tolerance is lower. Mist and wipe rather than mop, and dry the surface quickly, because water reaching the core layer causes edge swelling that cannot be sanded out.
A hydrogen peroxide compress left on the stain for several hours will often lighten it. Stains that have soaked deep into the board usually need sanding and refinishing of that section.
For routine cleaning, no. For a deep clean before selling a home, for restoring waxed floors, or for a screen and recoat, a professional has equipment and finish knowledge that make a visible difference.


