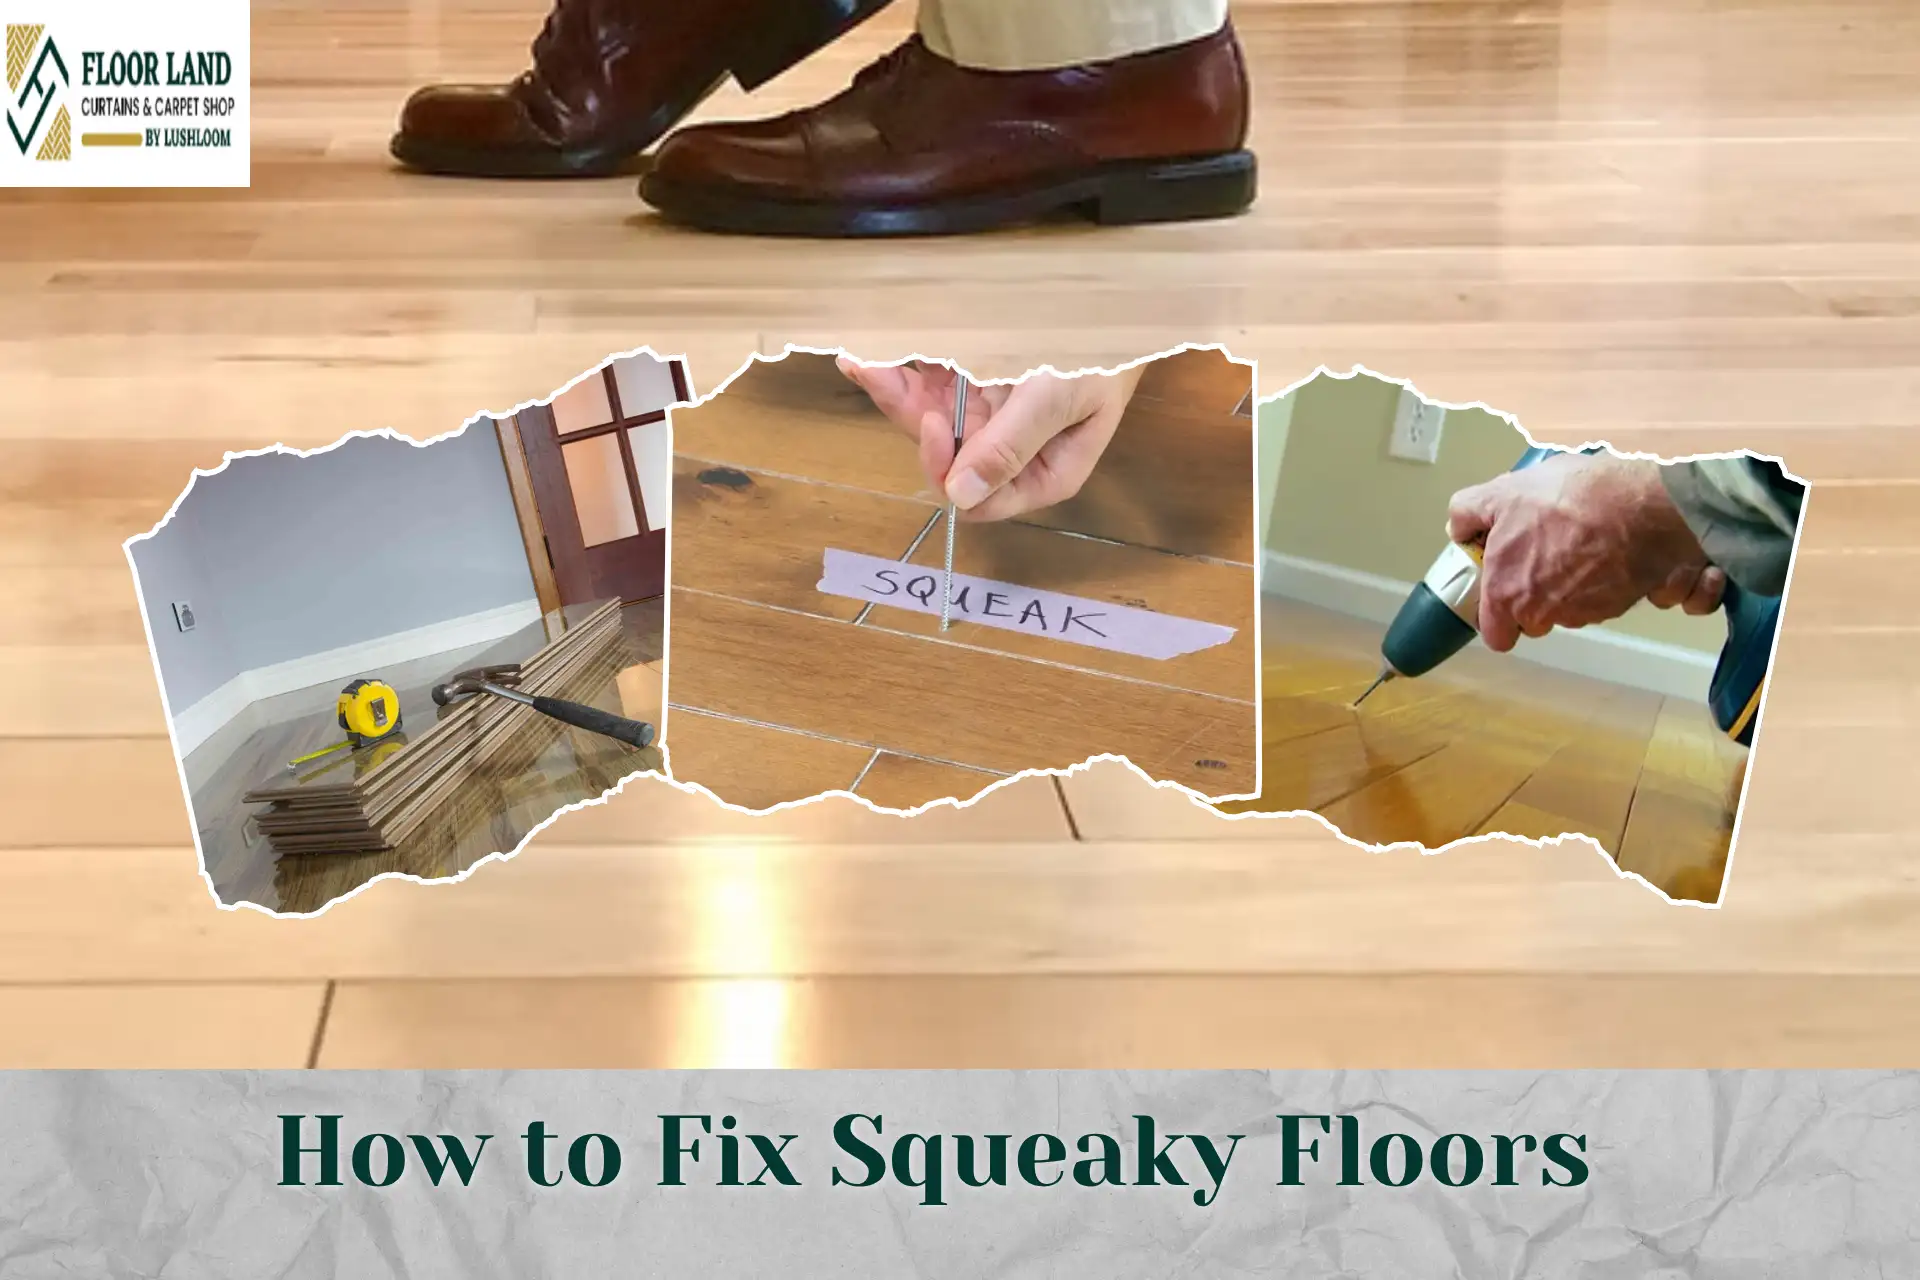
How to Fix Squeaky Floors: Pro Tips 2026
A squeaky floor may seem like a minor annoyance, but over time, that persistent creak can become impossible to ignore. Whether it happens with every step or only in certain spots, floor squeaks often raise questions about the condition of the flooring beneath.
Sometimes squeaky floors are not a sign of serious structural damage. In many cases, the issue can be identified and fixed with a few simple tools and the right approach. There is usually no need for costly repairs or replacing the entire floor.
This guide explains the causes of floor squeaks and provides practical, step-by-step solutions to help restore a quieter, more comfortable home.
Why Do Floors Squeak?
A squeak is just two things rubbing together. Wood moves a tiny bit when you step on it. If something is loose, that movement makes a sound. Your floor acts like a big drum, so even a small rub feels loud.
Here are the usual causes:
- The subfloor has pulled away from the joists. Joists are the wooden beams that hold up your floor. When the layer above them (the subfloor) lifts even slightly, it rubs and squeaks.
- Loose nails or screws. Over time, fixings work their way loose. The board then moves against the nail, making a noise.
- Gaps between the floorboards. When boards no longer sit tight against each other, they rub side to side.
- Changes in humidity and heat. Wood swells when it’s damp and shrinks when it’s dry. The mix of humid outdoor air and cold air conditioning makes wood expand and contract a lot. This is one of the biggest causes here.
- A poor or rushed installation. If the floor wasn’t glued, nailed, or spaced correctly, squeaks often show up within months.
- Age. Older floors simply loosen up with years of use.
Knowing the cause matters. It tells you which fix to use. So before you reach for tools, do a little detective work.
Easy Steps to Fix Squeaky Floors
Below, we have outlined some crucial steps to fix squeaky floors.
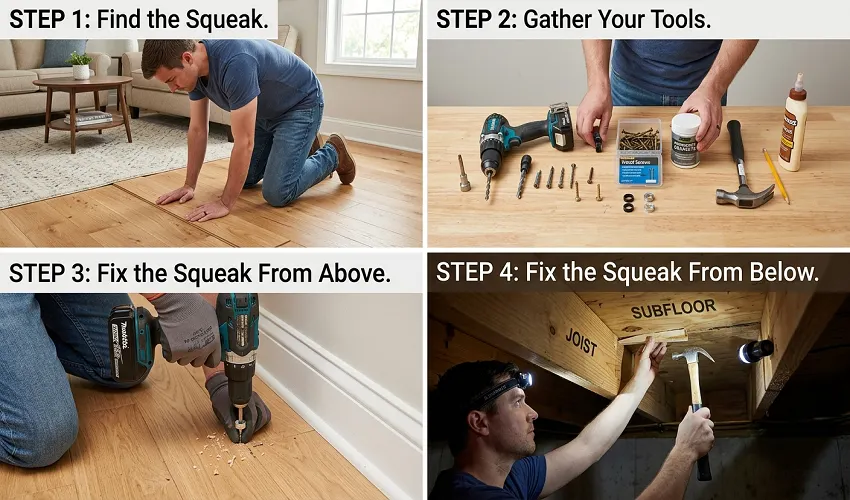
Step 1: Find the Squeak
You can’t fix a squeak until you know exactly where it is. Ask someone to walk slowly across the room. Stay quiet and listen. When you hear the noise, mark the spot with a piece of low-tack tape. Press down on the area with your hand or foot to confirm it.
Now look closely. Can you see a gap between boards? A nail sitting proud? A board that dips when pressed? These clues point you to the right repair.
If you have a basement, crawl space, or open ceiling below, check there too. From underneath, you can often see the subfloor flexing away from a joist as someone walks above. That is gold. It makes the job far easier.
Step 2: Gather Your Tools
You won’t need much. For most jobs, grab a few of these:
- Talcum powder, powdered graphite, or a dry lubricant
- A screwdriver or drill
- Wood screws (the right length for your floor)
- Construction adhesive
- Wood filler and a putty knife
- Wooden shims (thin tapered wedges)
- A squeak-repair kit (sold for exactly this job)
You likely already have half of these at home.
Step 3: Fix the Squeak From Above
Most people can’t reach the underside of their floor. So let’s start with the fixes you do from the top. These work for hardwood, engineered wood, and many other types of flooring.
Lubricate the Gap
This is the easiest trick, and it works surprisingly well. If two boards are rubbing, a dry lubricant cuts the friction.
Sprinkle talcum powder or powdered graphite into the gap between the squeaky boards. Work it in with a soft brush or cloth. Then step on the boards a few times to push it deep. Wipe or vacuum up the extra.
The squeak often stops right away. It may need a top-up later, but it’s a quick, low-effort win.
Use a Squeak-Repair Kit
For wood floors over a joist, a repair kit is a clever option. These kits use a special screw that goes through the floorboard and into the joist below. The screw head then snaps off just under the surface. The tiny hole is easy to hide with a little filler.
This pulls the loose board tight to the joist and kills the squeak for good. Just make sure you’re screwing into a joist, not into empty space.
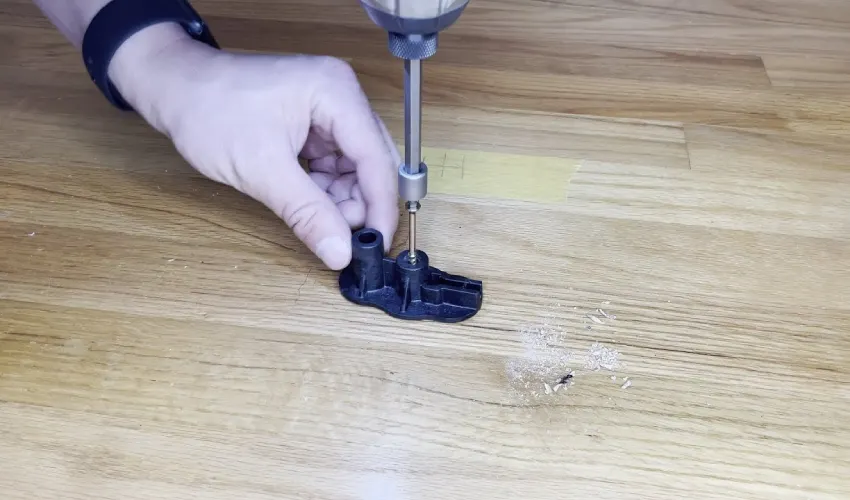
Drive a Screw into the Joist
No problem if you do not have a kit? You can do something similar by hand. Find the joist under the squeak. Drill a small pilot hole through the floorboard into the joist. Then drive a wood screw to pull the board down tight.
Sink the screw head just below the surface. Fill the hole with matching wood filler and smooth it over. Done carefully, it’s nearly invisible.
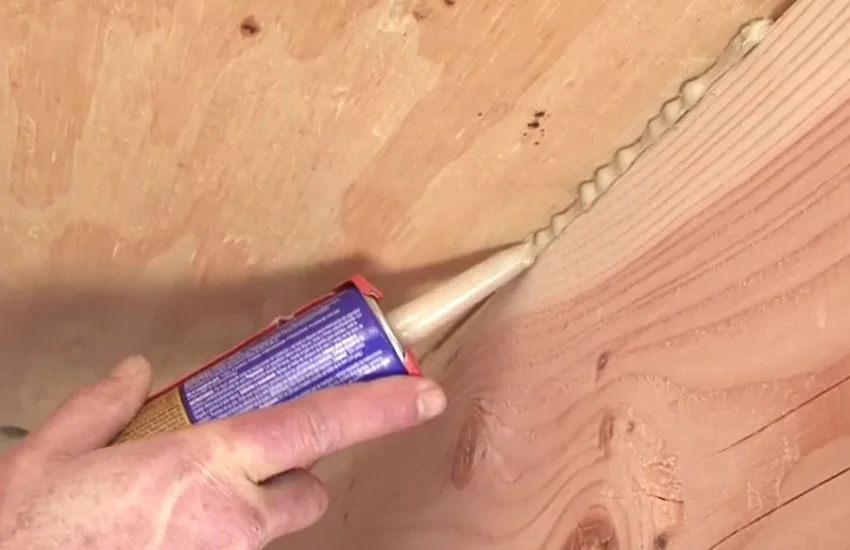
Fill the Gap with Adhesive or a Shim
Sometimes a board has lifted, leaving a gap you can reach. Squeeze construction adhesive into the gap. As it sets, it glues the parts together and stops the rub.
If the gap is between the subfloor and a joist you can reach, tap in a thin wooden shim with a little glue on it. Don’t force it too far, or you will lift the board and make things worse. Gentle is best.
Step 4: Fix the Squeak From Below
If you get access to the underside, then it will be the best. These fixes are stronger and last longer.
Glue and Screw the Subfloor
This is the gold-standard repair. Have someone stand on the squeaky spot above. From below, you’ll see the gap between the subfloor and the joist.
Add construction adhesive to that gap. Then drive a screw up through the joist into the subfloor to clamp it tight. Glue plus screws beats nails every time, because nails work loose again, but screws hold.
Add Blocking Between Joists
If a joist itself flexes, it needs support. Cut a short piece of timber and fit it snugly between two joists, right under the squeak. This is called blocking. It stiffens the structure and stops the movement.
Insert a shim
If you can see a small gap between the joist and the subfloor, a thin shim does the job. Add a dab of glue, slide the shim into the gap, and stop as soon as it’s snug. Never hammer it in hard.
Fixes by Floor Type
Different floors need a slightly different touch. Here’s how to handle the most common ones.
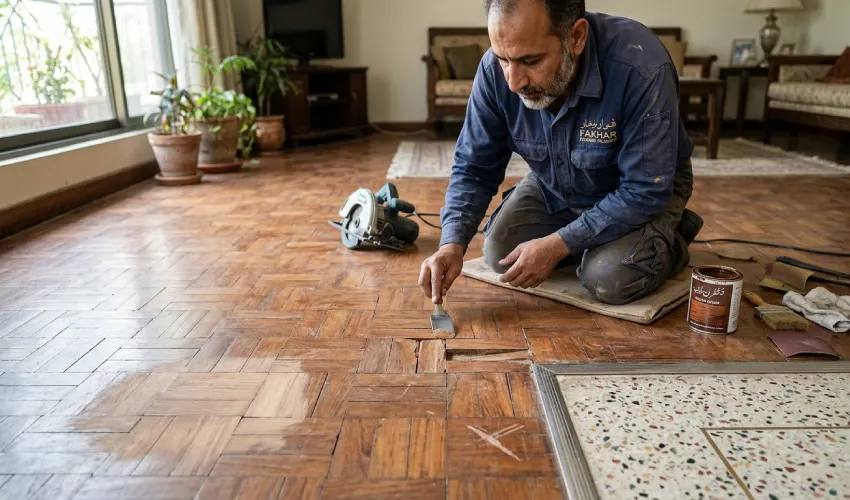
Hardwood and engineered wood. These are the squeak champions. Use the lubricant trick first. If that fails, move to a repair kit or screws into the joist. Always fill holes with a matching filler to protect the look.
Laminate floats over an underlay, so the squeak is usually from the subfloor below or a thin or worn underlay. You often can’t screw into laminate floor without damage. Check that the subfloor is flat and the underlay is in good shape. A bouncy or spongy laminate floor usually indicates an uneven subfloor.
Vinyl and LVT. These also sit on the subfloor, so the noise comes from below. The fix is to settle the subfloor, not the vinyl floor itself. Make sure the base is flat, clean, and well stuck down.
Tile. Solid tile rarely squeaks. If it does, you may have a loose or cracked tile, or a soft subfloor flexing beneath it. This often needs a closer look from a pro.
How to Stop Squeaks Before They Start
The best fix is to never get the squeak at all. A few smart steps go a long way, especially in our climate.
- Control the humidity. Big swings between humid air and strong AC make wood expand and shrink. Try to keep indoor humidity steady. A consistent room is a quiet room.
- Let the new flooring acclimate. Before fitting, leave the wooden flooring in the room for a few days. It adjusts to the home’s temperature and moisture first. Skipping this step causes movement later.
- Use a good underlay. Quality underlay cushions the floor and reduces noise. It’s a small cost that prevents big headaches.
- Insist on proper installation. Correct spacing, the right expansion gaps, and a flat subfloor stop most squeaks before they begin. This is where a skilled fitter pays for themselves.
- Keep an eye on the subfloor. A flat, solid, dry base is the foundation of a quiet floor.
When to Call a Professional
DIY handles most squeaks. But some jobs need an expert. Call a professional if:
- The squeak covers a large area, not just one spot.
- The floor feels bouncy, soft, or sinks underfoot.
- You see water damage, mould, or rot near the noise.
- You have tried the fixes above, and the noise won’t quit.
- You are not sure where the joists are and don’t want to risk damage.
A wider or spreading problem can point to something structural. It’s always cheaper to check early than to repair later.
Final Thoughts
A squeaky floor is annoying, but it’s almost always an easy fix. Find the noise. Match the cause to the right repair. Start with the simple stuff, like a little powder, before moving to screws and adhesive. Most of the time, that’s all it takes.
And remember, the quietest floors are the ones fitted right from day one. A flat subfloor, the correct gaps, good underlay, and steady humidity make all the difference.
If your floor is past saving, or you would rather leave it to an expert, our team at Floor Land is here to help. We supply and fit quality flooring built to stay solid and silent for years. Get in touch for free flooring advice.
Frequently Asked Questions
Cold, dry air makes wood shrink slightly. That opens tiny gaps, and the boards rub. The squeak often eases when the air gets more humid again.
Yes, for squeaks caused by boards rubbing together. It reduces friction fast. It may need a top-up over time, but it’s a great first step.
Usually not. Most squeaks are just loose boards or normal wood movement. But a soft, sinking, or spreading squeak can mean a deeper issue, so don’t ignore those.
If your current floor is old, badly fitted, or sitting on a poor subfloor, a fresh, properly installed floor can solve it for good. The key is preparing the subfloor correctly first.
