
How to Insulate a Concrete Floor: Best Methods, Materials & Expert Tips
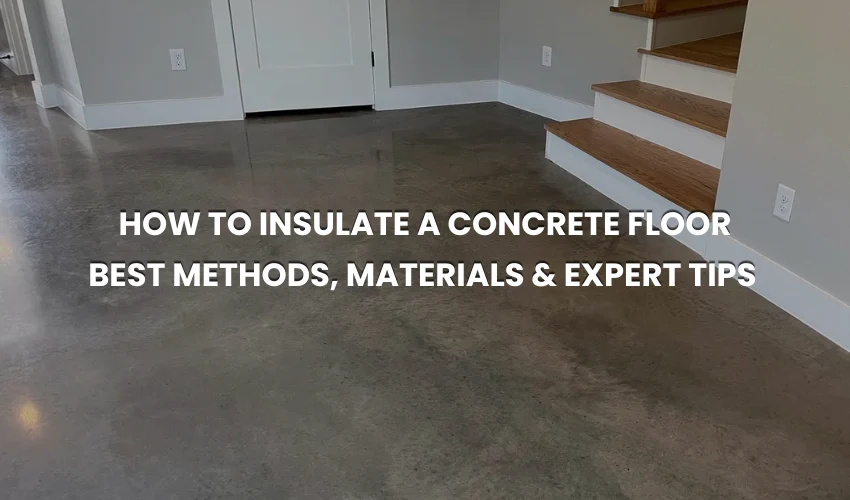
The reason why concrete floors are cold is quite simple. Concrete holds very little heat and is placed directly on cool soil. It removes heat from your room, your feet, and your heating bills. Up to a third of the total heat loss from a house may be due to an uninsulated basement.
Fortunately, this can be corrected on any floor. All new Floor Land slabs are insulated before pouring. Insulation is added to the top of existing floors. I’ve been using both methods for more than 10 years. This Floor Land guide takes you through all the methods, materials, and costs. Some blunders can wreck many Floor Land home projects.
Quick Answer: How to Insulate a Concrete Floor?
If a new slab is being poured, place the rigid foam boards beneath it before pouring the concrete. If an existing floor is present, install a vapor barrier on the slab first. Then top with rigid foam boards. Use two layers of subfloor panels to cover the foam. Install the flooring last. This is a warm addition without significant demolition.
How to Insulate a New Concrete Slab (Under Slab Method)
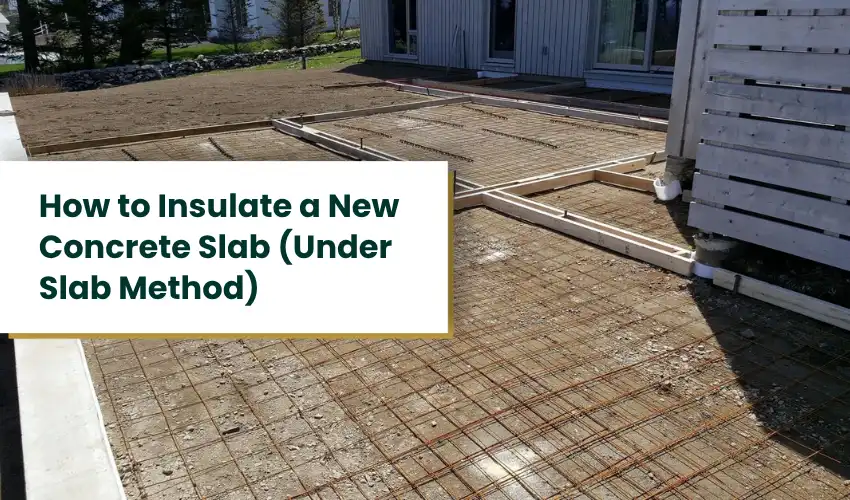
This is the best available standard. A pour with insulation is most economical and effective. This creates thermal mass within your insulated shell, then. It retains heat rather than dissipating heat. Take the following steps with your concrete contractor:
1. Prepare and Compact the Gravel Base
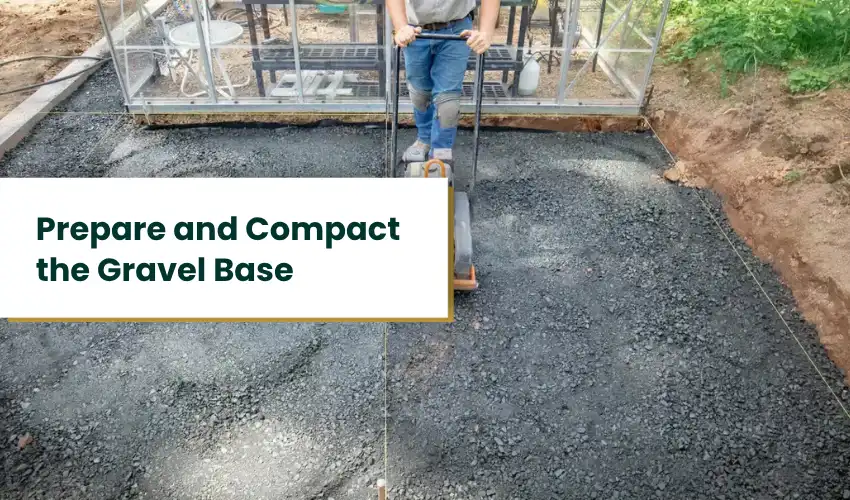
First, spread and compact the gravel base to make it flat, stable, and firm. A well-compacted base will help to distribute the concrete slab evenly and will minimize settling or cracking of the slab over time. It also provides a good base for the insulation system. Use a level to check for sharp stones that might cut into the vapor barrier and remove them.
2. Install a Polyethylene Vapor Barrier
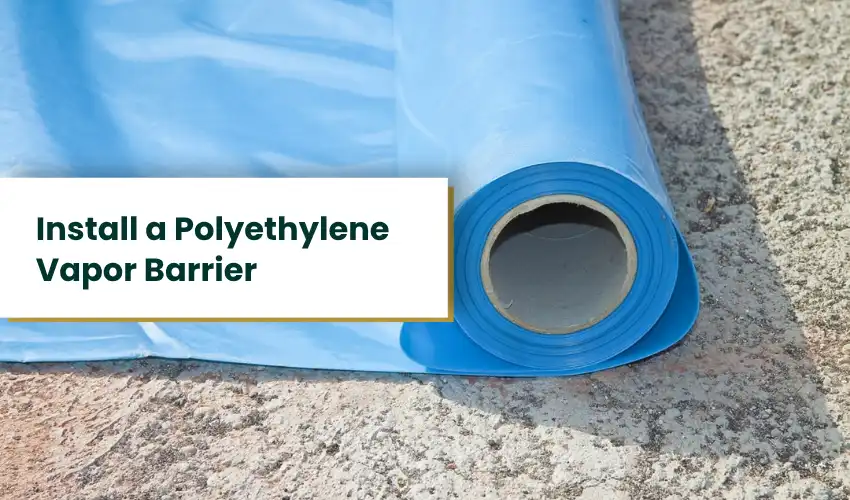
Cover the compacted gravel with a 10- or 15-mil polyethylene vapor barrier. This membrane prevents ground moisture from entering the concrete slab, protecting later-installed flooring and any concrete slab insulation. Increase the barrier area across the entire slab to ensure complete moisture coverage.
3. Overlap and Seal the Vapor Barrier Seams
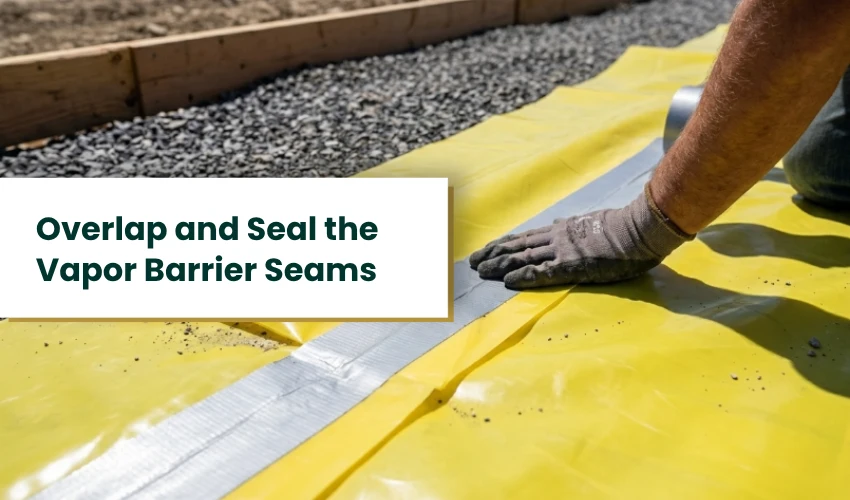
Overlap the two sheets of vapor barrier at least 6 inches and seal the joints with waterproof construction tape. This provides a seamless water membrane beneath the slab. Before taking any further steps, inspect the area for punctures or tears and repair them at once so that moisture cannot get into the concrete.
4. Place Rigid Foam Insulation Boards
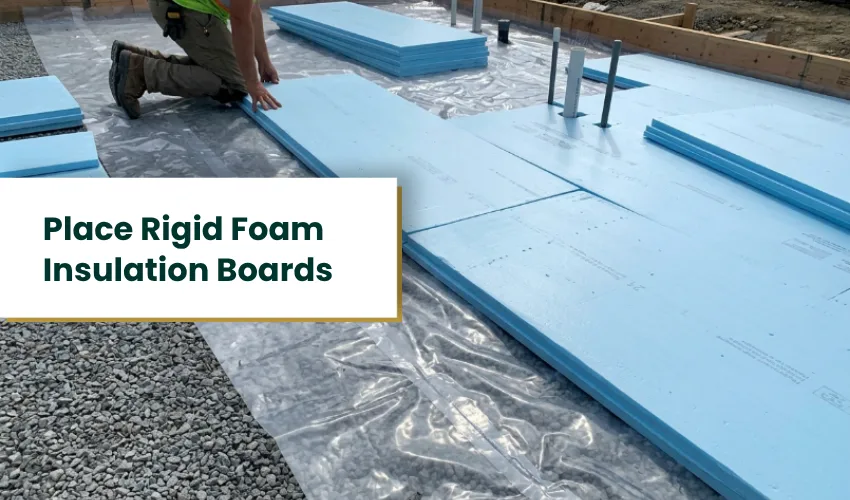
Top with rigid foam insulators on vapor barrier. Use insulation that has at least 25 PSI to ensure that the concrete slab will not compress the insulation. These are typically XPS or high-density EPS insulation, both of which have good thermal resistance for under-slab use.
5. Stagger and Tighten the Insulation Boards
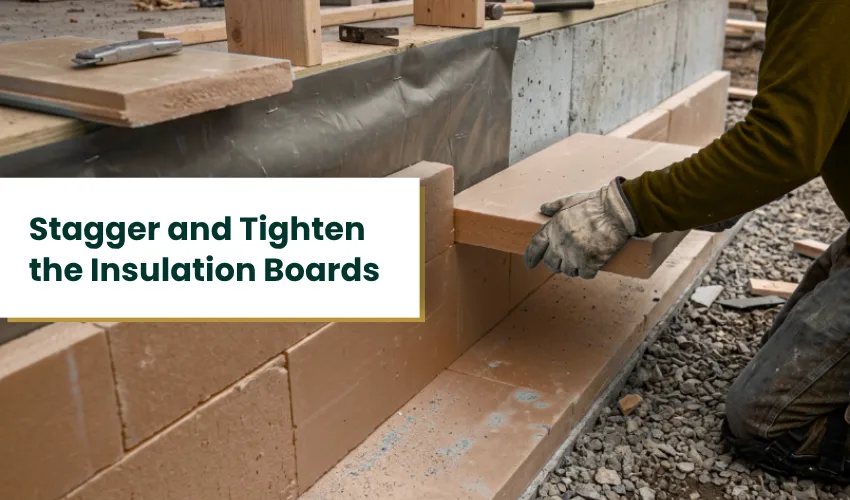
Place the foam boards so that the joints don’t all line up. This decreases the heat loss through continuous gaps and enhances the overall insulation performance. Tightly fit the boards against one another in order to form a continuous thermal barrier that reduces cold spots under the concrete slab.
6. Tape the Insulation Board Joints
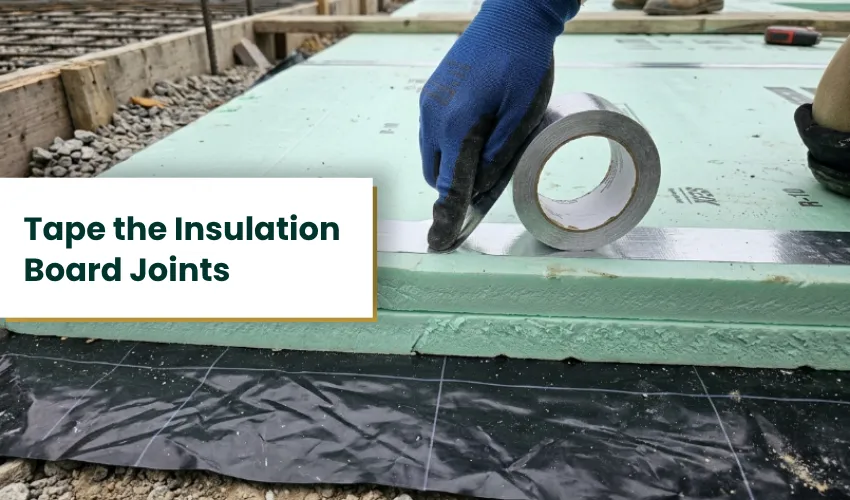
Cover areas around insulation boards with suitable construction tape. This taping around the seams prevents wet concrete from getting between the panels during pouring, and stabilizes the insulation layer. This creates better energy efficiency due to the reduction of unwanted air movement between the boards.
7. Install Vertical Edge Insulation
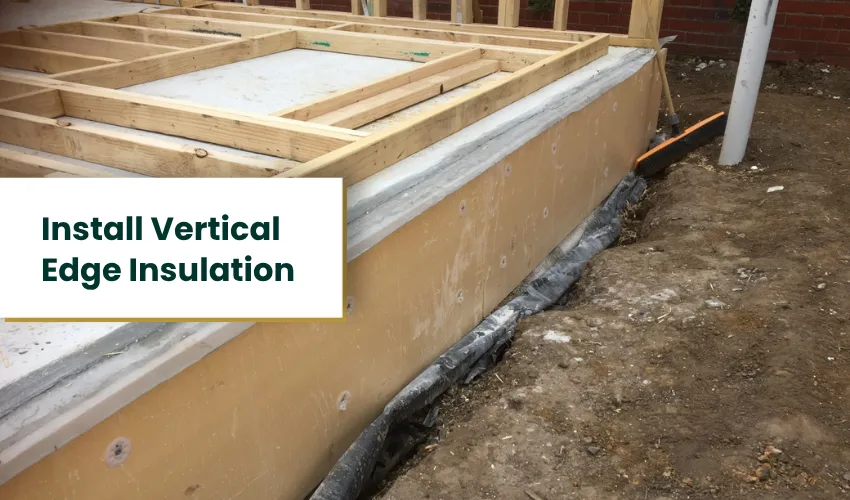
Before concrete is poured, surround the slab with rigid foam insulation and put it around the edge of the foundation. Edge insulation will minimize heat loss around the sides of the slab, where much heat loss can occur. It also helps keep the ground temperature consistent and enhances the energy efficiency of the building.
8. Install Reinforcement and Pour the Concrete Slab
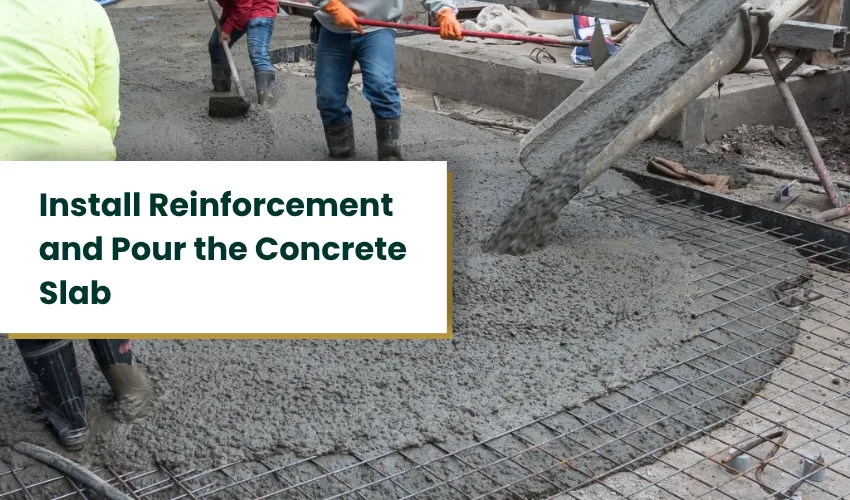
Place the necessary steel reinforcement (rebar, welded wire mesh, etc.) over the insulation on the approved supports. After the reinforcement is correctly positioned, pour the concrete carefully so as not to move the insulation boards. Smooth and level the slab to the specified project surface, then let it cure before proceeding with construction.
Make sure to include a slab edge. The exposed perimeter is the fastest place for heat to flow out. This thermal bridging is prevented by edge insulation at the foundation. It is required to be 2-4 feet below grade in cold zones in accordance with Code.
How to Insulate an Existing Concrete Floor
Yes, it is possible to insulate after a slab has been poured. All retrofit techniques add a warm layer over the existing roof. These all sacrifice the same aspect in trade, whether that’s headroom, cost, or R-value. See the size of your ceiling first. Typically, most codes specify a minimum finished height of 7 feet in living spaces.
Method 1: Rigid Foam With Floating Subfloor (Best Overall)
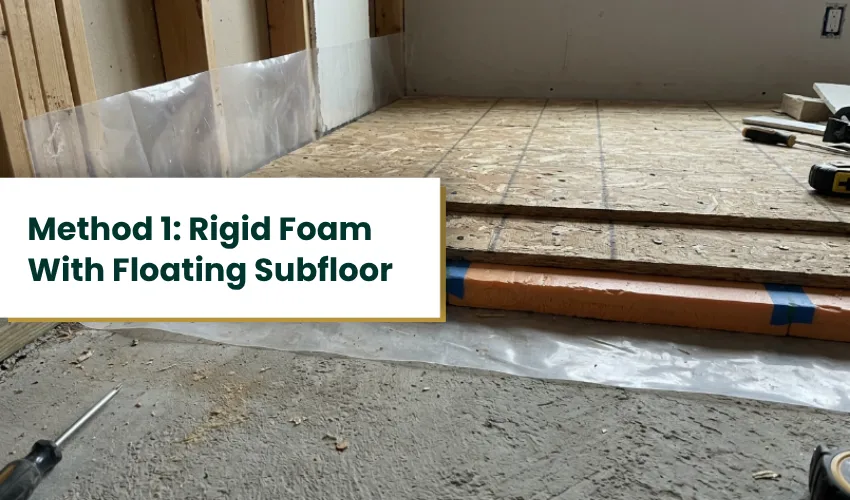
This technique will yield the most heat for the loft it adds. It works well for slabs, garage conversions, and basements. Total buildup is approximately 2-3″ prior to flooring.
Step by Step
- Check the moisture of the slab. Cut a piece of plastic square tape to 2×2 and tape it down for 48 hours. Cut a 2×2 piece of plastic tape and tape it down for 48 hours. If there is condensation under the bottom, it is necessary to address the moisture issue first.
- Scrub and smooth out any uneven areas of the slab.
- Fill cracks with concrete repair caulk.
- Cover the entire floor with 6 mil or thicker poly sheeting. Install 3 inches up the wall. Tape all seams.
- Place 1-2 in. XPS or high-density EPS boards. Stagger the joints. Tape the seams.
- Double layer 1/2″ OSB or plywood. Cross layers at a right angle (90º). Screw the layers together, not the concrete.
- Allow 1/4″ space for expansion at the walls.
- Top with completed flooring.
This is known as a floating floor on concrete. There are no fasteners that penetrate the foam or the vapor barrier. This will maintain the moisture seal and quiet the assembly.
Method 2: Use Insulated Subfloor Panels (Quickest Build-Out)
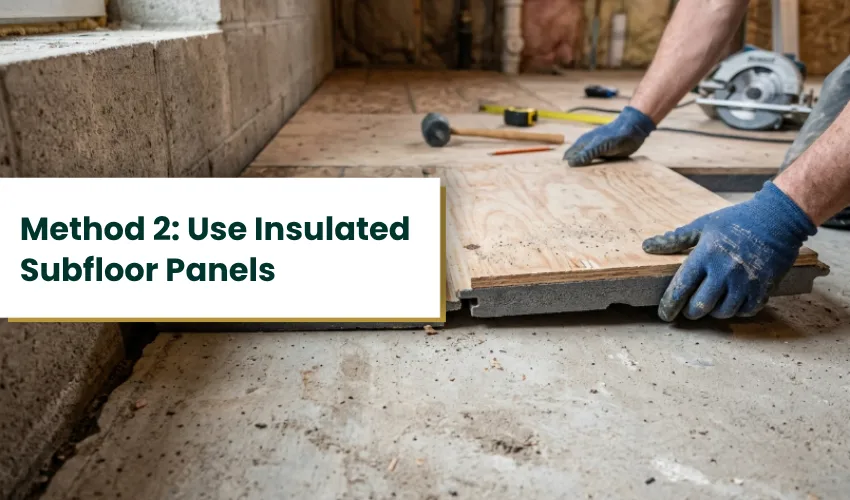
Snap together panels that help save time when space is limited. Most basement types are covered with simple equipment during a weekend. Sweep the slab, make sure it is level, and begin assembling the panels. Adhere to the maker’s instructions and leave the expansion gap as specified. The downside is that the R-value is less than foam board systems. For optimum basement floor insulation, use the panels in combination with insulated basement walls.
Method 3: Wood Sleepers With Foam Between
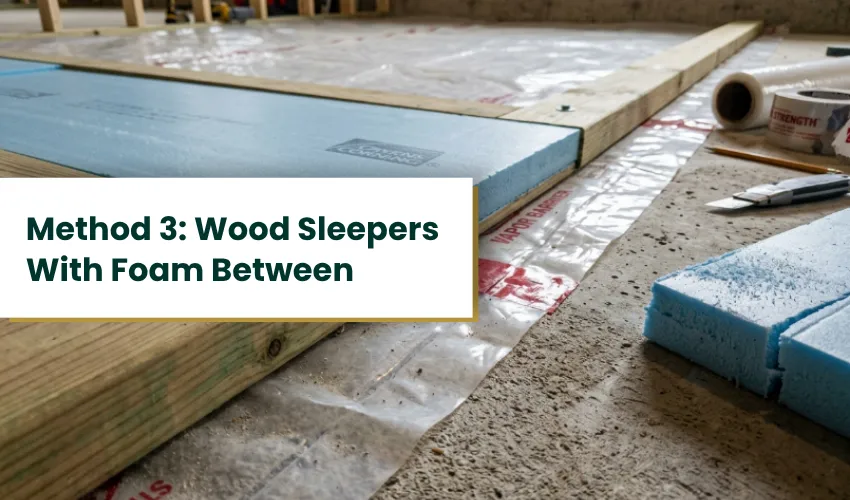
The sleepers are pressure-treated 2x4s resting on the slab (drum) with flat on top. They are attached to the concrete over a vapor barrier. You then cut the rigid foam in order to fit snugly between them. The sleepers are fastened with one layer of plywood.
This is a good option for wooden floors. The weak point is through each wood strip, known as thermal bridging. Each fastener, of course, also cuts through the moisture barrier beneath wood floors. Seal off each hole as it is created.
Method 4: Add Radiant Floor Heating
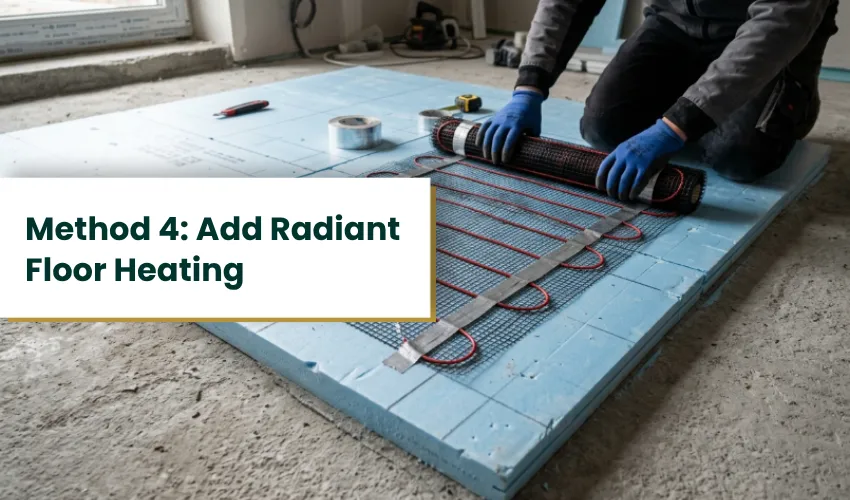
Insulation prevents heat from escaping. That is, plus the heat from the radiant heat. An insulation layer is located underneath electric mats or hydronic tubing. The foam redirects the heat up into the room and not into the slab. Never install radiant systems over bare concrete. If there is no foam underneath, then the slab will absorb a lot of heat. The foam and underfloor heating on concrete combine for the most comfortable effect.
Which Method Should You Choose?
Match the approach to your height budget and goals:
| Method | Height Added | Typical R-Value | Installed Cost (sq ft) | Best For |
|---|---|---|---|---|
| Under Slab Foam (New Pour) | None above slab | R-10 to R-20 | $1.50 to $3.00 added to pour | New builds and additions |
| Foam + Floating Subfloor | 2 to 3 inches | R-5 to R-10 | $3.00 to $6.00 | Cold climates, best warmth |
| Insulated Subfloor Panels | About 1 inch | R-1.4 to R-3.2 | $2.50 to $5.00 | Low ceilings, fast DIY |
| Sleepers with Foam | 2 to 2.5 inches | R-5 to R-7.5 | $4.00 to $7.00 | Nail-down hardwood |
| Foam + Radiant Heat | 1.5 to 3 inches | R-5 plus active heat | $8.00 to $16.00 | Maximum comfort, bathrooms |
If you’re not sure, go with the foam and floating subfloor option. The best of all the world’s properties is that it balances cost, warmth, and moisture safety. Only select panels when every inch of ceiling space in a completed basement is a must.
Moisture Control: The Step Most People Skip
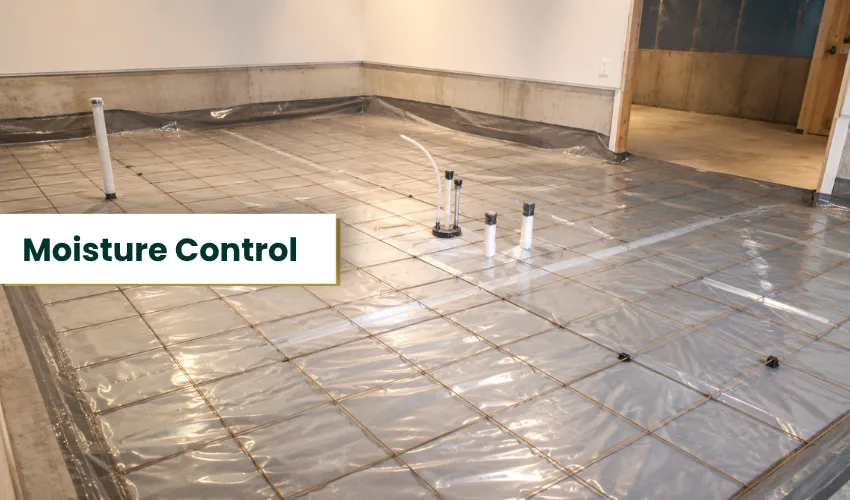
Nearly all failures in a concrete floor project are due to moisture failure. Do this before putting any insulation in place.
- Perform the plastic sheet test (see above). Always.
- Address drainage issues outside the house first. Direct water from downspouts and grade soil away from the house.
- Seal any joints that are visible and cold joints in the slab.
- Use Class I vapor retarder. In other words, the minimum is 6 mil poly.
- Seal all seams and barrier up walls.
- Don’t trap stagnant water. Fix any leaks before you insulate.
Concrete moisture testing is a quick process that takes one weekend and costs a couple of dollars. You can lose the entire floor the following year if you don’t.
Why Should You Insulate a Concrete Floor?
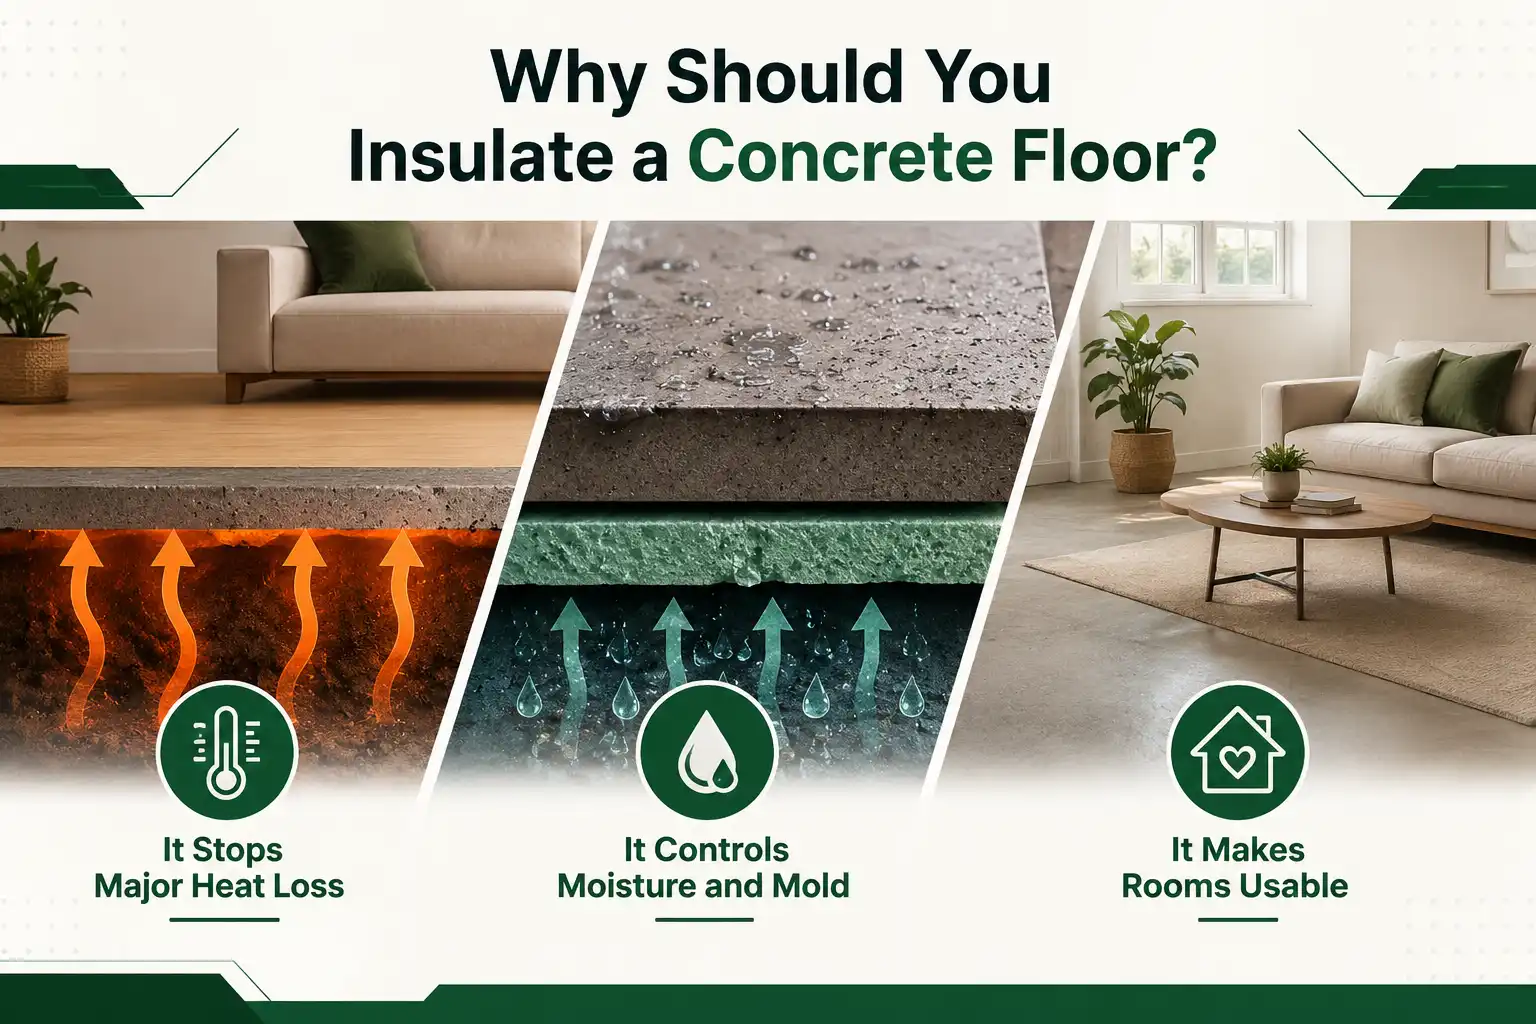
Insulation will keep your toes and more warm. It serves three functions that help protect your home.
1. It Stops Major Heat Loss
Concrete has a conductivity approximately 20 times that of wood. Heat is transferred directly down into the ground below. Your furnace is then forced to work harder to replace it. According to the US Department of Energy, energy savings from properly insulating and air sealing reduce heating and cooling costs by 15-25 percent.
A large percentage of that number is the number of floors that are in contact with cold ground. This loss of heat through the ground pays off annually during the winter.
2. It Controls Moisture and Mold
Concrete is seemingly firm but actually porous. The moisture in the ground rises through the slab in vapor. This vapor condenses beneath carpet or vinyl flooring, or laminate flooring. The result is musty odors, mold, and damaged flooring. This vapor path is blocked by a sealed insulation system. It helps to keep the floor assembly dry.
3. It Makes Rooms Usable
Even when a room is heated, it will feel cold when a cold slab is present. Cool surfaces extract heat from the body through contact and radiation. An insulated floor will increase the surface temperature by several degrees. Basements, garages, and slab homes can be places where people live. In energy-aware areas, insulation will also add to the property’s value when it’s put on the market.
When Is Concrete Floor Insulation Necessary?
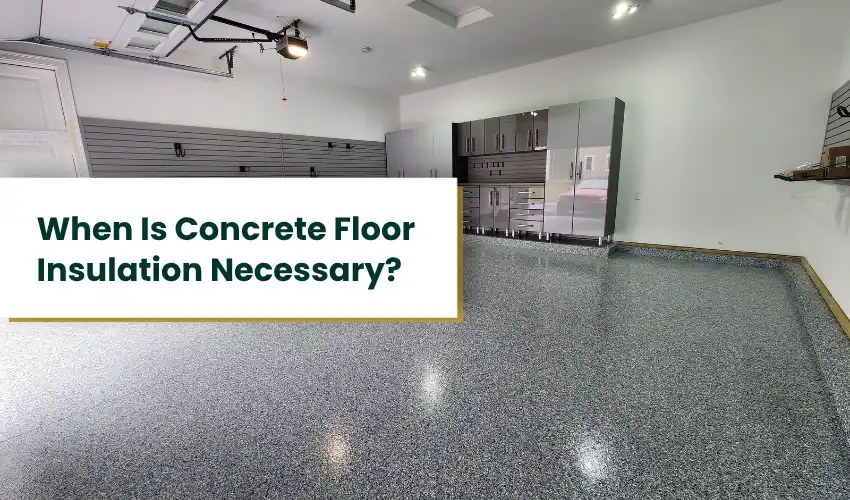
Not all slabs require the same treatment. In these cases, insulation is most important:
- You are converting a basement to a living area
- You’re trying to set up a room or office in your garage.
- Your climate zone is 4 or lower
- You want to fit a radiant floor heating system
- You can see condensation on your floor or feel it to be damp.
- Carpet, laminate, or wood over the slab is desired
Full insulation is not necessary except in hot climates where unheated slabs occur. It’s not something a car garage will necessarily require. Typically, a garage that is used as a gym or workshop.
How Much Does Concrete Floor Insulation Cost?
Cost varies by approach, location, and entity performing the approach.
| Cost Item | Typical Range |
|---|---|
| XPS Foam Board (Material Only) | $0.40 to $0.50 per board foot |
| EPS Foam Board (Material Only) | $0.25 to $0.35 per board foot |
| Rigid Foam (Professionally Installed) | $1.20 to $3.70 per board foot |
| Closed-Cell Spray Foam (Installed) | $1.00 to $2.50 per sq ft per inch |
| Basement Floor Insulation (Full Retrofit) | $3.00 to $7.00 per sq ft |
| 500 sq ft Basement – Foam + Subfloor (DIY) | $1,200 to $2,200 in materials |
| 500 sq ft Basement – Professionally Installed | $2,500 to $4,500 |
The payback is very real. A slab with R-15 insulation will result in about $300 to $600 in heating savings per year in climate zone 6. The payback period for most projects is from 4 to 8 years. One day more becomes comfortable. Also consult your utility company.
Best Insulation Materials for Concrete Floors
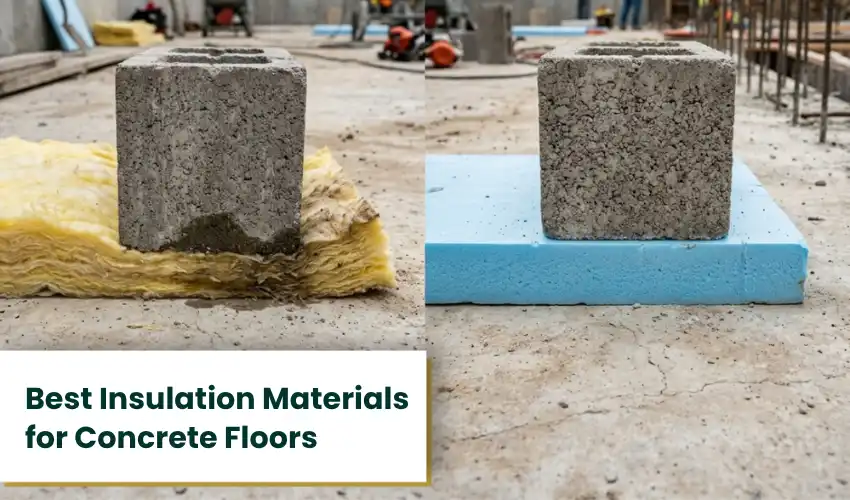
Floors must be able to take two enemies. The enemies of this are moisture and compression. This eliminates several popular items. Options that work and ones to avoid.
1. XPS (Extruded Polystyrene) Rigid Foam
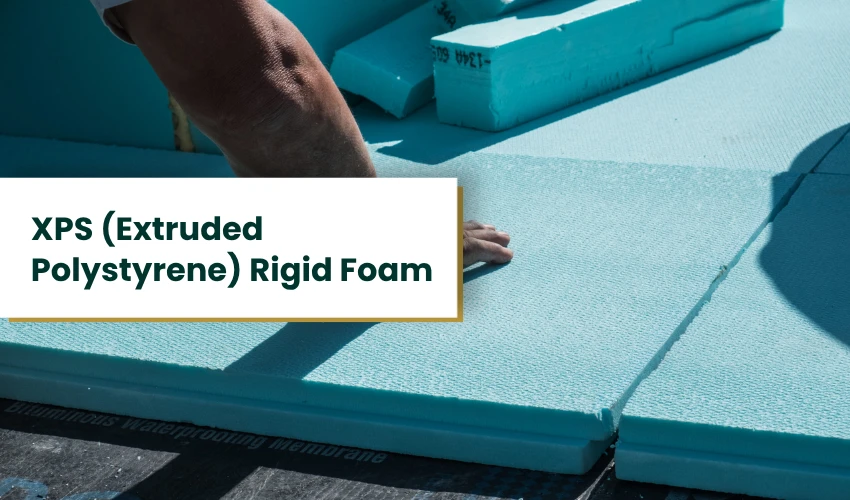
When it comes to concrete floor jobs, XPS is the worker of the year. New, it has approximately R-5 per inch. As blowing agents escape, long-term performance stabilizes to about R-4.5. Passive absorptive water permeability is very low. Normally, standard boards can withstand a pressure of 25 psi. This strength is suitable for under-slab or above-slab applications. XPS is typically found in pink, blue, and green boards. This is my tried-and-tested go-to for most solid foam insulation projects.
2. EPS (Expanded Polystyrene) Rigid Foam
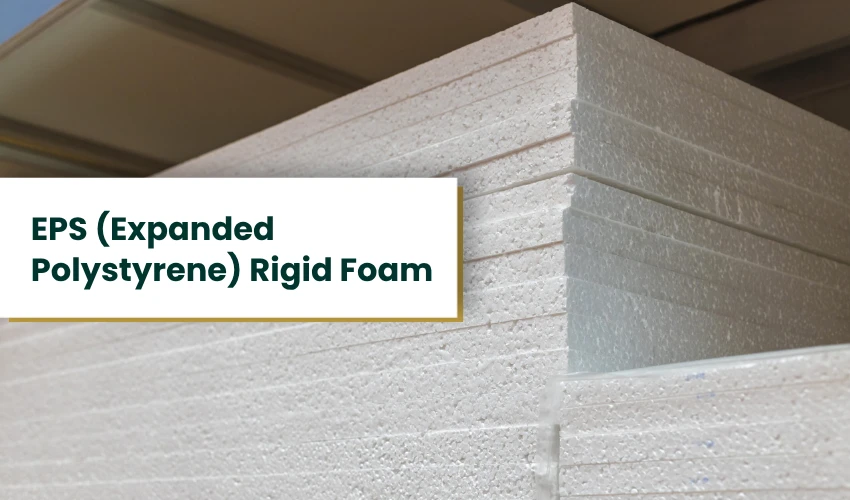
The white beaded foam is called EPS. It is the least expensive, providing about R-4 per inch. It has a constant R-value during cold conditions and for decades. Use high-density EPS for below-grade applications. Normal craft grade EPS will collapse under the slab. In addition, EPS is more environmentally friendly than XPS. If you are planning your project with eco-friendly insulation in mind, then this is important.
3. Polyiso (Polyisocyanurate) Boards
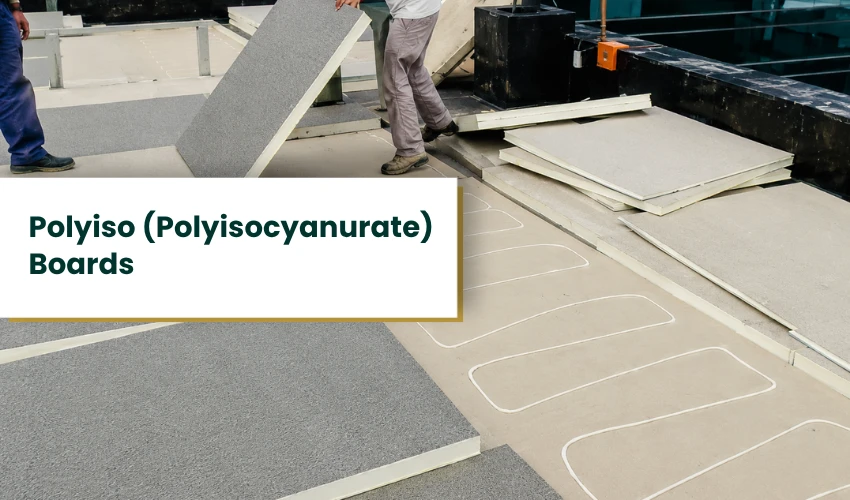
The highest rating is about R-6/inch, as found in polyiso. However, it has two issues on floors. It is not very good at retaining R-value when cold. It will also absorb moisture at the cut edge. Only use polyiso for heat-treated interiors above grade. Don’t set it on wet concrete or a slab. If in contact with ground, moisture-resistant foam board, such as XPS, is the winner.
4. Closed Cell Spray Foam
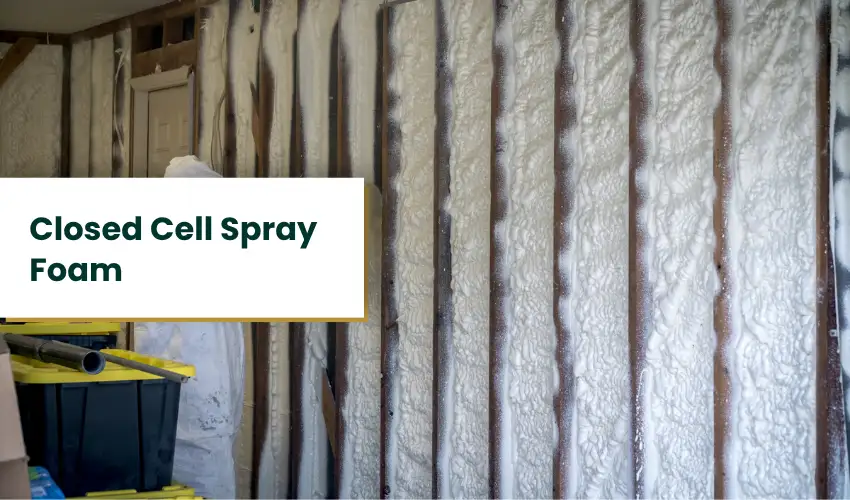
Closed-cell spray foam provides an R-value of 6 to 6.5 per inch. Adheres to concrete and serves as its own vapor barrier. Seals cracks, pipe openings, and irregular surfaces in a single application. The disadvantages are cost and equipment. It glistens when installed on rim joists and rough, out-of-level slabs. Boards provide more value for money than spray foam insulation for flat open floors.
5. Insulated Subfloor Panels
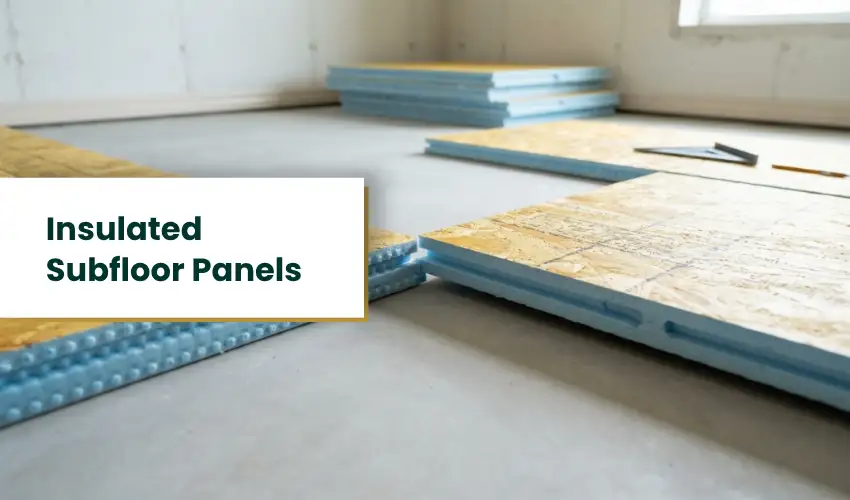
These are 2′ x 2′ tongue & groove panels. Both panels adhesively attach OSB to rigid foam or a dimpled plastic substrate. Some of the brands are DRIcore and Barricade. No glue or fasteners required; they connect quickly. A recessed floor allows small amounts of moisture to evaporate beneath it. The R values are low, typically between R-1.4 and R-3.2. They are suitable for dry basements where speed and headroom is of the utmost importance. This insulated subfloor system is the purest of the DIY approaches.
Materials to Avoid on Concrete
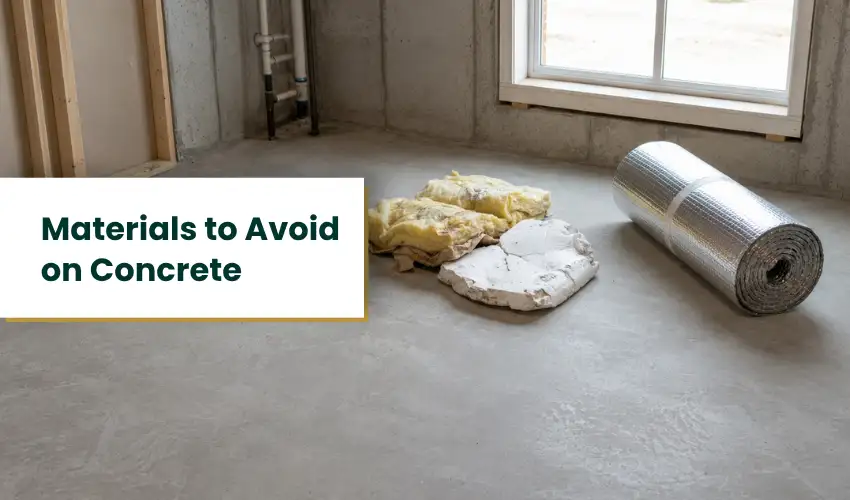
- Fiberglass batts placed down on the slab. They absorb water and allow mould to form.
- Use only foil bubble wrap insulation. Predicted R-Value is very close to actual R-1.
- Under slab wall grade foam. It crushes and produces voids.
- Only plain plastic film. It does not provide any warmth, but resists the passage of vapors.
Material Comparison at a Glance
| Material | R per Inch | Moisture Resistance | Material Cost (sq ft per inch) | Best Use |
|---|---|---|---|---|
| XPS Board | 4.5 to 5 | Excellent | $0.40 to $0.50 | Under or over slab, all climates |
| EPS Board (High Density) | 3.8 to 4.2 | Good | $0.25 to $0.35 | Budget jobs, under slab |
| Polyiso Board | 5.6 to 6.5 | Poor when wet | $0.50 to $0.70 | Warm interiors above grade |
| Closed-Cell Spray Foam | 6 to 6.5 | Excellent | $1.00 to $2.50 installed | Uneven slabs, rim joists |
| Insulated Subfloor Panels | 1.4 to 3.2 per panel | Very good | $1.75 to $3.50 per sq ft | Low headroom basements |
Most Common Mistakes to Avoid While Insulating Concrete Floor
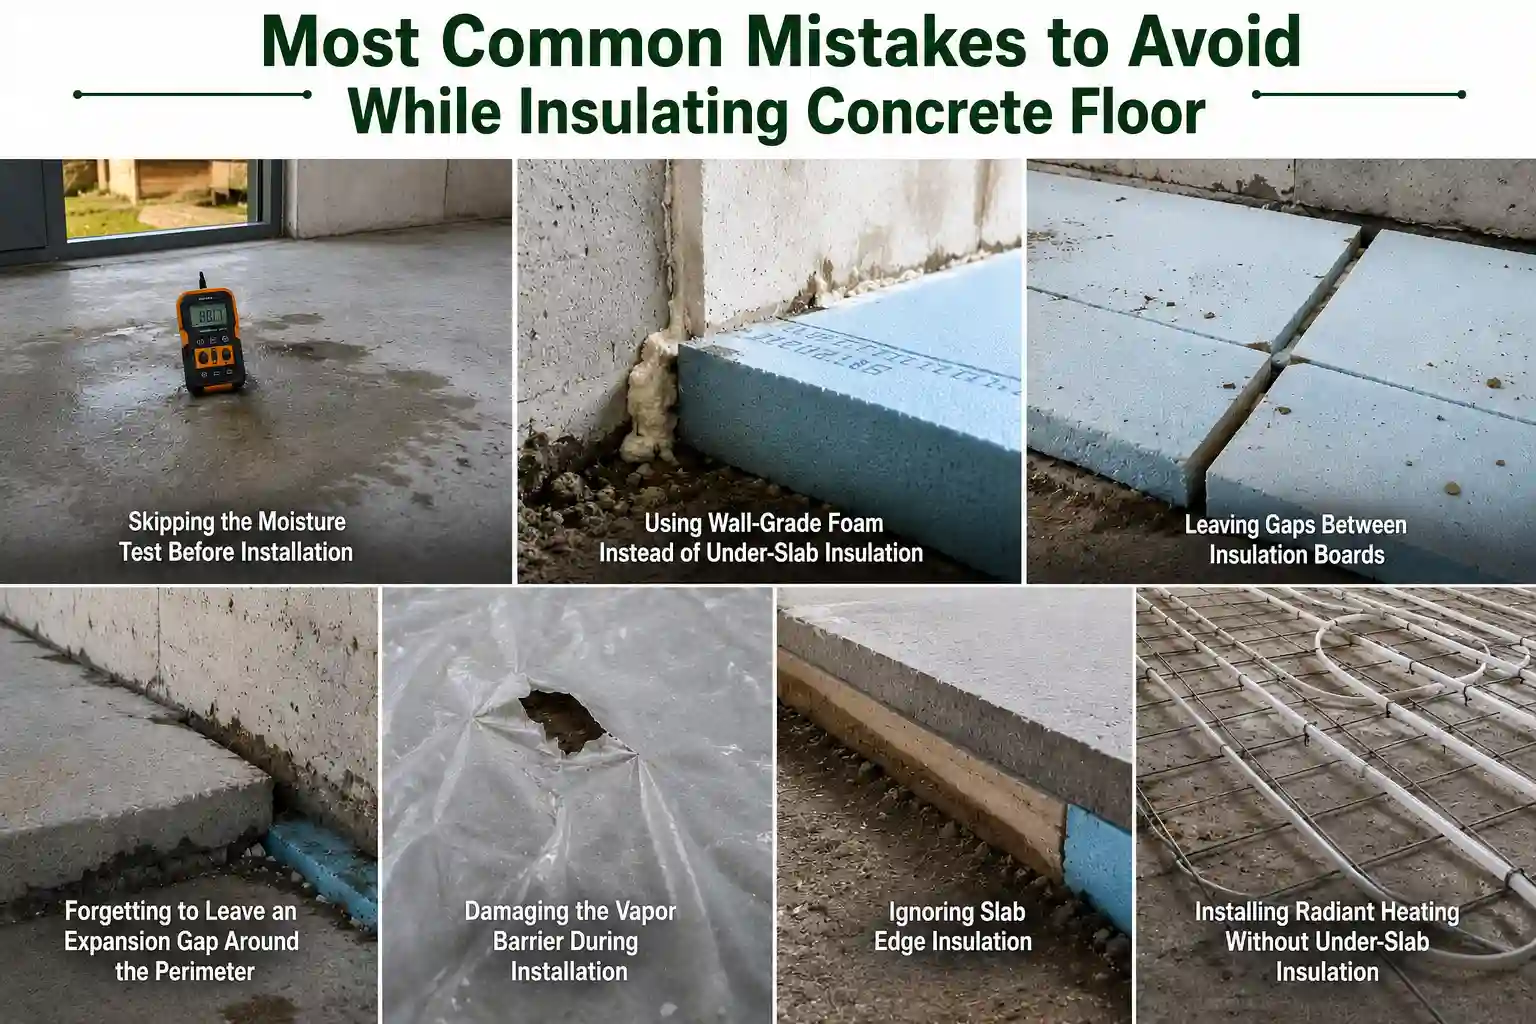
Below we have listed a few mistakes that you must avoid while insulating concrete floors.
1. Skipping the Moisture Test Before Installation
One of the most common installation errors is failing to check the concrete slab for moisture. Over time, excess moisture can cause harm to the insulation, adhesives, and finished flooring. Concrete should be completely dry before installing the insulation, particularly on existing slabs, so apply a moisture test.
2. Using Wall-Grade Foam Instead of Under-Slab Insulation
Always make sure a rigid foam board is suitable for use as a concrete support. Wall-grade foam is not as strong and may settle when the slab is applied, causing uneven spaces and reduced insulation value. Never use under-slab insulation boards that have a low compressive strength, such as ≤ 25 PSI.
3. Leaving Gaps Between Insulation Boards
Poorly fitted insulation boards will create thermal bridges, which will lead to heat loss and moisture build-up. Any opening, even those as small as an air gap, will decrease the insulation system’s effectiveness. The boards should be installed tightly together and staggered in a pattern to provide a continuous thermal barrier under the slab; joints between the boards should be sealed together at the joints where recommended.
4. Forgetting to Leave an Expansion Gap Around the Perimeter
The temperature changes cause concrete slabs and concrete flooring to expand and contract. If there isn’t enough space around the edges of the slab or walls, pressure can occur, which can lead to cracking, buckling, or damage to the floor. Refer to the local building requirements and the manufacturer’s recommendations for adequate expansion allowances.
5. Damaging the Vapor Barrier During Installation
The vapor barrier cannot function if it’s not continuous and sealed. When the fasteners or construction equipment perforate it, without repairs, the ground moisture is able to penetrate the slab. Check the barrier prior to pouring concrete and patch or repair holes and tears with waterproof tape that is compatible with the barrier material.
6. Ignoring Slab Edge Insulation
Many installers only think to insulate under the slab and forget about the perimeter. However, slab edges cause a lot of heat loss due to their exposure to the outside temperature. Vertical edge insulation will help to achieve a more comfortable floor temperature inside, enhance thermal performance, and increase energy efficiency.
7. Installing Radiant Heating Without Under-Slab Insulation
When it comes to radiant floor heating systems, the insulation under them can play a crucial role in their efficiency. If no rigid foam is installed under the heating system, a considerable part of the heat escapes to the ground and not into the living space. Insulating beneath the slab keeps the heat from rising, which cuts energy costs and enhances the heating efficiency.
Expert Tip: Most under-slab insulation problems stem from haste during slab preparation rather than from insulation failure during installation. The preparation of the base, correct installation of the vapor barrier, and proper installation of the insulation will enhance durability, energy efficiency, and long-term performance.
The vast majority of failures can be traced back to rushed preparation. It takes time to prepare the subfloor, but the rest will take care of itself.
Final Thoughts
Whether they are indoors or on the outside, concrete slabs transfer heat into the soil and moisture moves upwards, so insulation is necessary for better comfort, energy efficiency, and floor durability. The best way to add a polyethylene vapor barrier and rigid foam insulation to new construction is to install it under the concrete before it is poured. There needs to be a retrofit system for existing slabs, usually involving the installation of a vapor barrier, rigid foam insulation, and a floating subfloor.
The best insulation material that can resist moisture and is capable of bearing heavy loads is high-density EPS and XPS. Never apply fiberglass batts directly to a concrete surface since they will absorb moisture and will not maintain their insulating value. Test the slab for moisture before embarking on any project to prevent future flooring issues.
Rember to insulate the edges on new slabs; the edge is where most heat is lost. Typical costs of retrofit installation range from $3 to $7 per square foot and in many instances, the energy savings are enough to recoup the investment in four to eight years.
Frequently Asked Questions
Can you insulate a concrete floor without raising it much?
Yes. Insulated subfloor panels will contribute approximately one inch of height. Combined, the added value of thin high density foam underlays is even less. Some reduction in R-value for the saved headroom. If you can get the extra inch, take it in cold climates.
What is the cheapest way to insulate a concrete floor?
The cheapest option is a high-density EPS foam and a do-it-yourself subfloor made of plywood. Materials will run about $2.50 – $4.00 per square foot. Cheaper still are interlocking foam gym tiles. However, tiles only heat up the surface and are not a complete solution.
Do I need a vapor barrier if I use foam board?
Use one anyway. XPS is moisture resistant, but board seams will allow vapor to pass. A taped 6 mil poly layer is inexpensive and puts the mind at ease. Use it, except when the foam maker says to use taped foam as the barrier.
Can I lay laminate or vinyl directly on concrete?
You can do so with the underlayment the flooring manufacturer needs. Real insulation underneath is not needed to have a warm floor. An uninsulated slab is also susceptible to moisture damage under vinyl and laminate. Foam plus subfloor first is a warmer and safer solution.
What R-value do I need under a concrete slab?
R-10 is required at the slab edge for climate zones 4-8. The full slab permits R-10 for mixed climates. R-15 to R-20 are good for cold regions. Always have foam under the tubing with heated slabs.
Is spray foam better than foam board for floors?
Not usually. Boards are more economical and are quicker to install on flat slabs. Spray foam is a good choice to use on cracked, uneven, or difficult-to-seal surfaces. It also performs well in areas like rim joists, where boards are awkward.
Will floor insulation stop condensation in my basement?
It helps a lot. Insulation prevents the floor surface from getting below the dew point. That will not cause the sweating that occurs on bare slabs. Combine it with a dehumidifier in the summer for total control in humid conditions.
Does concrete floor insulation reduce noise?
Yes, as a bonus. Foam layers and floating subfloors dampen impact sound. Steps and room get quieter. It will not soundproof a room, but there is a difference.


